
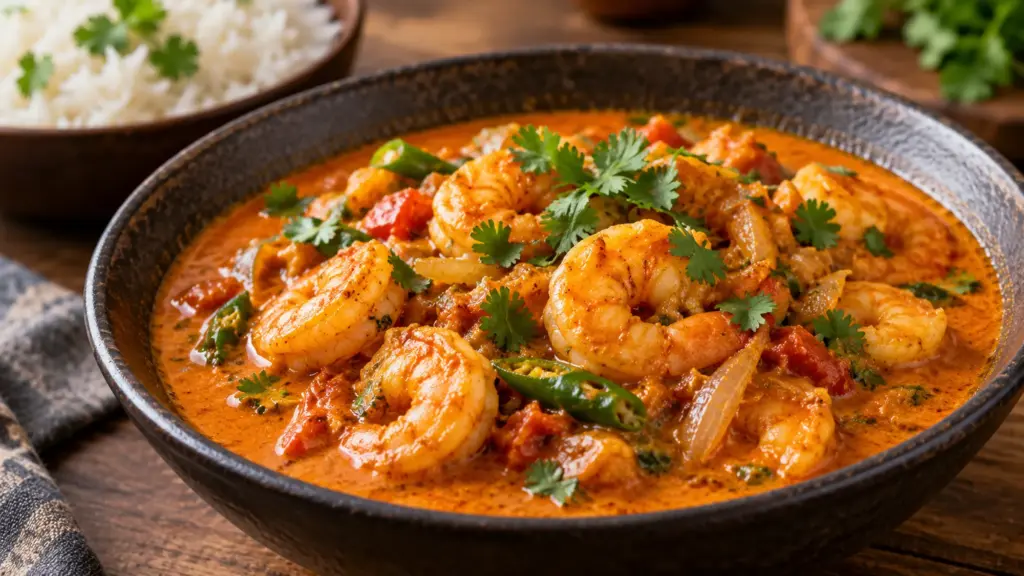
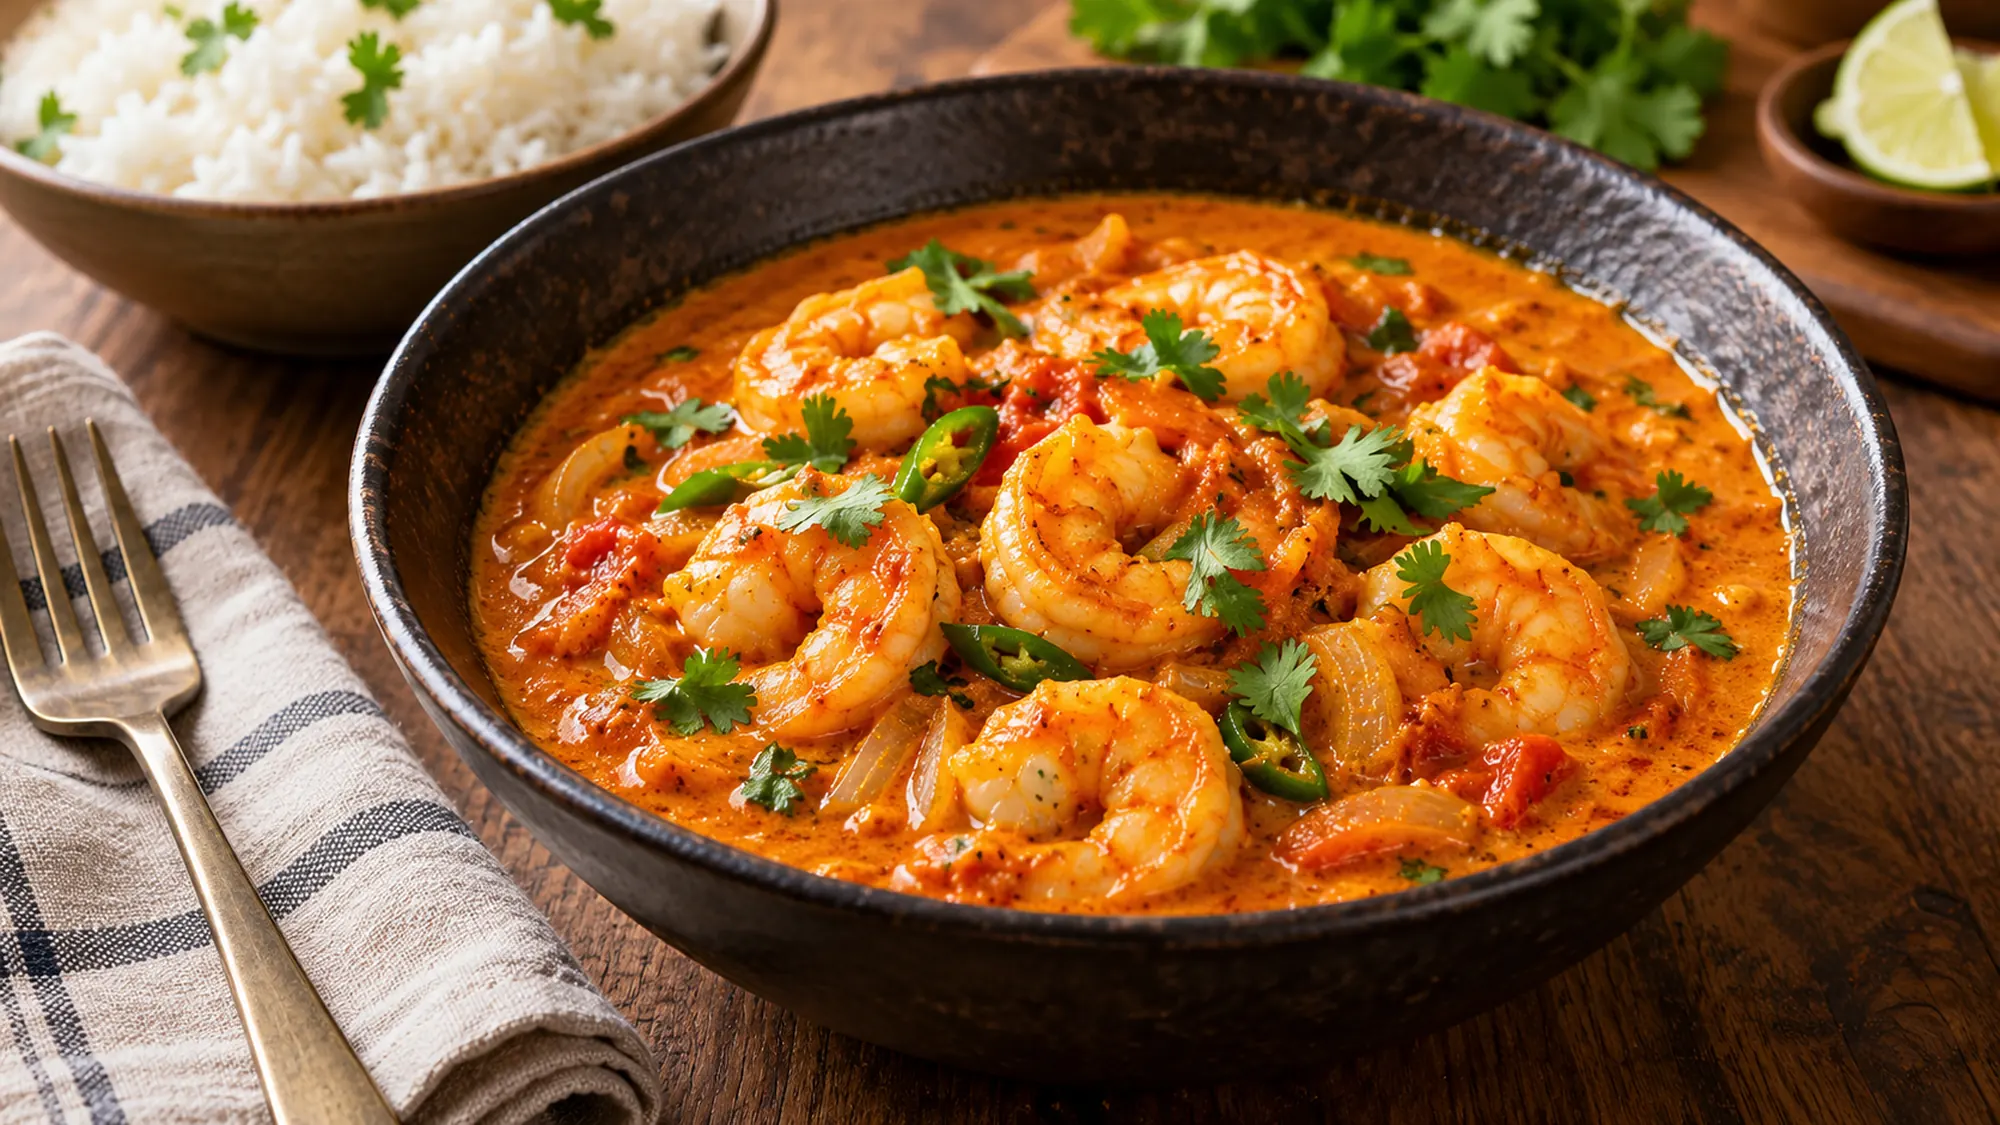
Shrimp can be ready long before the sauce around it tastes finished. Shrimp curry is easier to manage when those two jobs happen in the right order. Give the onion, tomato and spices their time first, then let the shrimp finish in the fragrant coconut sauce instead of simmering through every stage.
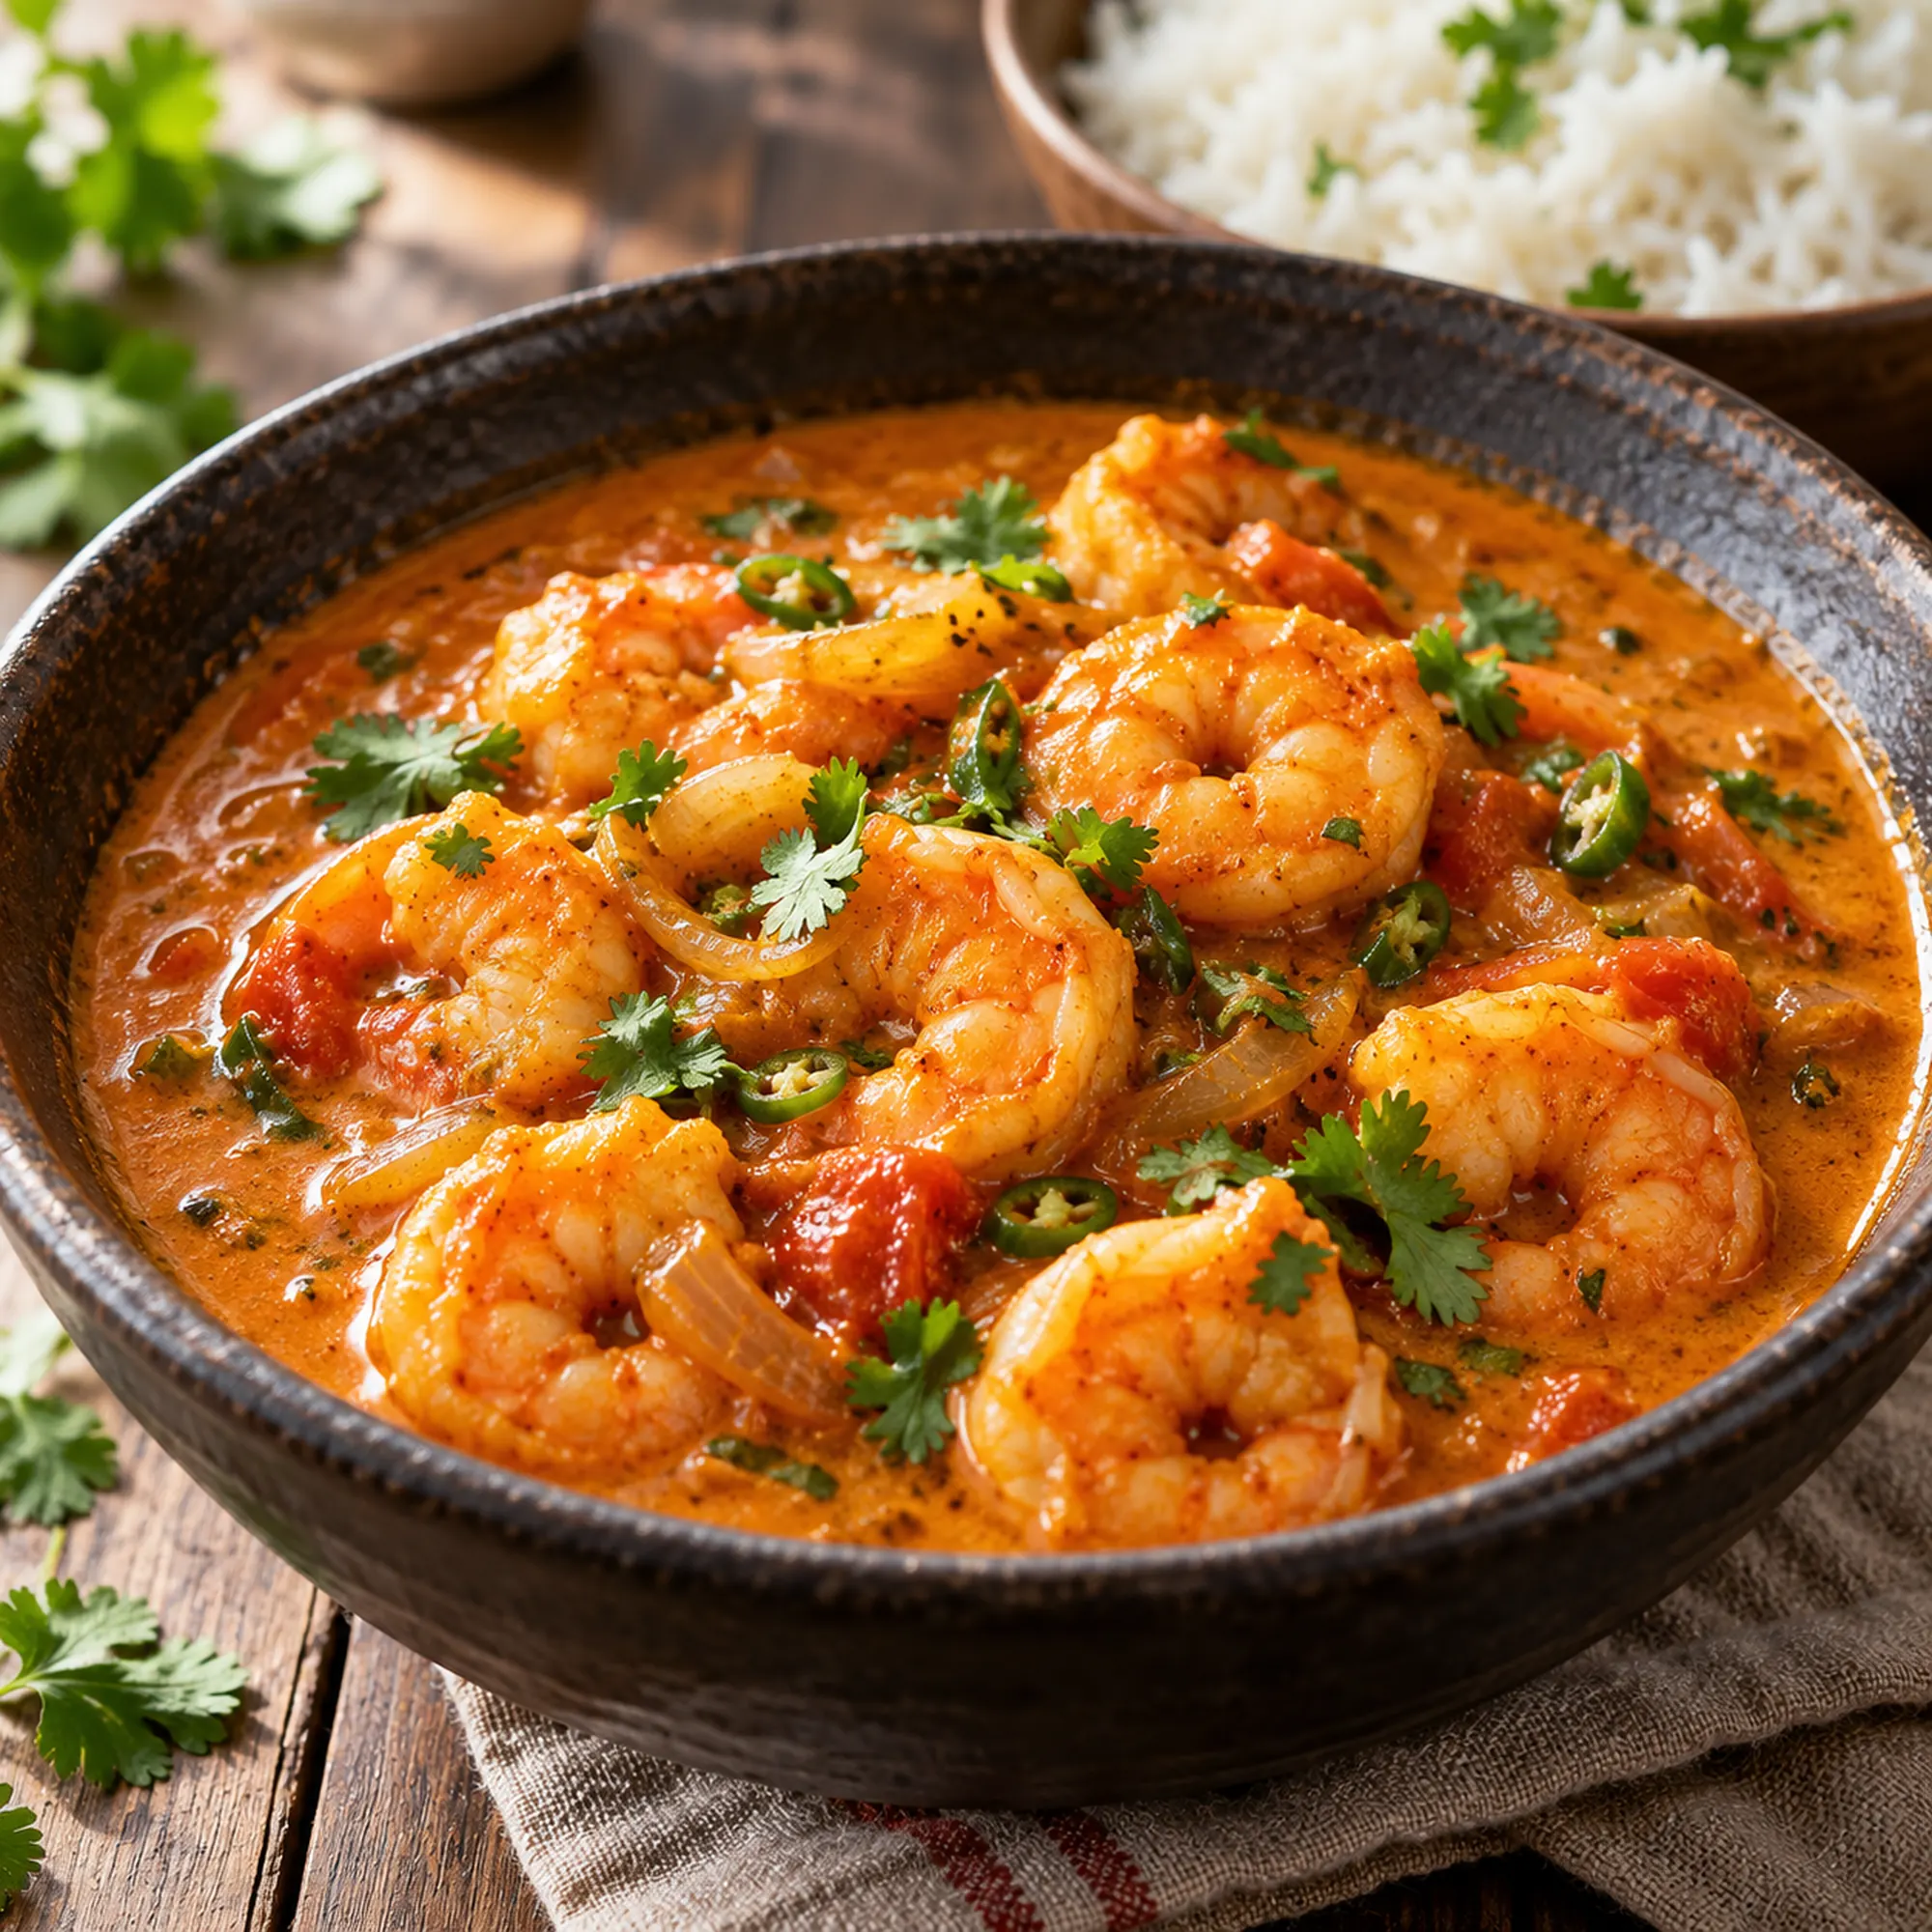
For shrimp curry, soften the aromatics and simmer the coconut-tomato sauce before adding the shrimp, then stop cooking as soon as they are opaque and cooked through.
I would rather spend a few extra minutes on the sauce than ask the shrimp to wait in a bubbling pan. Their texture changes quickly. A spoonful of the onion-tomato base should taste rounded and cooked before the seafood goes in; that is a more useful checkpoint than rushing toward the last step.
Serving Shrimp Curry
This version makes four portions of curry, with rice or roti offered separately. A shallow bowl is helpful for catching the sauce, and a small serving spoon lets people add more without turning the plate into a pool. The shrimp are measured after peeling and deveining, not by the weight of a shell-on package.
Plain rice keeps the warm spices easy to appreciate. Tastiva’s rice guide can help with a simple accompaniment. A cool cucumber side is also welcome, especially if the green chilies make the sauce warmer than everyone at the table prefers.
- Have the rice or other accompaniment ready before the shrimp finish.
- Keep extra chili separate so a milder portion is still possible.
- Stir the curry gently when serving rather than breaking the shrimp with a heavy ladle.
| Serving addition | Reason to choose it |
|---|---|
| Plain rice | Absorbs sauce without competing |
| Roti | Useful for scooping a thicker sauce |
| Cool cucumber | Adds crunch and a fresh contrast |
Serve as soon as the shrimp are ready, with the sauce and accompaniments already organized.
Shrimp Curry Variations
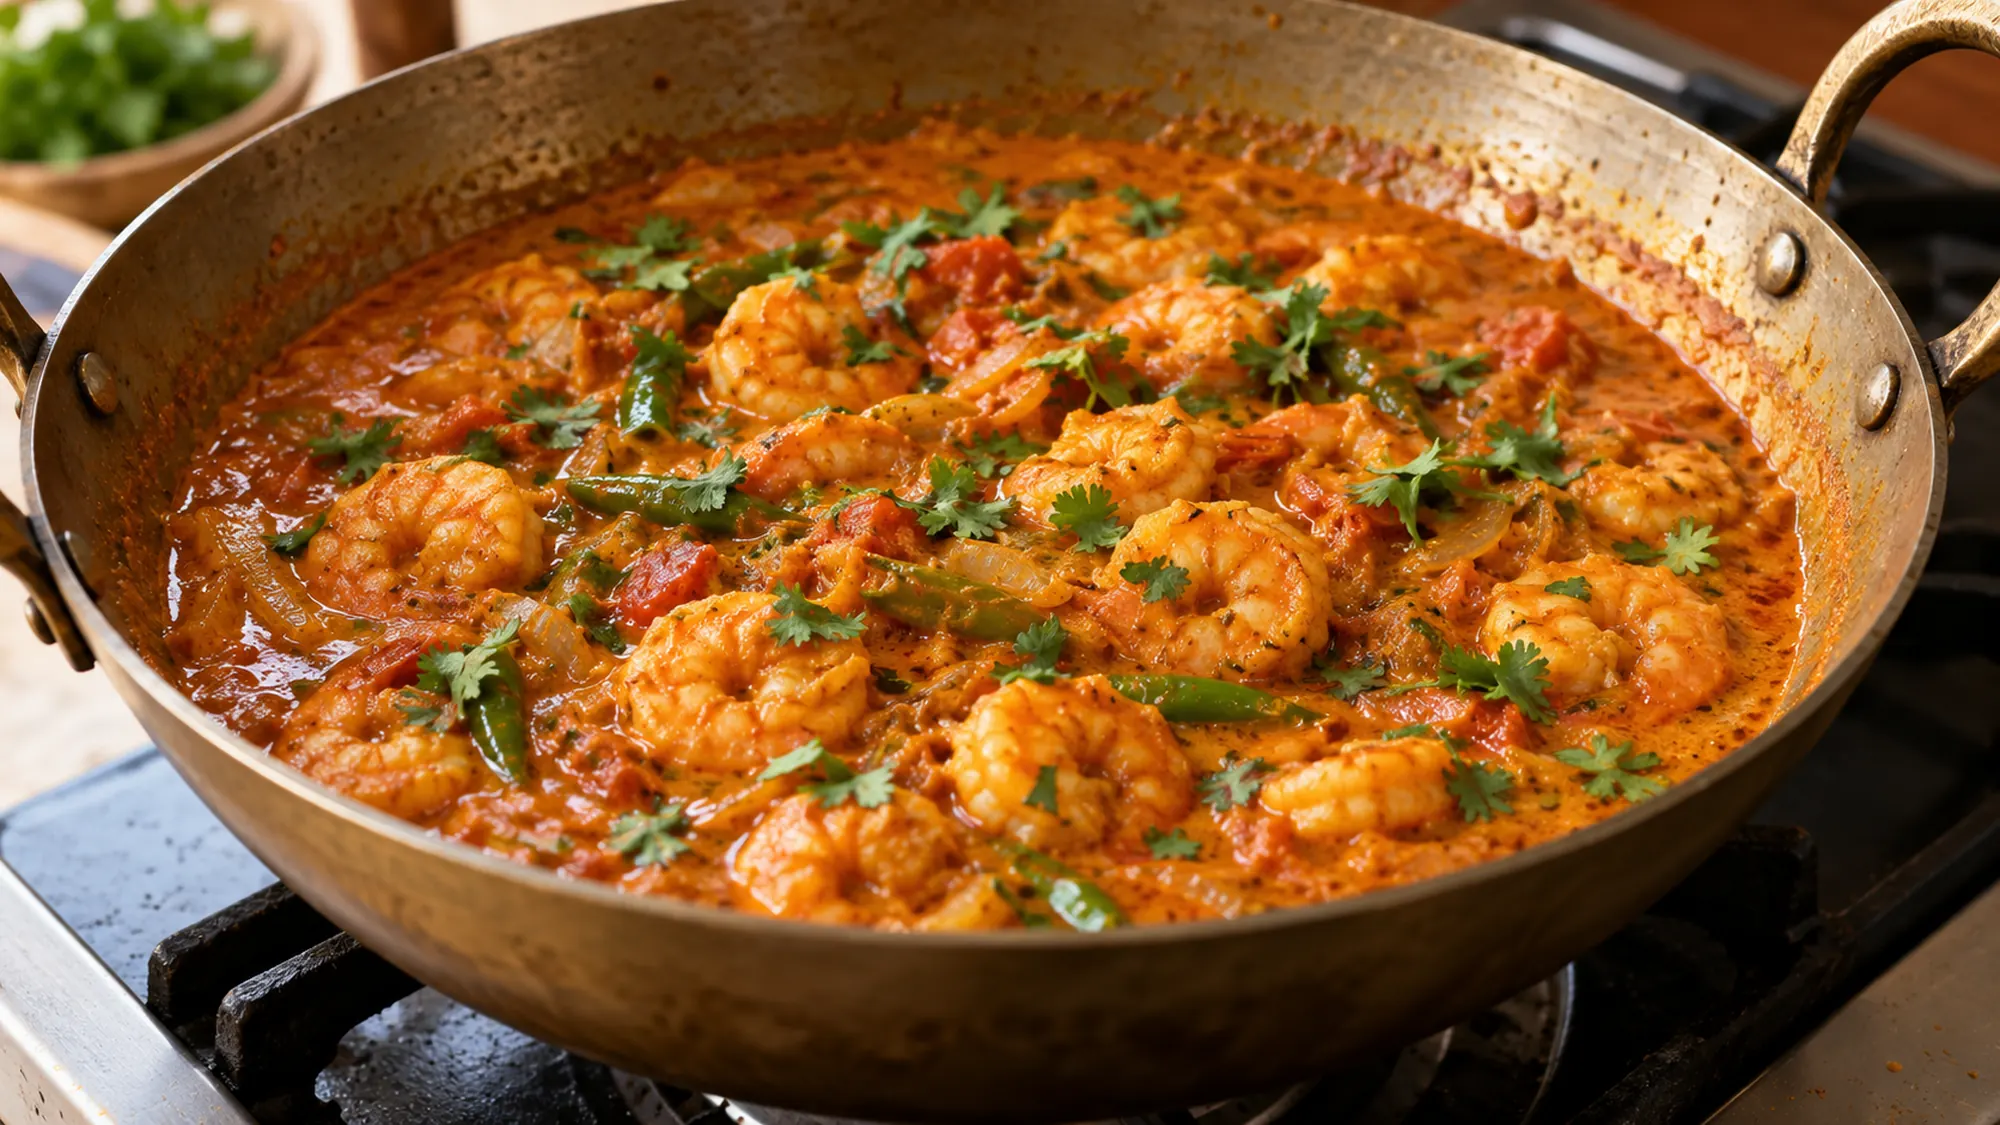
The onion, tomato, coconut milk and spice combination is adapted from Spice Eats’ prawn curry demonstration. This version uses measured cleaned shrimp, fresh grated ginger and garlic, and less chili. It also simmers the sauce before adding the shrimp to avoid extending their cooking unnecessarily.
I prefer to begin with restrained heat because chili intensity is difficult to judge from a spoon measurement alone. Cayenne, other red chili powders and fresh green chilies are not interchangeable in strength. Taste the sauce before adding the shrimp, then adjust cautiously rather than trying to dilute an entire finished pan.
- Use full-fat coconut milk for the stated recipe; a thin beverage from a carton behaves differently.
- Stir the coconut milk before measuring so the creamy and watery layers are combined.
- If frozen shrimp are used, thaw them safely and drain well so they do not flood the sauce.
- Add a small splash of water if the sauce thickens too far before the shrimp are cooked.
- Do not replace raw shrimp with precooked cocktail shrimp and follow the same timing.
Adjust heat and sauce thickness before the shrimp go in, when there is still time to make calm corrections.
Nutrition and Safe Cooking
Shrimp provides protein, while coconut milk and cooking oil contribute much of the fat and energy. Onion and tomato give the sauce its vegetable base. A curry can be part of a varied meal, but its ingredients and serving size matter more than a broad label such as healthy or indulgent.
The estimate includes the complete measured sauce and oil, divided into four portions, but excludes rice and roti. It uses cleaned shrimp weight and a specified coconut-milk label. Curry spice blends and packaged products vary, so values are estimates and fields without reliable ingredient data are left out.
- Shellfish is a major allergen; keep utensils and serving dishes separate where needed.
- Keep raw shrimp refrigerated until cooking.
- Cook shrimp until the flesh is pearly or white and opaque, following safe seafood guidance.
- Avoid leaving the finished curry over heat while waiting for the rest of dinner, and refrigerate leftovers promptly.
A finished sauce and a brief final shrimp cook help you manage texture without overlooking food safety.
Bottom Line
Shrimp curry is most rewarding when the sauce is ready to welcome the seafood, not still waiting for its own flavor to develop. Soften the onion, cook the tomato and spices, and adjust the coconut sauce before the final addition. Then watch the shrimp closely and bring the pan straight to the table.
Build the sauce patiently, cook the shrimp attentively and keep the sides ready.
Shrimp Curry Recipe

Ingredients
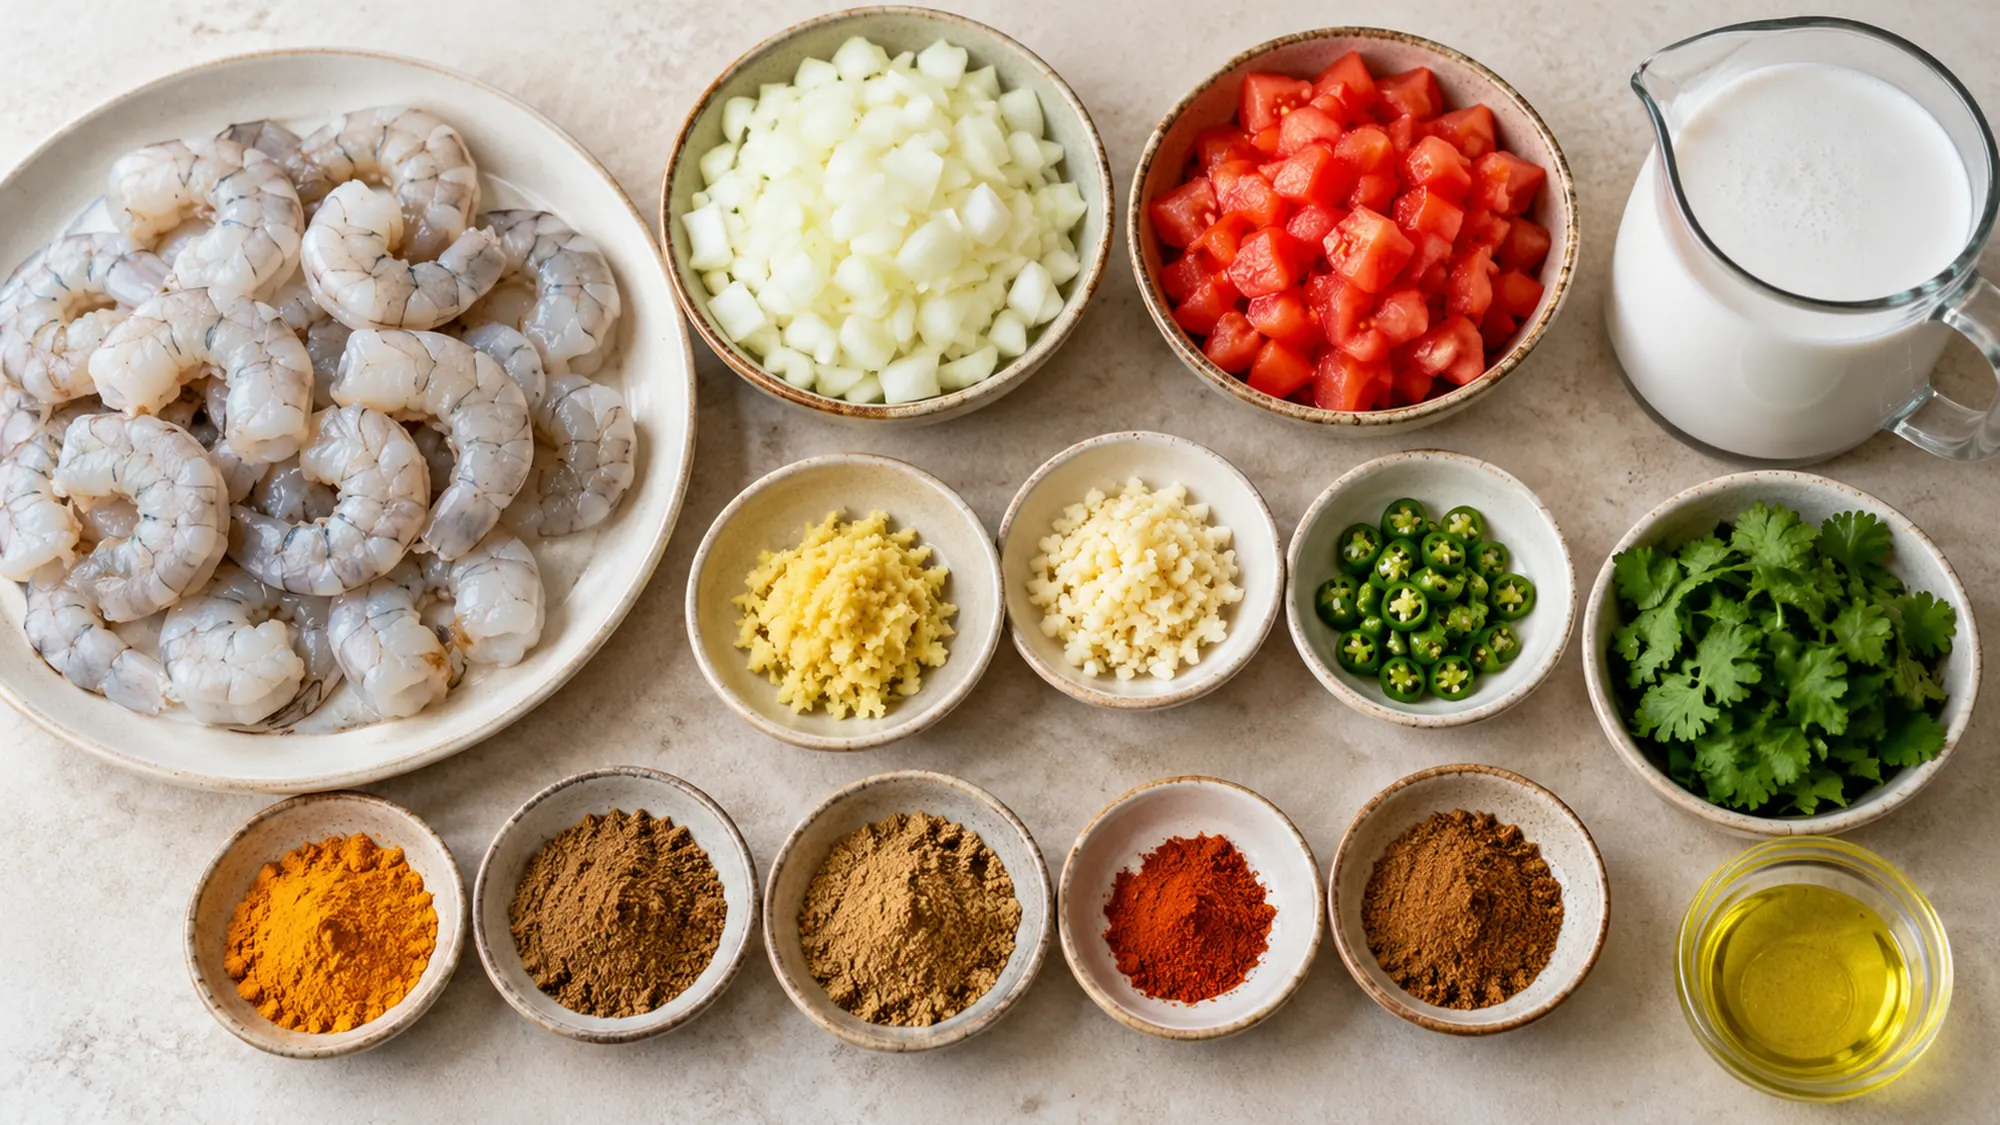
- 600 g raw peeled and deveined shrimp cleaned weight
- 300 g onion finely chopped
- 400 g tomatoes chopped
- 12 g garlic grated
- 12 g fresh ginger grated
- 20 g green chilies slit; reduce for less heat
- 6 g fine salt
- 1 g ground turmeric
- 2 g cayenne pepper reduced heat compared with source
- 1 g ground coriander
- 2 g ground cumin
- 3 g garam masala
- 480 ml full-fat coconut milk
- 8 g cilantro chopped
- 60 ml sunflower oil
- 240 ml water
- cooked rice optional, excluded from estimates
Equipment
- 1 Large deep skillet
Instructions
- Heat oil in a wide pan over medium heat. Cook onion for 8–10 minutes until softened. Add green chilies, ginger and garlic; stir for about 1–2 minutes without scorching.
- Add tomatoes and salt, cooking about 5 minutes until softened. Stir in turmeric, cayenne, coriander and cumin, then the water. Simmer for 2–3 minutes so the spices and tomato combine.
- Stir in coconut milk and simmer gently for about 5 minutes, adjusting with a little water if the sauce is too thick. Taste the sauce before adding seafood; reduce heat as needed to prevent vigorous boiling.
- Add the drained raw shrimp and cook gently, stirring occasionally, for about 3–5 minutes depending on size, until the flesh is pearly or white and opaque throughout. Do not keep simmering once done.
- Finish with garam masala and cilantro and divide into four portions. This adaptation uses fresh ginger and garlic, reduced chili and a sauce-first sequence to shorten the shrimp’s cooking time. Optional rice is excluded.
Nutrition
Video
Notes
Tried this recipe?
Let us know how it turned out!Hi, I’m Laura, the voice behind Tastiva. I’ve always believed that eating well should feel enjoyable, comforting, and realistic—not like another complicated rule to follow. I love creating recipes that fit into everyday life, sharing simple nutrition ideas, and finding small ways to make meals feel a little better without losing the pleasure of good food.