
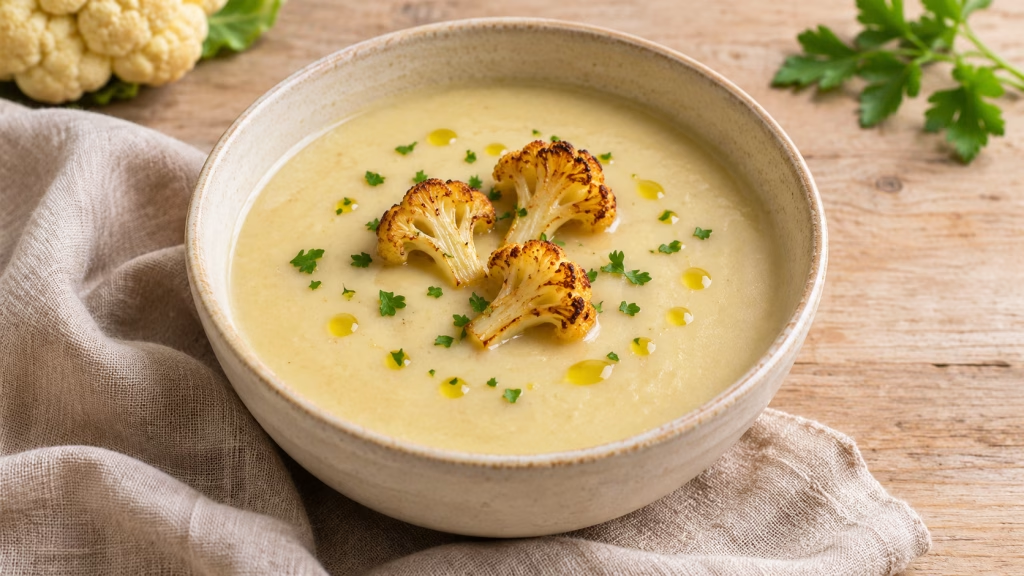
A tray of cauliflower has a useful moment between pale and scorched: the cut sides turn golden while the stems become tender. That is the starting point for this roasted cauliflower soup. Roasting gives the vegetables a deeper flavor before they meet broth, softened onion and garlic; a little butter and lemon round out the blended soup without adding cream.
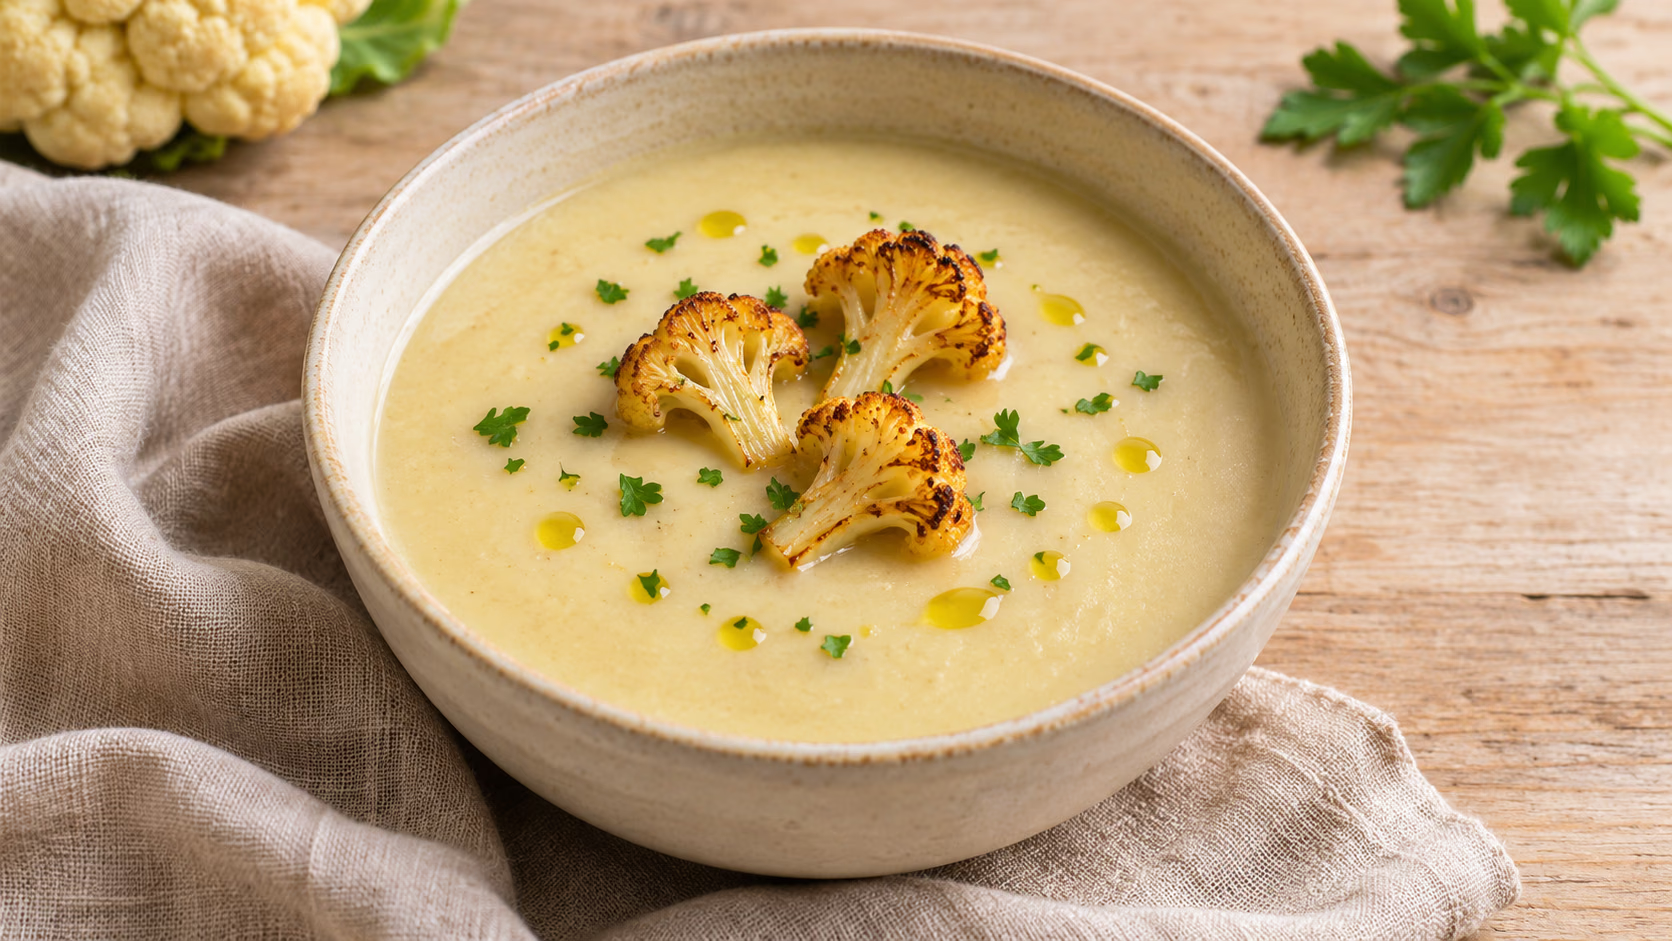
Brown the cauliflower, but do not char it. Golden edges add depth; tender stems make blending easier, and lemon added at the end keeps the finished soup lively.
Choose ingredients for a mellow, savory bowl
I would keep the seasoning restrained here. Cauliflower is the main flavor, not a backdrop for a cabinet full of spices. The small amount of nutmeg gives a warm accent, while parsley adds a fresh finish; neither should overwhelm the roasted vegetable.
- Cauliflower: start with two pounds of trimmed florets. Head sizes vary, so weight is more useful than counting heads. Cut the thicker stems smaller than the tender tops.
- Onion and garlic: soften the onion rather than browning it heavily. Add garlic near the end of that stage so it does not scorch while the onion cooks.
- Broth: choose a low-sodium vegetable broth you enjoy on its own. A dark mushroom broth makes the finished soup more savory and less ivory-colored.
- Butter and lemon: butter rounds out the texture; lemon lifts the flavor. Cream-free does not mean dairy-free, because this version includes butter.
If you prefer making the base yourself, the homemade vegetable stock guide explains how to balance mushrooms, vegetables and herbs. Its flavor and sodium level will differ from packaged broth; taste before adding all the salt.
Roasting cues matter more than the timer
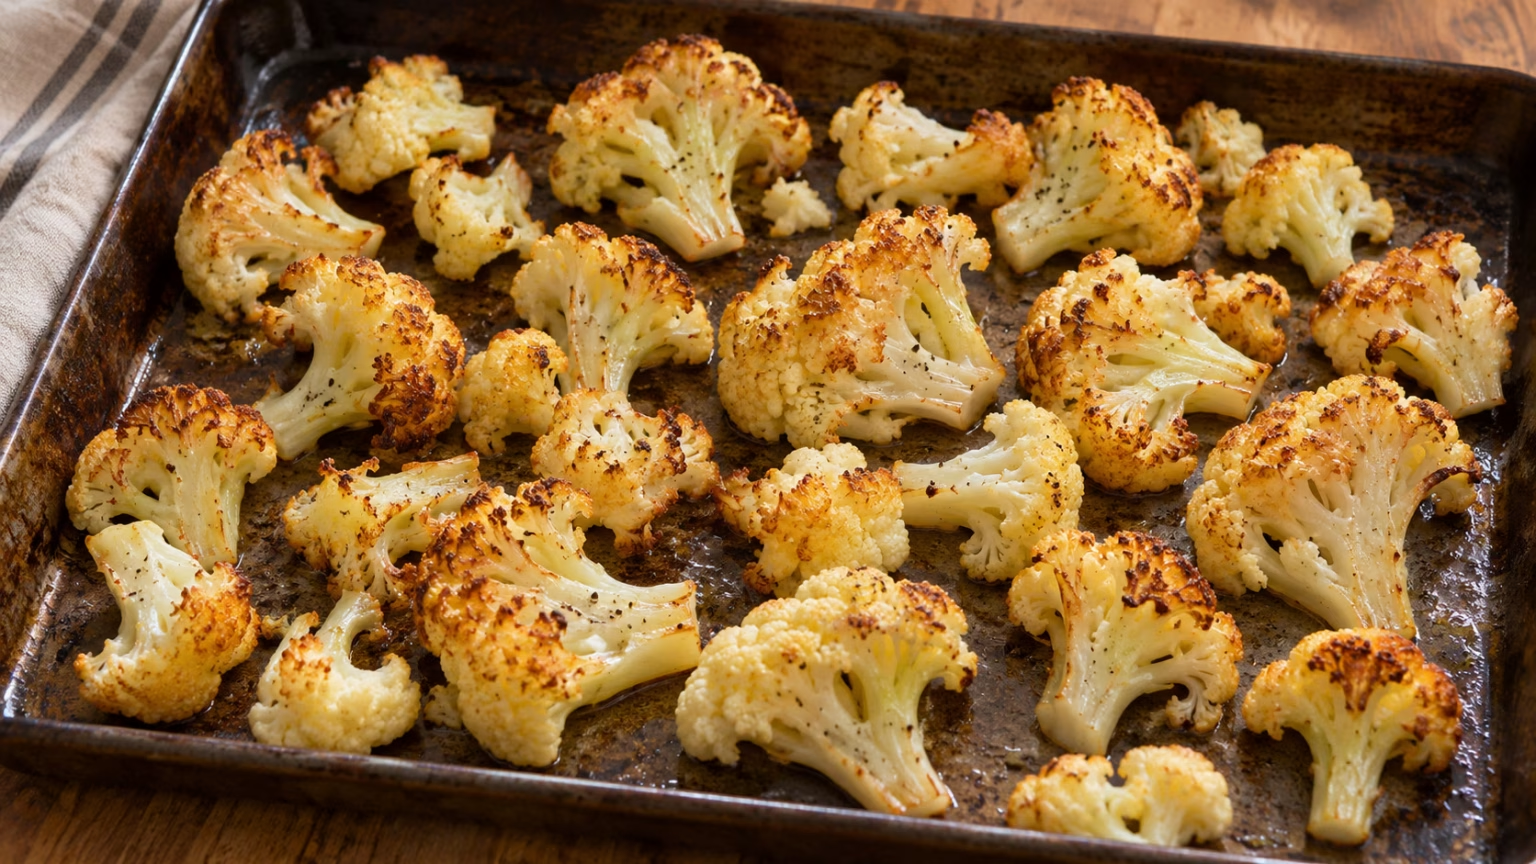
Spread the cauliflower across a roomy rimmed tray with the cut surfaces touching the metal where possible. A crowded heap holds steam between the pieces. If one tray cannot hold an even layer, use two rather than making the florets compete for space.
- Look underneath: the top may look pale while the underside is already golden. Turn the pieces partway through so you can judge both sides.
- Check a thick stem: a fork should enter easily before the cauliflower goes into the soup pot. Large pieces may need a few extra minutes.
- Stop before blackening: a few brown edges are welcome; deeply burned patches can dominate a delicate blended soup. Remove any genuinely scorched bits.
- Use the waiting time: chop the parsley and measure the broth while the tray roasts, then start softening the onion toward the end.
I prefer to reserve a few small florets before blending. They make a useful garnish and tell you what is in the bowl without turning dinner into a decorating project. Divide those pieces among the servings rather than adding an extra batch of roasted vegetables.
A smooth finish without a heavy pour of cream
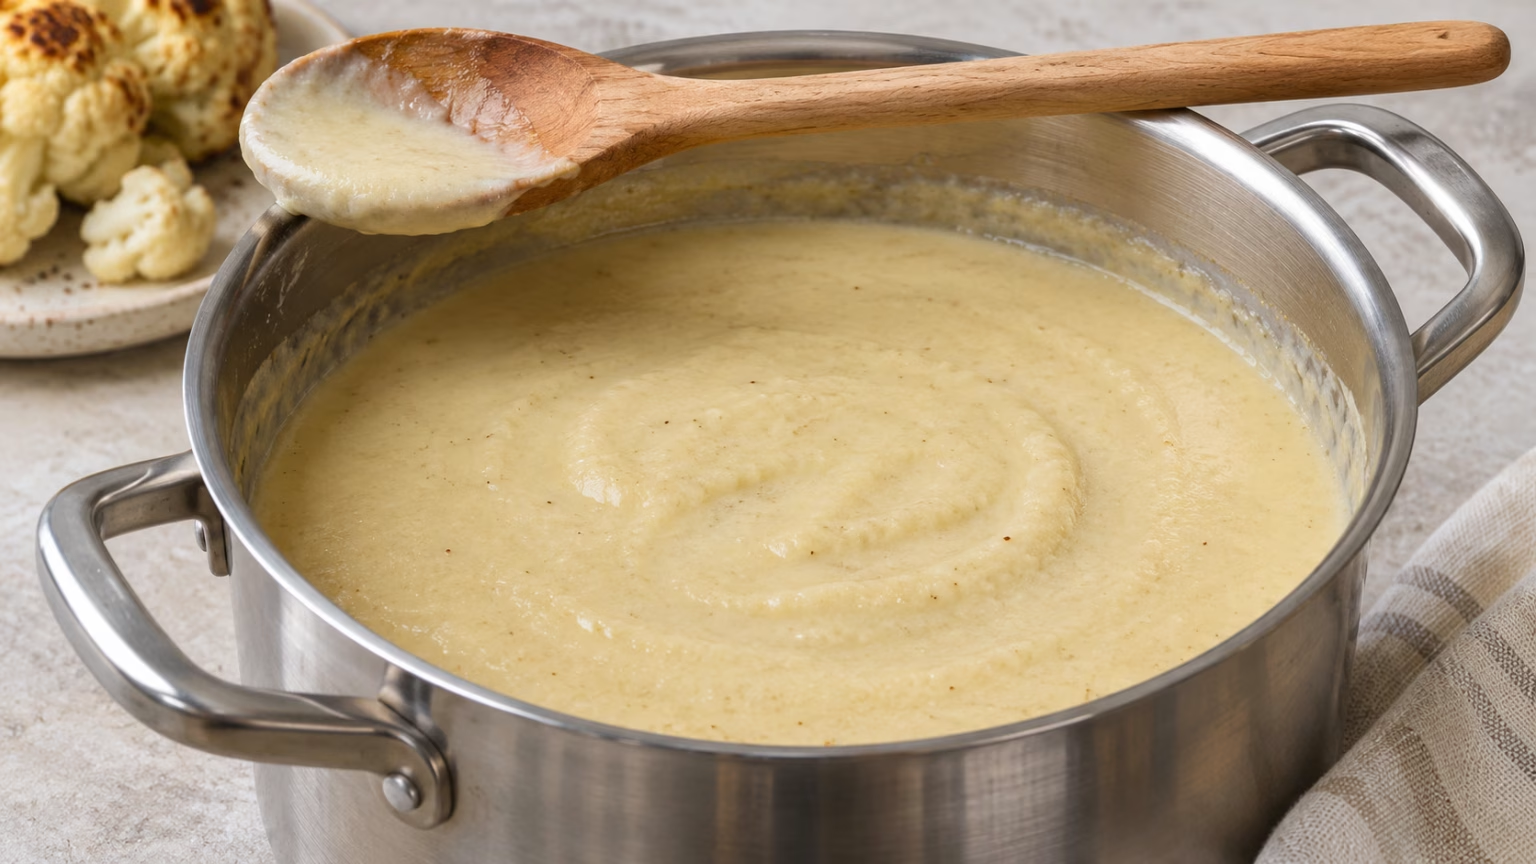
The vegetables need enough simmering to blend evenly, even after roasting. Test a stem again rather than assuming the blender will solve everything. A powerful blender can make the texture finer, but it cannot undo a bitter burned flavor.
- Grainy soup: if the stems are still firm, simmer longer before blending. Keep the immersion blender head below the surface to prevent splashing.
- Thicker than you like: stir in a small splash of warm water or broth, then check again. It is easier to loosen soup than retrieve liquid you added too generously.
- Flat flavor: add lemon a little at a time before automatically reaching for more salt. Stop when it tastes brighter, not sharply sour.
- Hot-liquid safety: remove the pot from the heat. If using a countertop blender, follow its manufacturer’s cooling, venting and maximum-fill instructions; do not seal hot soup into an unsuitable blender.
The recipe uses a measured quantity of butter, not cream, cheese or flour. Swapping ingredients changes both flavor and the nutrition estimate. For a dairy-free version, a suitable plant-based replacement may work, but check its label and expect a different finish.
Serve now, save the rest safely
Serve the soup as a substantial starter or add a sandwich, beans on toast or another protein-containing side for lunch. I would bring something crisp to the table rather than another soft dish. Keep bread separate until eating so it does not disappear into the soup before anyone sits down.
- Refrigerate promptly: divide leftovers into shallow containers within two hours, or one hour above 90°F (32°C).
- Plan the next meal: use refrigerated leftovers within three to four days, or freeze portions for longer storage.
- Reheat thoroughly: bring soup to a rolling boil and check that it reaches 165°F (74°C). Stir so the center heats evenly.
The card’s estimate follows the published VA recipe quantities and four-serving yield. Different broth brands, the final volume and any added bread or oil change the numbers. It is a practical reference, not a laboratory analysis of your individual pot.
Roasted Cauliflower Soup Recipe

Ingredients
- 2 lb cauliflower 907 g, trimmed and divided into bite-size florets
- 3 tablespoons olive oil divided
- 3/4 teaspoon salt divided
- 1 medium onion chopped; about 1 cup
- 2 cloves garlic minced
- 4 cups low-sodium vegetable broth 960 ml
- 2 tablespoons unsalted butter
- 1–2 tablespoons lemon juice to taste
- 1/4 teaspoon ground nutmeg
- 1/4 cup fresh parsley finely chopped
Equipment
- 1 Rimmed baking sheet
- 1 large soup pot
- 1 immersion blender
Instructions
- Heat the oven to 425°F (220°C). Toss the cauliflower with 2 tablespoons oil and ¼ teaspoon salt. Spread on a rimmed baking sheet in a single layer.
- Roast 35–40 minutes, turning after 20 minutes, until tender with golden edges. Avoid blackened pieces.
- During the last 10 minutes of roasting, warm the remaining oil in a large pot. Soften the onion with ¼ teaspoon salt for 5–7 minutes; stir in garlic for 30 seconds.
- Add broth and roasted cauliflower. Bring to a boil, then simmer gently for 20 minutes, stirring occasionally. Reserve a few florets for garnish if desired.
- Remove from heat. Add butter, nutmeg, remaining salt and 1 tablespoon lemon juice. Blend with a submerged immersion blender until smooth. For a countertop blender, follow its manufacturer’s hot-liquid cooling, filling and venting instructions.
- Taste; add the remaining lemon juice if desired. Divide into four bowls and top each with parsley and any reserved florets.
Nutrition
Notes
Tried this recipe?
Let us know how it turned out!Sources
- U.S. Department of Veterans Affairs: recipe quantities and estimated nutrition
- USDA FSIS: handling leftovers safely
Hi, I’m Laura, the voice behind Tastiva. I’ve always believed that eating well should feel enjoyable, comforting, and realistic—not like another complicated rule to follow. I love creating recipes that fit into everyday life, sharing simple nutrition ideas, and finding small ways to make meals feel a little better without losing the pleasure of good food.