
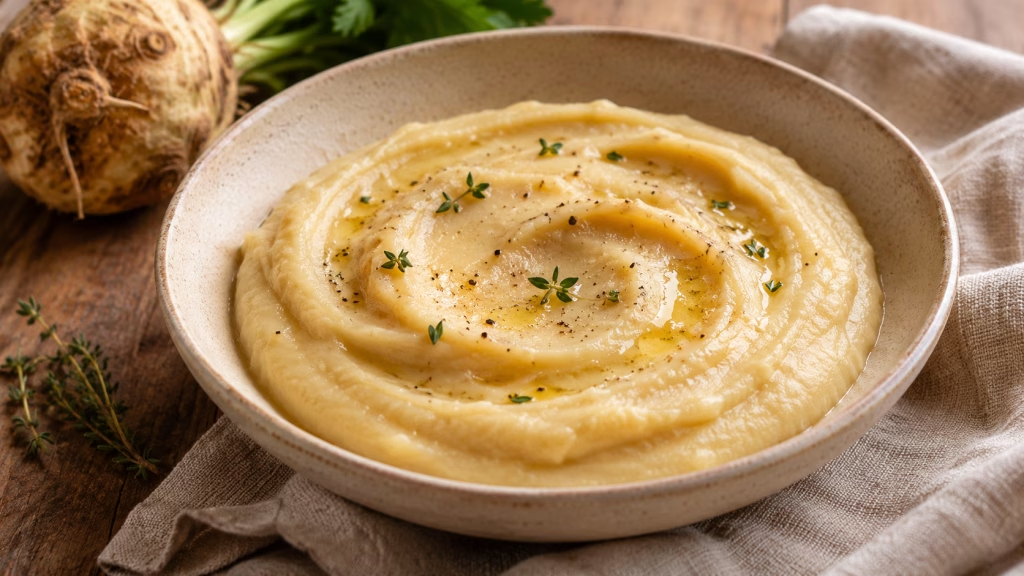
That knobbly celeriac at the market does not look like the beginning of a silky side dish. Beneath its rough skin, though, the pale flesh has a gently celery-like flavor that becomes rounder and sweeter when cooked. This celeriac puree starts with a little browning before a gentle simmer, so the finished bowl tastes of the vegetable rather than simply of butter.
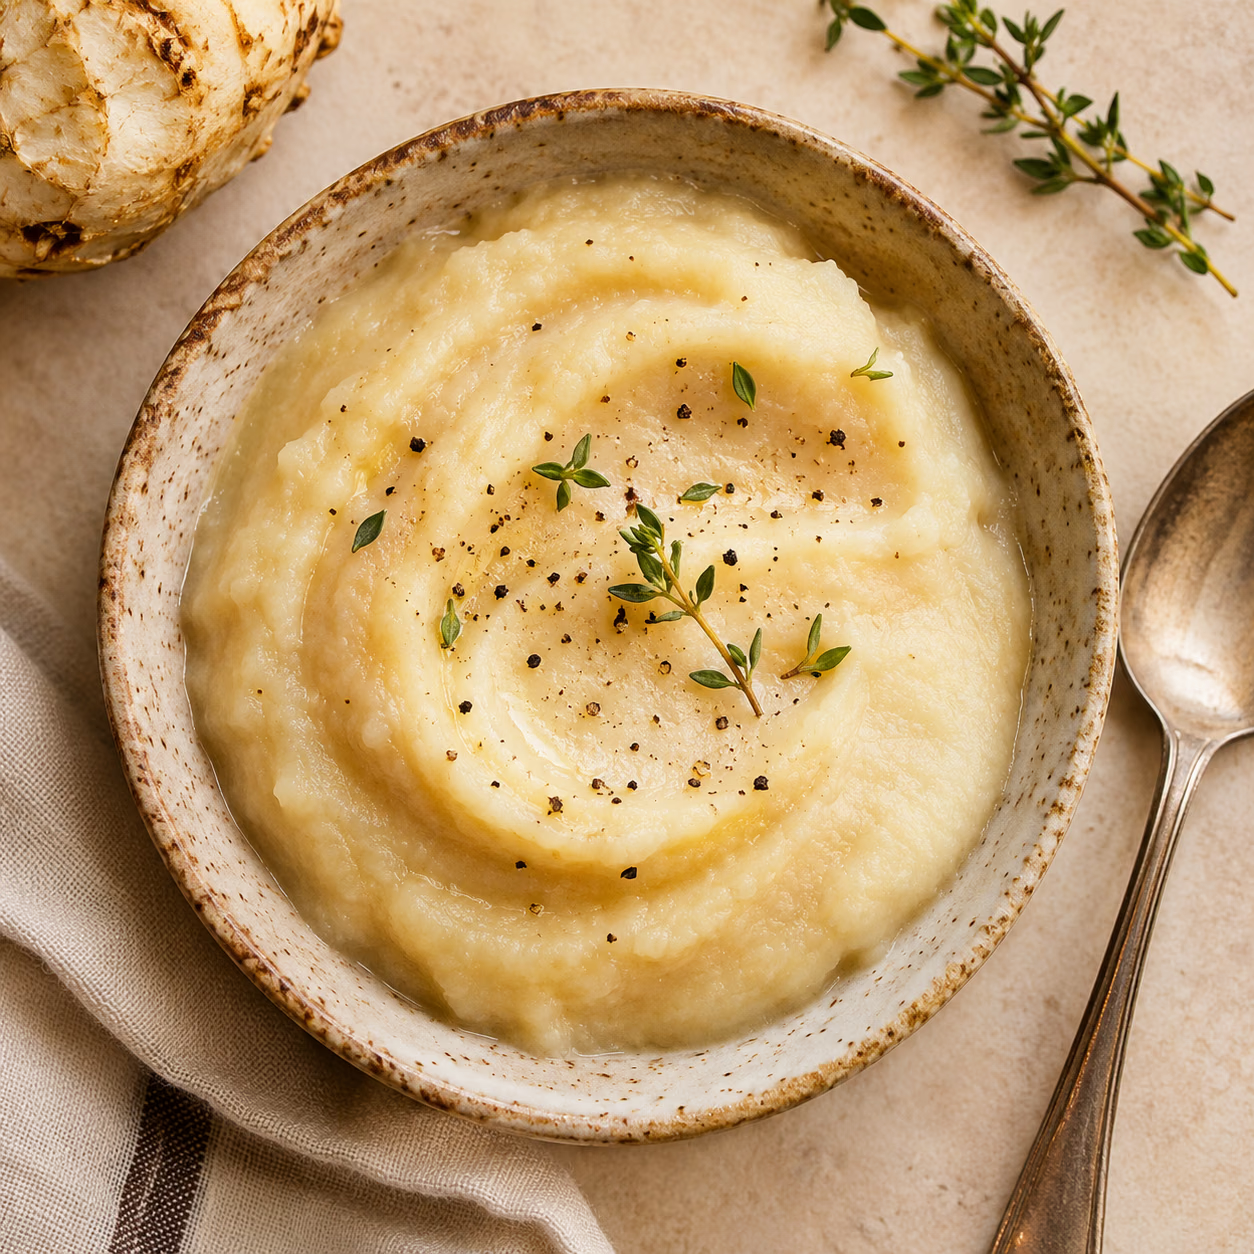
For a smooth celeriac puree, let the cubes become completely tender before blending, and add the cooking liquid gradually. Golden edges bring flavor; patient simmering brings the silky texture.
I prefer a spoonable puree that holds a soft swirl, not a stiff mound. A modest amount of milk and butter helps it get there without burying that distinctive earthy flavor. There are no potatoes in this version, and the main ingredient deserves to remain recognizable. Choose a firm, heavy root, trim away the rough exterior, and weigh the peeled flesh so the liquid proportions stay useful.
Serving Suggestions for Celeriac Puree
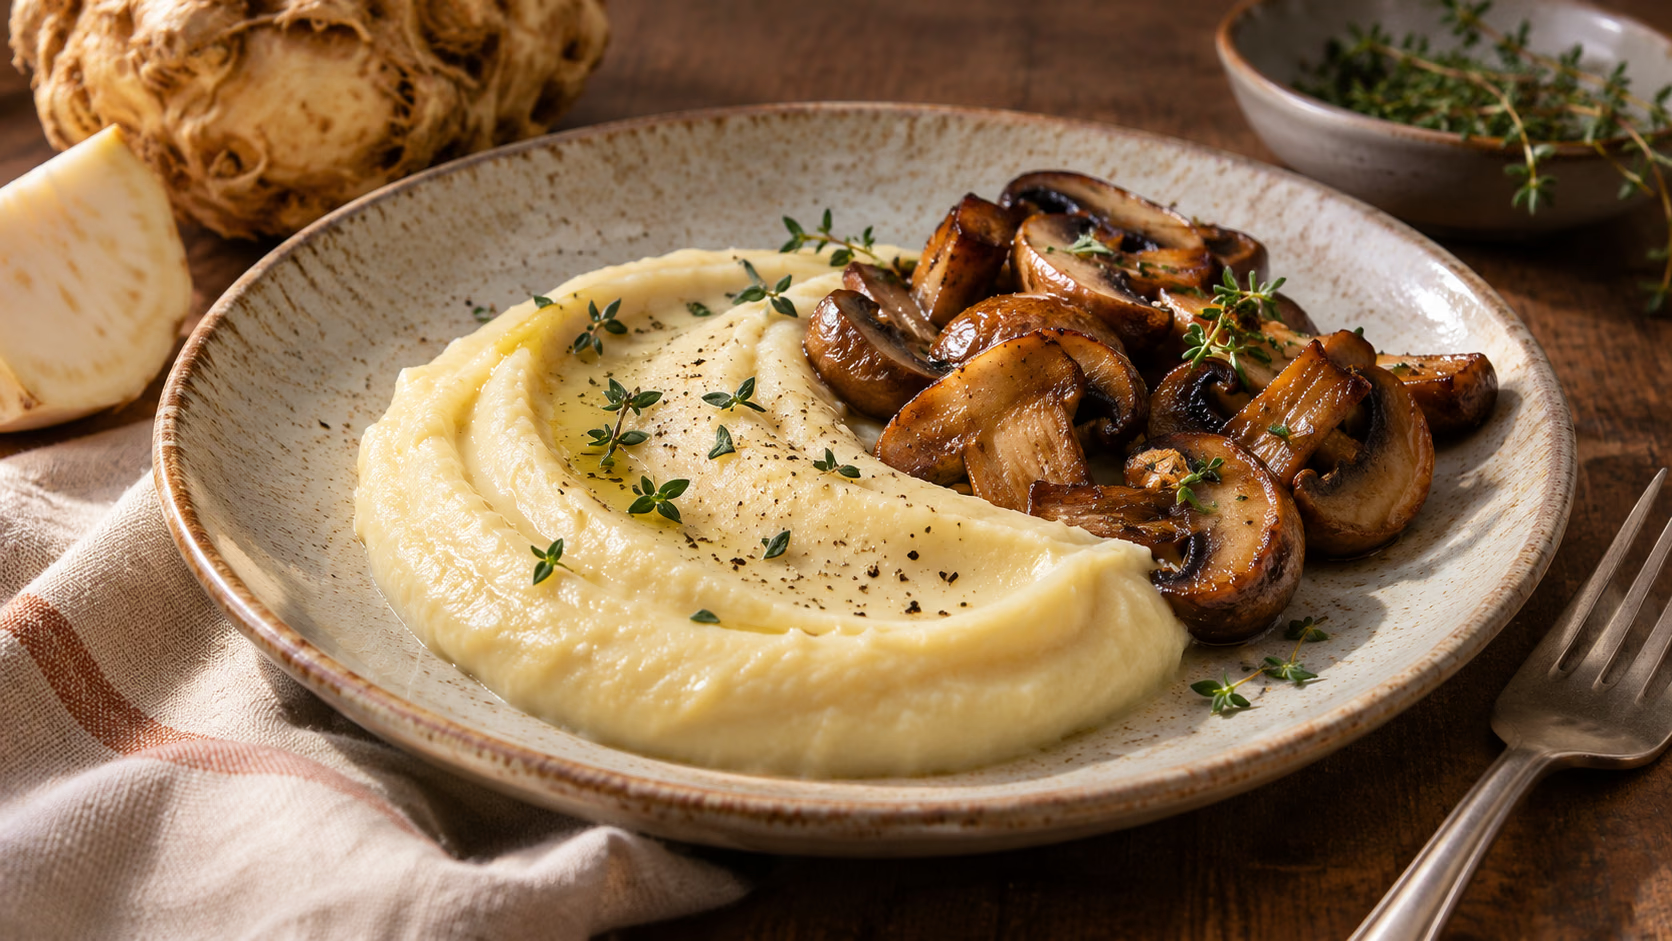
Think of this as the soft landing for the rest of dinner. Spoon it beneath roasted mushrooms, alongside chicken, or next to simply cooked fish. A crisp green vegetable or sharply dressed salad makes a particularly good partner: a whole plate of soft food can feel a little sleepy, however comforting the puree may be.
- For a vegetarian plate, add roasted mushrooms and cooked lentils, then finish with a little chopped parsley.
- For a Sunday dinner, pair a modest scoop with roast chicken and green beans; let the pan juices season the plate.
- For contrasting vegetable sides, try roasted fennel or a small helping of braised red cabbage with apples.
Warm bowls help keep the puree pleasant while you bring everything else to the table. If dinner runs late, hold it briefly over very gentle heat and stir in a splash of milk or water if it thickens. Avoid vigorous boiling once it is blended; spluttering puree is not the kitchen decoration anyone requested.
Give the creamy side one contrasting companion: something crisp, juicy or pleasantly sharp keeps each bite interesting.
Celeriac Puree Variations
Keep the first batch simple enough to learn what the vegetable tastes like. I would choose thyme rather than a strong spice blend here, because a little herbal lift is enough. If you want to change direction, use the guide below and adjust the seasoning only after the puree is smooth.
| Change | What to expect | Useful adjustment |
|---|---|---|
| Olive oil instead of butter | A fruitier finish | Use a mild oil so celeriac remains prominent |
| Unsweetened plant milk | Flavor depends on the milk | Avoid vanilla or sweetened varieties |
| A little lemon zest | A brighter aroma | Add after blending and taste before adding more |
| Finely chopped chives | A fresh onion note | Sprinkle on at serving, rather than blending in |
A food processor may leave a slightly more rustic result than a strong blender, which is perfectly usable. Whichever appliance you choose, follow its hot-food guidance. Do not seal steaming puree in a personal blender. Add liquid in small increments: it is easy to loosen a thick puree, but much less convenient to rescue a soupy one.
Change one element at a time, and keep enough restraint that the celeriac still tastes like celeriac.
Health Benefits and Everyday Balance
Celeriac contributes fiber and minerals to the meal; milk adds some protein and calcium. The USDA celeriac entry describes the raw ingredient, not a finished butter-and-milk puree. The card estimate accounts for the actual ingredients and six portions, so it is more useful than treating the vegetable’s raw calorie count as the entire dish.
- This is a vegetable side, not a complete meal. Add a protein source and another vegetable or grain according to your appetite.
- Butter and whole milk contribute saturated fat. Smaller portions or a suitable unsweetened alternative can change the balance without making either version morally better.
- Celery and milk allergies matter here. A potato-free recipe is not automatically suitable for every diet or allergy.
For leftovers, follow USDA guidance: refrigerate promptly and use within three to four days. Store in a shallow covered container, then reheat thoroughly while stirring. Add only enough liquid to restore the texture, rather than turning the leftovers into soup by accident.
Enjoy the flavor and useful vegetable variety without asking one side dish to do the work of an entire eating pattern.
Bottom Line
Celeriac puree is worth making for its gentle celery flavor and silky texture. Brown lightly, cook until truly tender, and blend with a measured hand on the liquid. Those small decisions matter more than an elaborate garnish.
Celeriac Puree Recipe

Ingredients
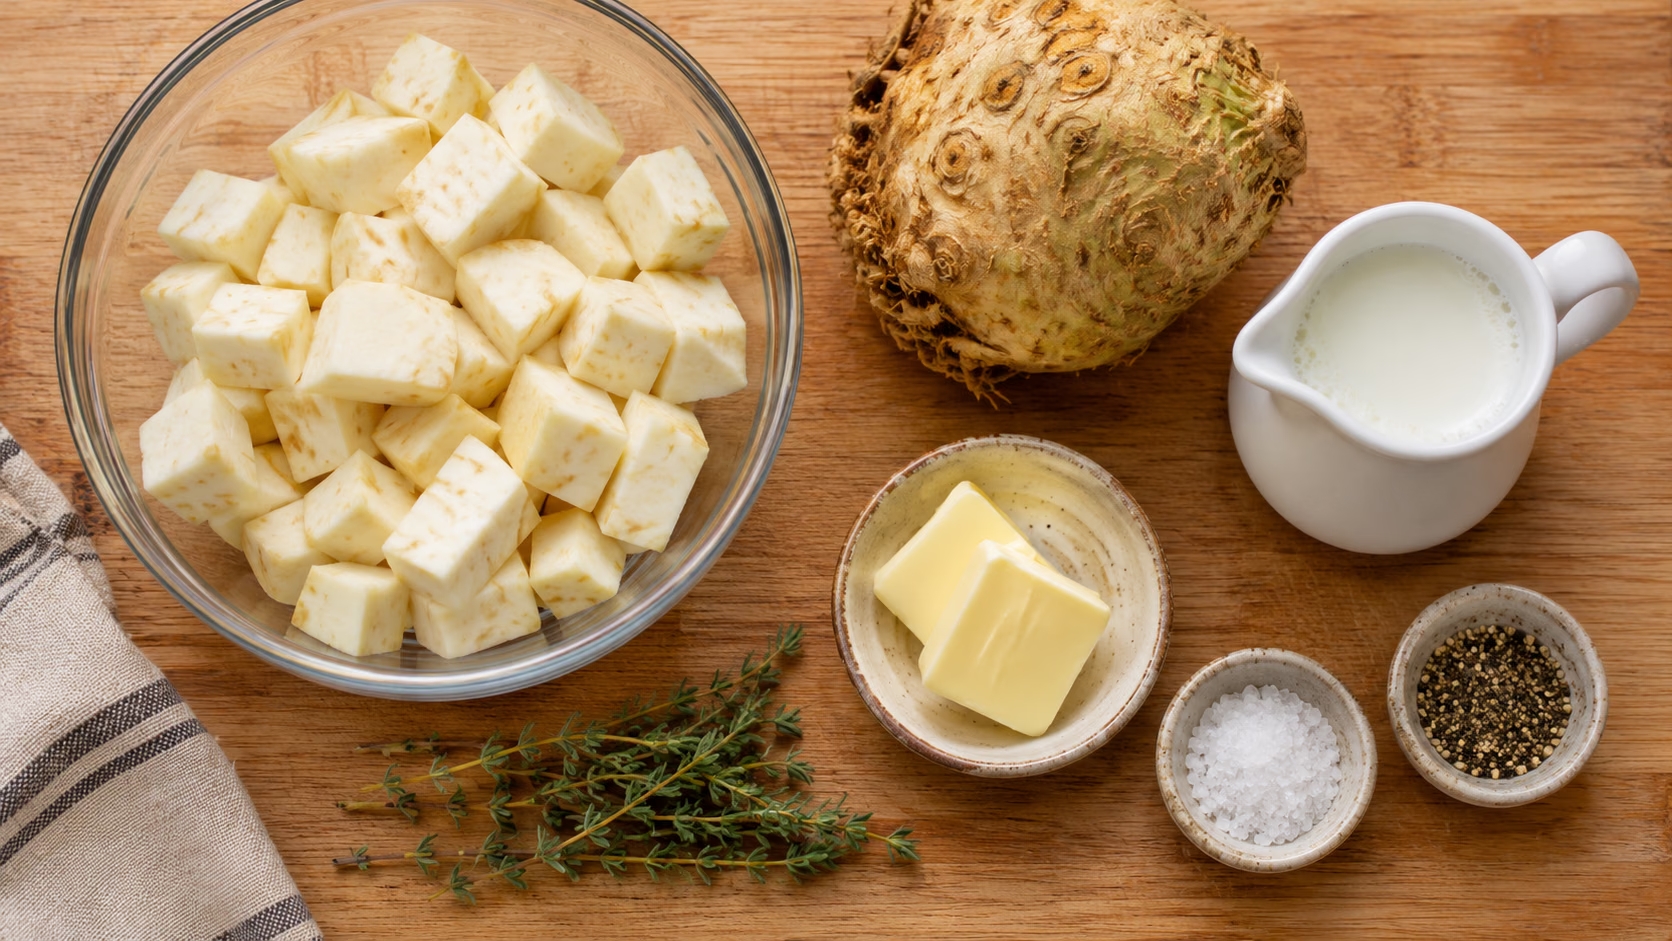
- 800 g peeled celeriac cut into 1/2-inch cubes; buy about 1 kg whole
- 30 g unsalted butter
- 250 ml whole milk
- 200 ml water plus more only if needed
- 1/2 teaspoon fine salt
- 1/4 teaspoon black pepper
- 1/2 teaspoon fresh thyme leaves
Equipment
- Chef’s knife
- Cutting board
- Wide saucepan with lid
- wooden spoon
- Heat-safe blender
Instructions
- Scrub the celeriac, trim the ends and stand it securely on a cut side. Slice away the rough skin with a sharp knife, then weigh 800 g of peeled flesh and cut into even 1/2-inch cubes.
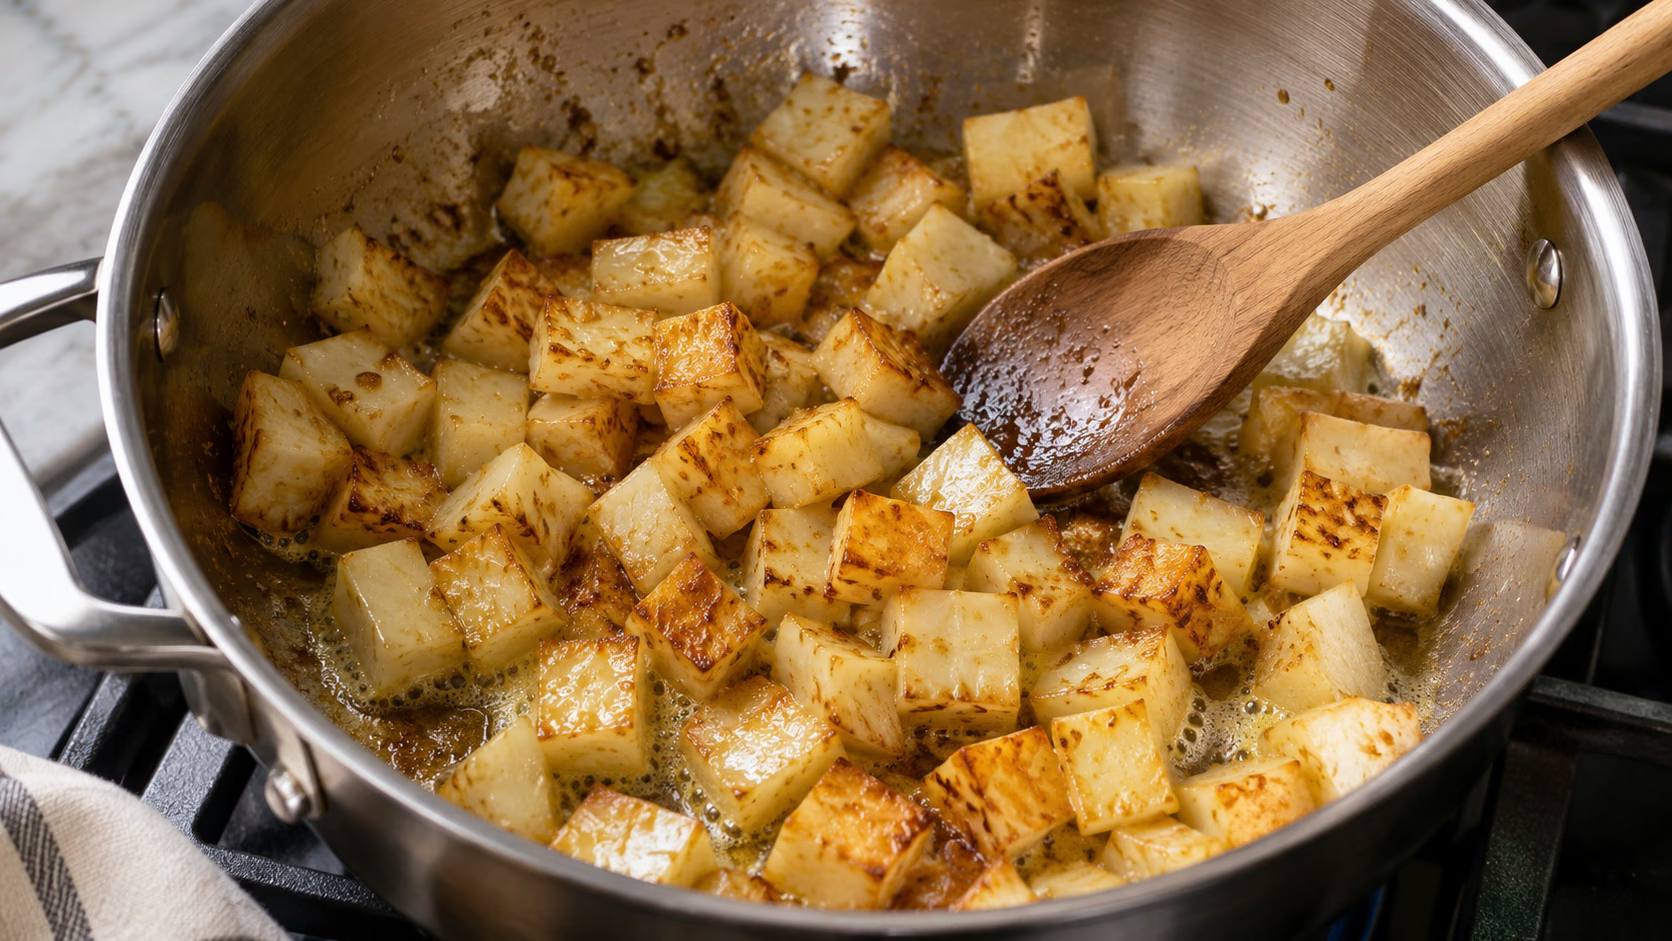
- Melt the butter in a wide saucepan over medium heat. Add the celeriac and cook for 10–12 minutes, stirring occasionally, until several faces are golden. Lower the heat if the butter begins to darken too quickly.
- Carefully add the milk, water, salt and pepper. Bring to a gentle simmer, cover partly and cook for 20–25 minutes, stirring occasionally, until a knife slides through the cubes without resistance. Add a splash of water if the pan starts to dry.
- Remove from the heat. Transfer the tender celeriac to a heat-safe blender with some cooking liquid. Blend according to the appliance’s hot-liquid instructions, in small batches with a vented lid if required. Never seal hot food in a personal blender. Add the remaining liquid gradually until silky and spoonable; you may not need it all.
- Return to the saucepan and warm gently if needed. Taste and adjust the seasoning, then finish with thyme. Serve warm; mushrooms pictured alongside are a serving suggestion, not part of the recipe.
Nutrition
Video
Notes
Tried this recipe?
Let us know how it turned out!Hi, I’m Laura, the voice behind Tastiva. I’ve always believed that eating well should feel enjoyable, comforting, and realistic—not like another complicated rule to follow. I love creating recipes that fit into everyday life, sharing simple nutrition ideas, and finding small ways to make meals feel a little better without losing the pleasure of good food.