
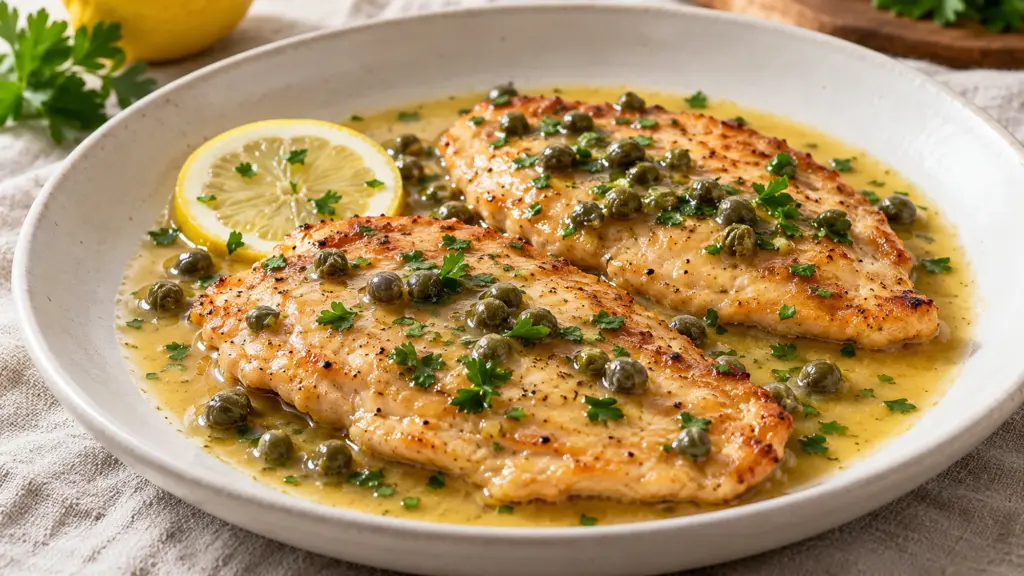
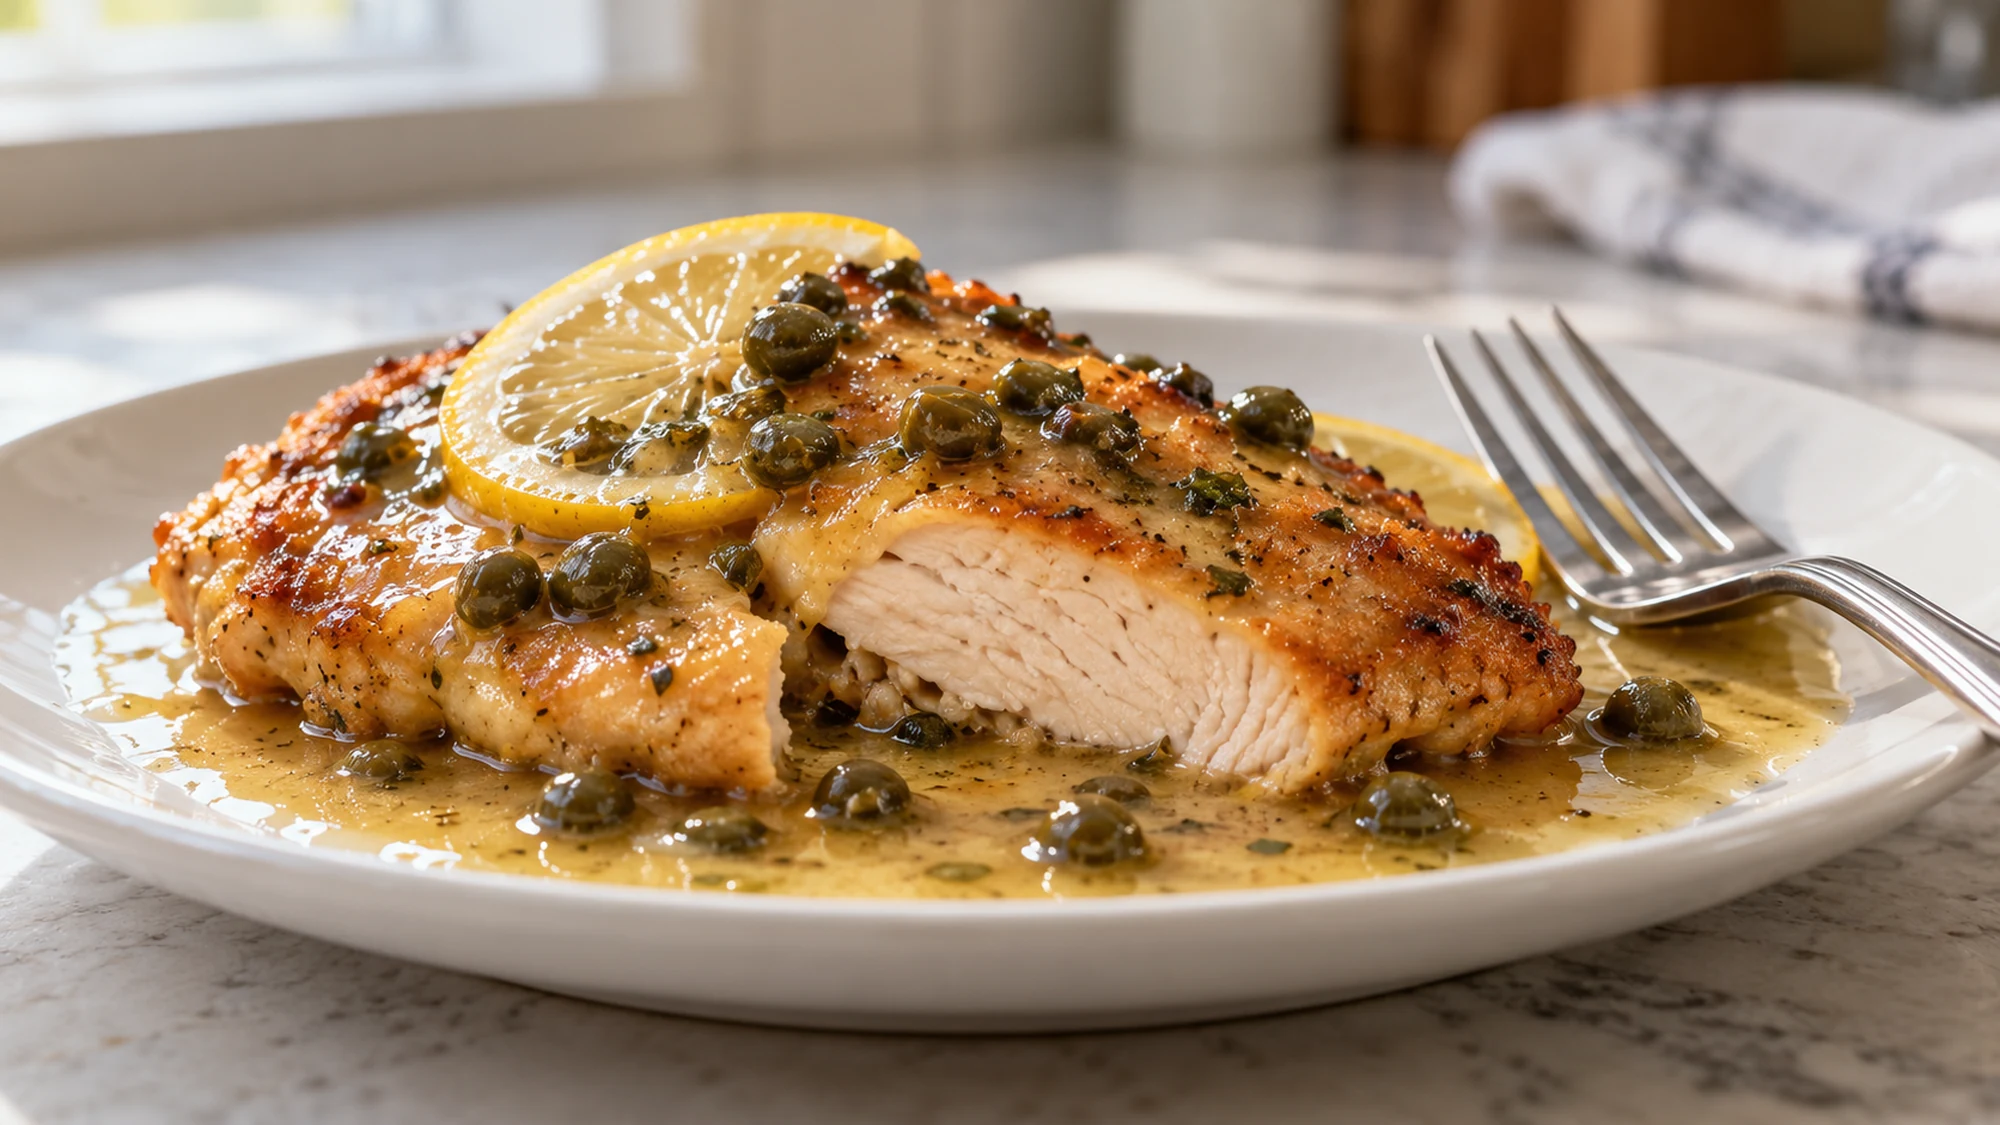
Chicken piccata gives a plain chicken breast a very good reason to come out of the refrigerator: a golden coating, a spoonful of lemon-butter sauce, and little salty bursts of capers. This version makes four servings in about 30 minutes. It is a skillet dinner, not a baking project, so set out the sauce ingredients before you start cooking.
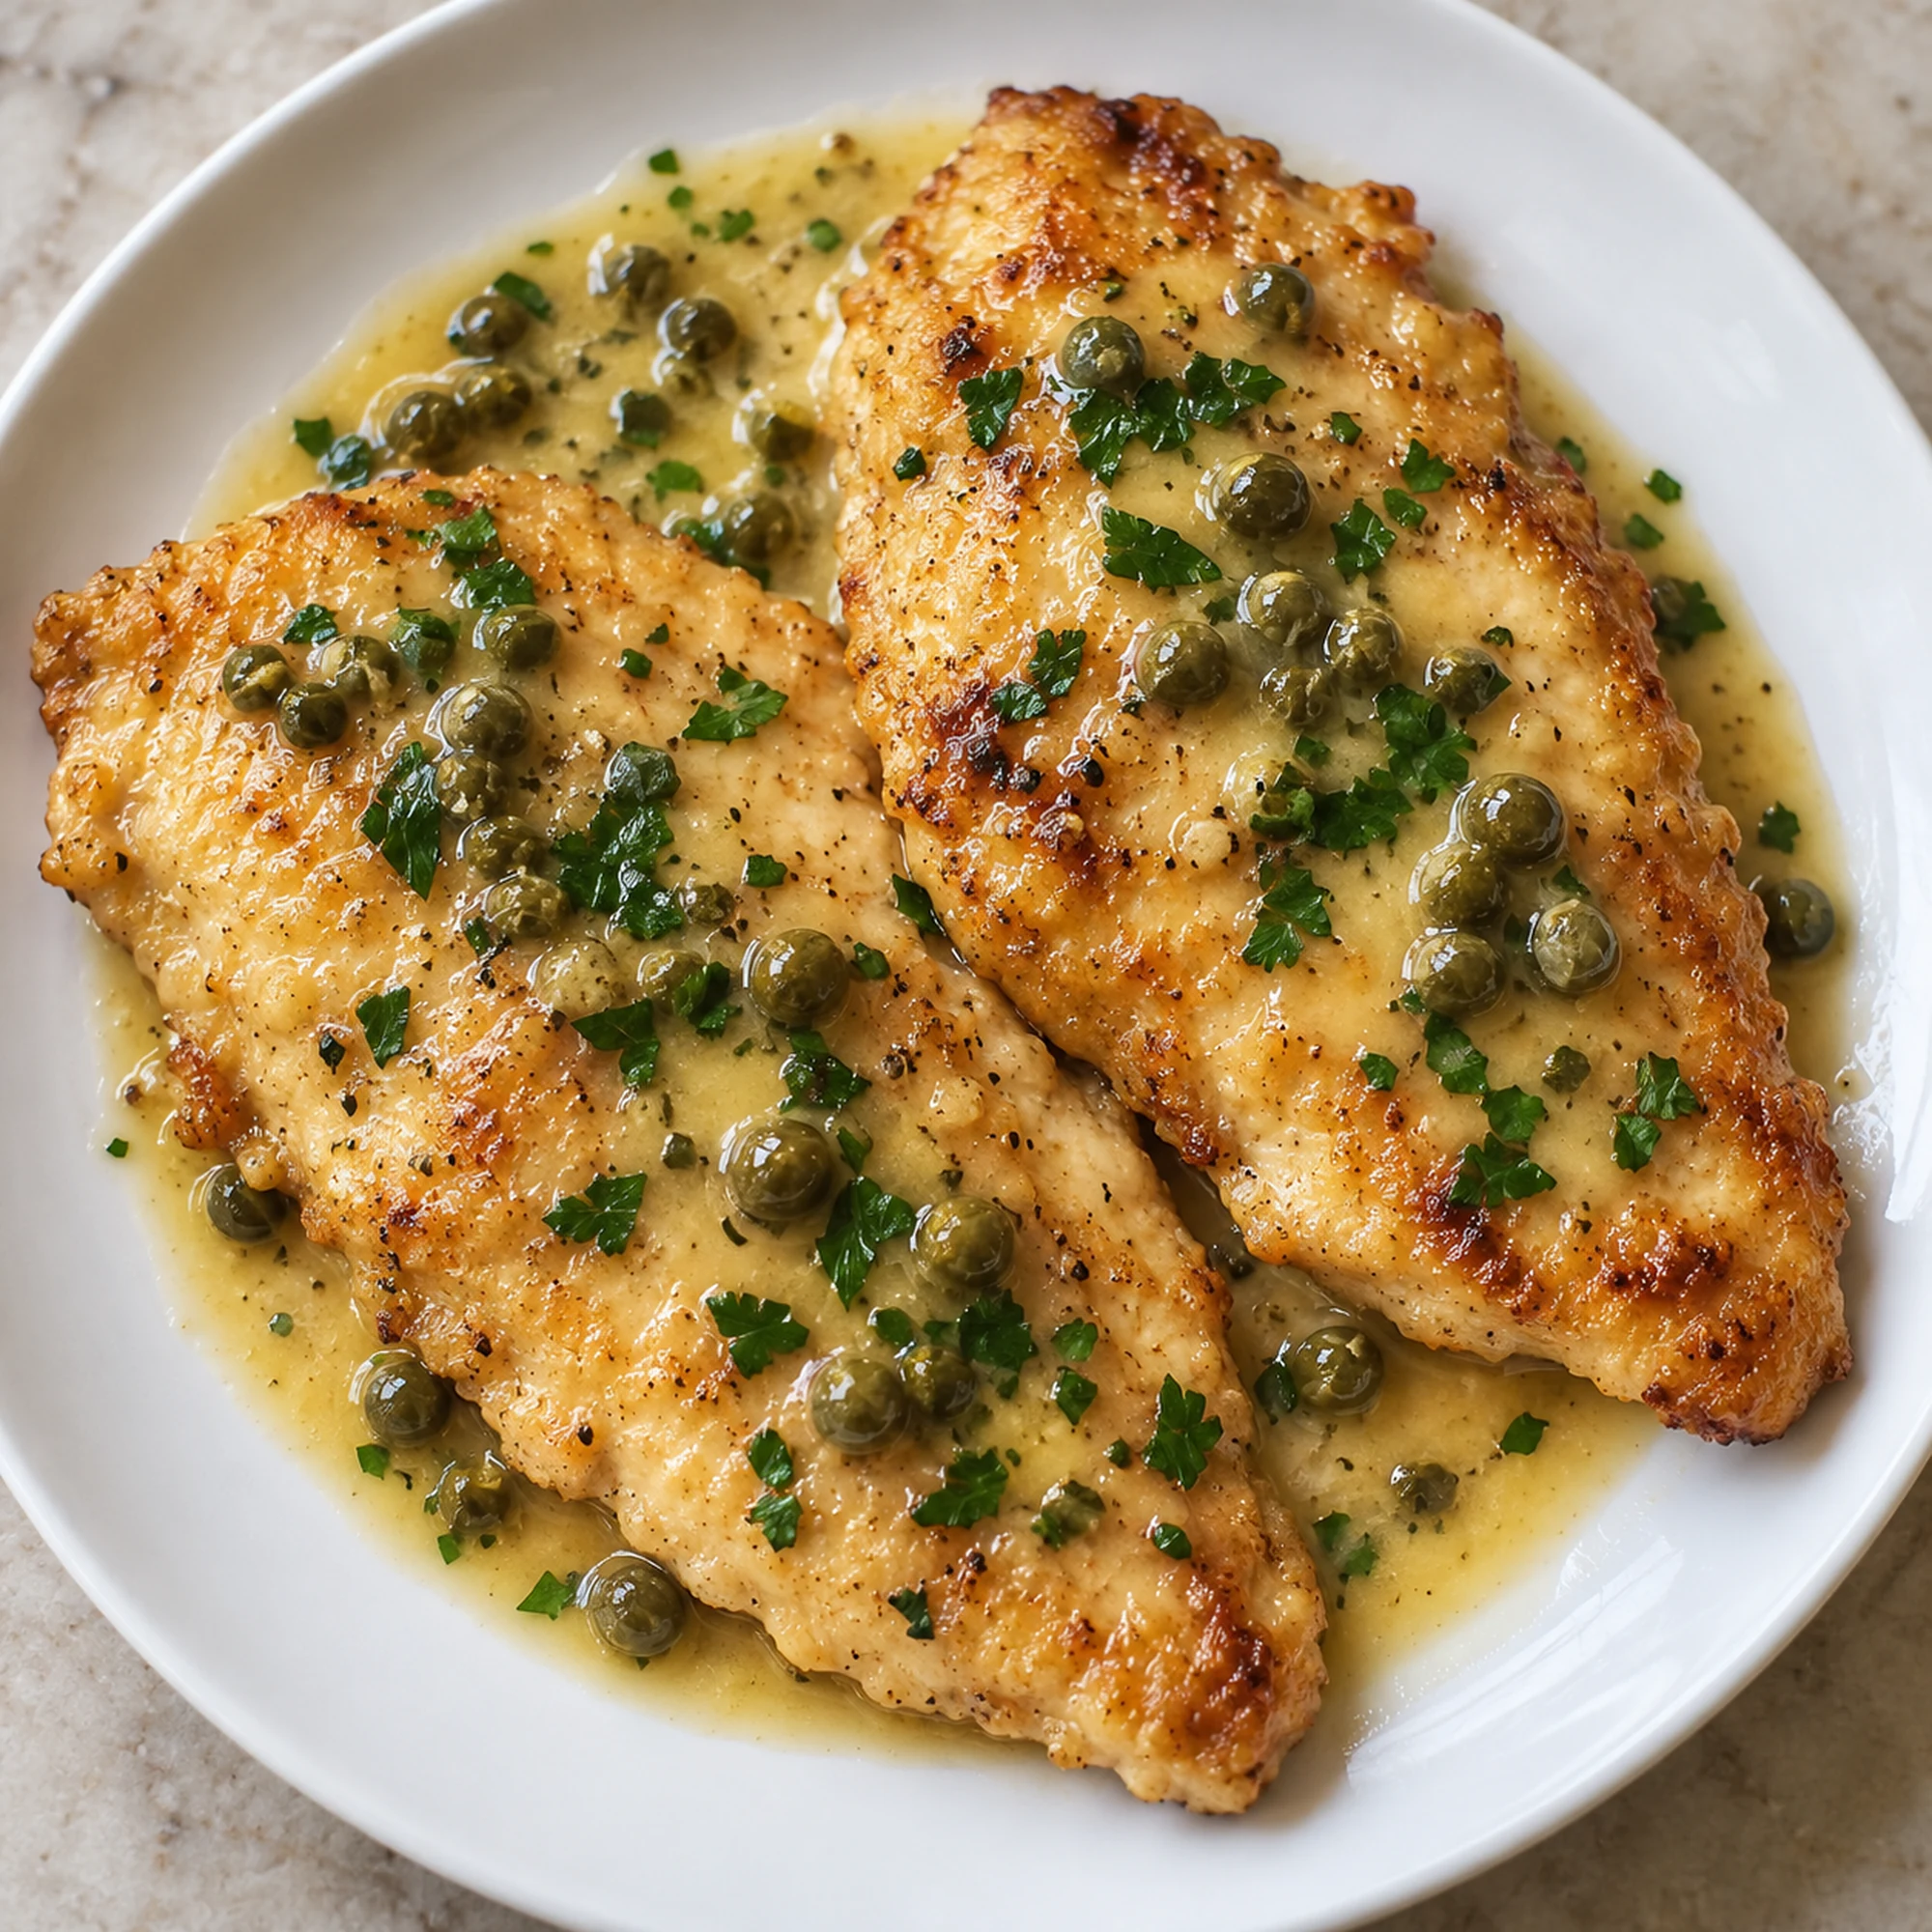
Thin, evenly sized cutlets matter more than a fierce flame. They brown quickly, cook evenly, and leave enough time to make the sauce without drying out the chicken.
Cut each breast horizontally to make two broad cutlets, then gently flatten thicker areas. Pat the chicken dry before the light flour coating; a heavy, patchy layer can turn pasty in the sauce. Keep the raw-chicken plate separate from the clean plate you will use for cooked pieces.
How to Serve Chicken Piccata
A modest mound of tender brown rice, orzo, or mashed potatoes catches the lemon sauce without competing with it. Start that side first, because the chicken needs your attention once it reaches the pan. A plain green vegetable gives the plate some contrast; roasted frozen broccoli, green beans, or quickly wilted spinach all work. I prefer a plain grain here because the lemon and capers already give the plate a clear direction.
- For a simple supper, add steamed green beans and rice.
- For a smaller appetite, slice one cutlet and serve it over a generous salad, with bread alongside.
- For guests, use warm plates and pass extra lemon wedges separately so each person can adjust the sharpness.
Taste the sauce before adding more salt. Capers bring their own brine, and reducing the liquid concentrates it. If the sauce tastes too sharp, a tablespoon or two of water softens the intensity without making the dish sweet. If it seems oily, take the pan off the heat and swirl in a small splash of warm water.
Serve the chicken as soon as the sauce is ready. Spoon sauce around the cutlets and a little over the top, rather than leaving them to sit submerged.
Useful Variations and Small Fixes
Dry white wine adds another layer to the sauce, but chicken stock works when you would rather cook without alcohol. Start with less lemon juice in that version and add more after tasting. Wine does not become reliably alcohol-free simply because it has simmered briefly. I’d keep extra lemon on the table so a milder portion stays an option.
| What you need | What to change | What to expect |
|---|---|---|
| No wine | Use the same volume of unsalted chicken stock | A rounder, less aromatic sauce |
| Less tang | Begin with half the lemon juice | Add the remainder only after tasting |
| No capers | Use a small spoonful of chopped green olives | A different, stronger olive flavor |
| Sauce too thick | Swirl in water one tablespoon at a time | A looser sauce that still coats a spoon |
For gluten-free cooking, use a suitable gluten-free flour blend for dredging and check the stock label. Use clean equipment if cross-contact matters. Avoid adding the cooked chicken back to a vigorously boiling sauce: it only needs a brief warm-through after the butter has been worked in.
Treat substitutions as changes in flavor, not promises of an identical result. Keep the thin cutlets and gentle final simmer; those are the parts worth preserving.
Nutrition and Sensible Leftovers
Chicken supplies protein, while the butter and oil make the sauce rich and satisfying. This is not a low-fat dish, and capers, stock, and added salt affect its sodium. Pairing it with vegetables and a grain makes a more varied meal without requiring a different chicken recipe.
Use a thermometer rather than the color of the crust: FoodSafety.gov lists 165°F for chicken. Refrigerate leftovers promptly in a shallow covered container. Follow USDA leftover guidance: refrigerate within two hours, keep for three to four days, and reheat to 165°F. Add a splash of water when reheating gently so the sauce does not dry out.
The useful health choice here is a balanced plate and safe handling, not a promise that lemon sauce will detox, boost immunity, or cancel out another ingredient.
Bottom Line
Chicken piccata rewards a little preparation: even cutlets, measured sauce ingredients, and a clean plate ready beside the stove. Keep the coating light, check the chicken temperature, and finish the sauce gently. You get bright flavor and a golden crust without a long ingredient list or an oven full of pans.
Chicken Piccata Recipe

Ingredients
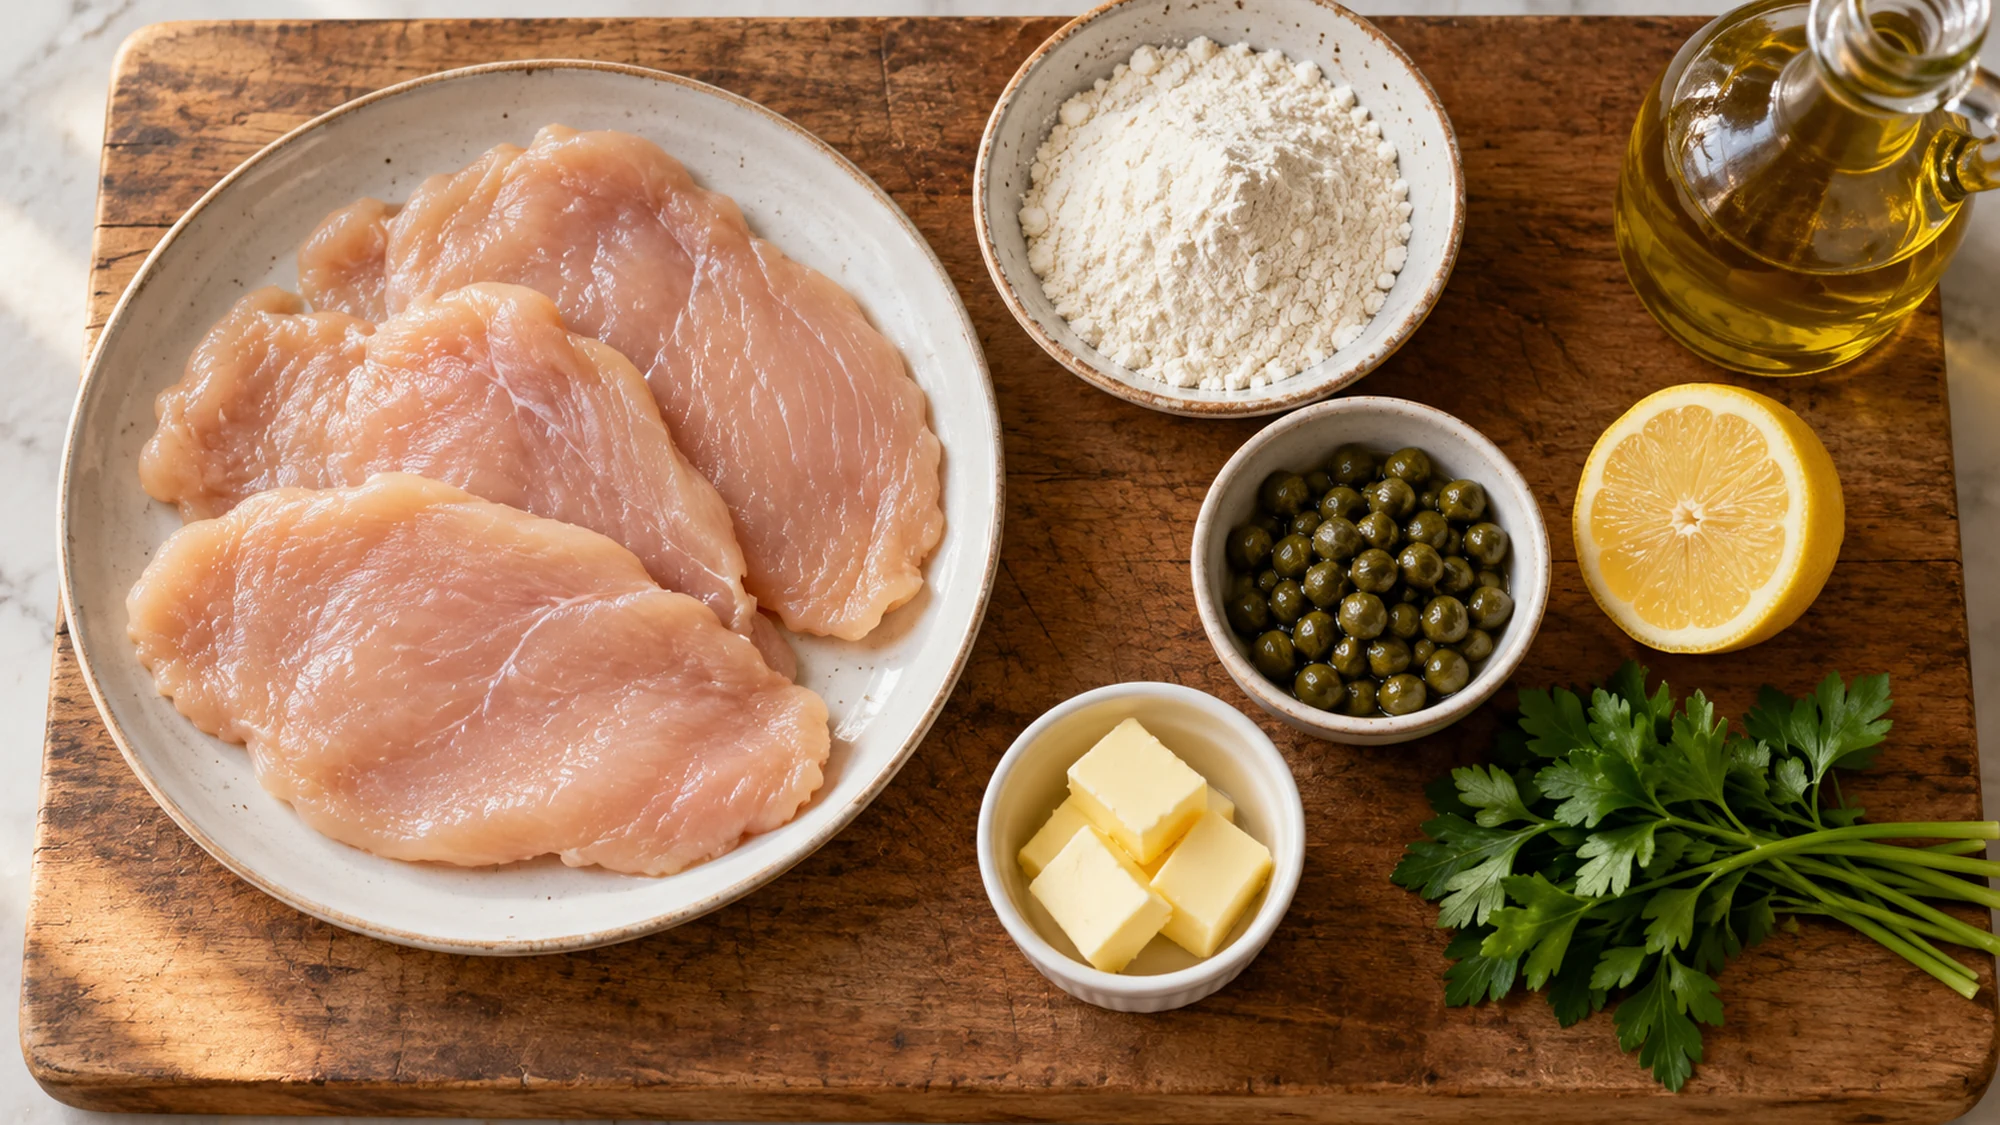
- 600 g boneless skinless chicken breasts 2 large breasts, halved horizontally into 4 cutlets
- 1/2 teaspoon fine salt about 3 g
- 1/4 teaspoon black pepper
- 1/4 cup all-purpose flour 30 g, for a light dredge
- 2 tablespoons olive oil 30 ml
- 1 tablespoon capers drained, about 9 g
- 1/2 cup dry white wine 120 ml; see notes for stock alternative
- 2 tablespoons fresh lemon juice 30 ml, plus more to taste
- 1/4 cup unsalted chicken stock 60 ml
- 3 tablespoons unsalted butter 42 g, cold and cubed
- 2 tablespoons fresh parsley finely chopped
Equipment
- 1 Large skillet 12-inch
- 1 Food thermometer
- 1 Meat mallet or rolling pin
Instructions
- Slice each breast horizontally into 2 cutlets. Flatten thick spots to about 1/2 inch. Pat dry, season with salt and pepper, then lightly coat with flour and shake off the excess. Discard flour that touched raw chicken.
- Heat the oil in a large skillet over medium-high heat. Add chicken in one layer, working in batches if needed. Cook about 3–4 minutes per side until golden and the thickest part reaches 165°F (74°C). Transfer to a clean plate.
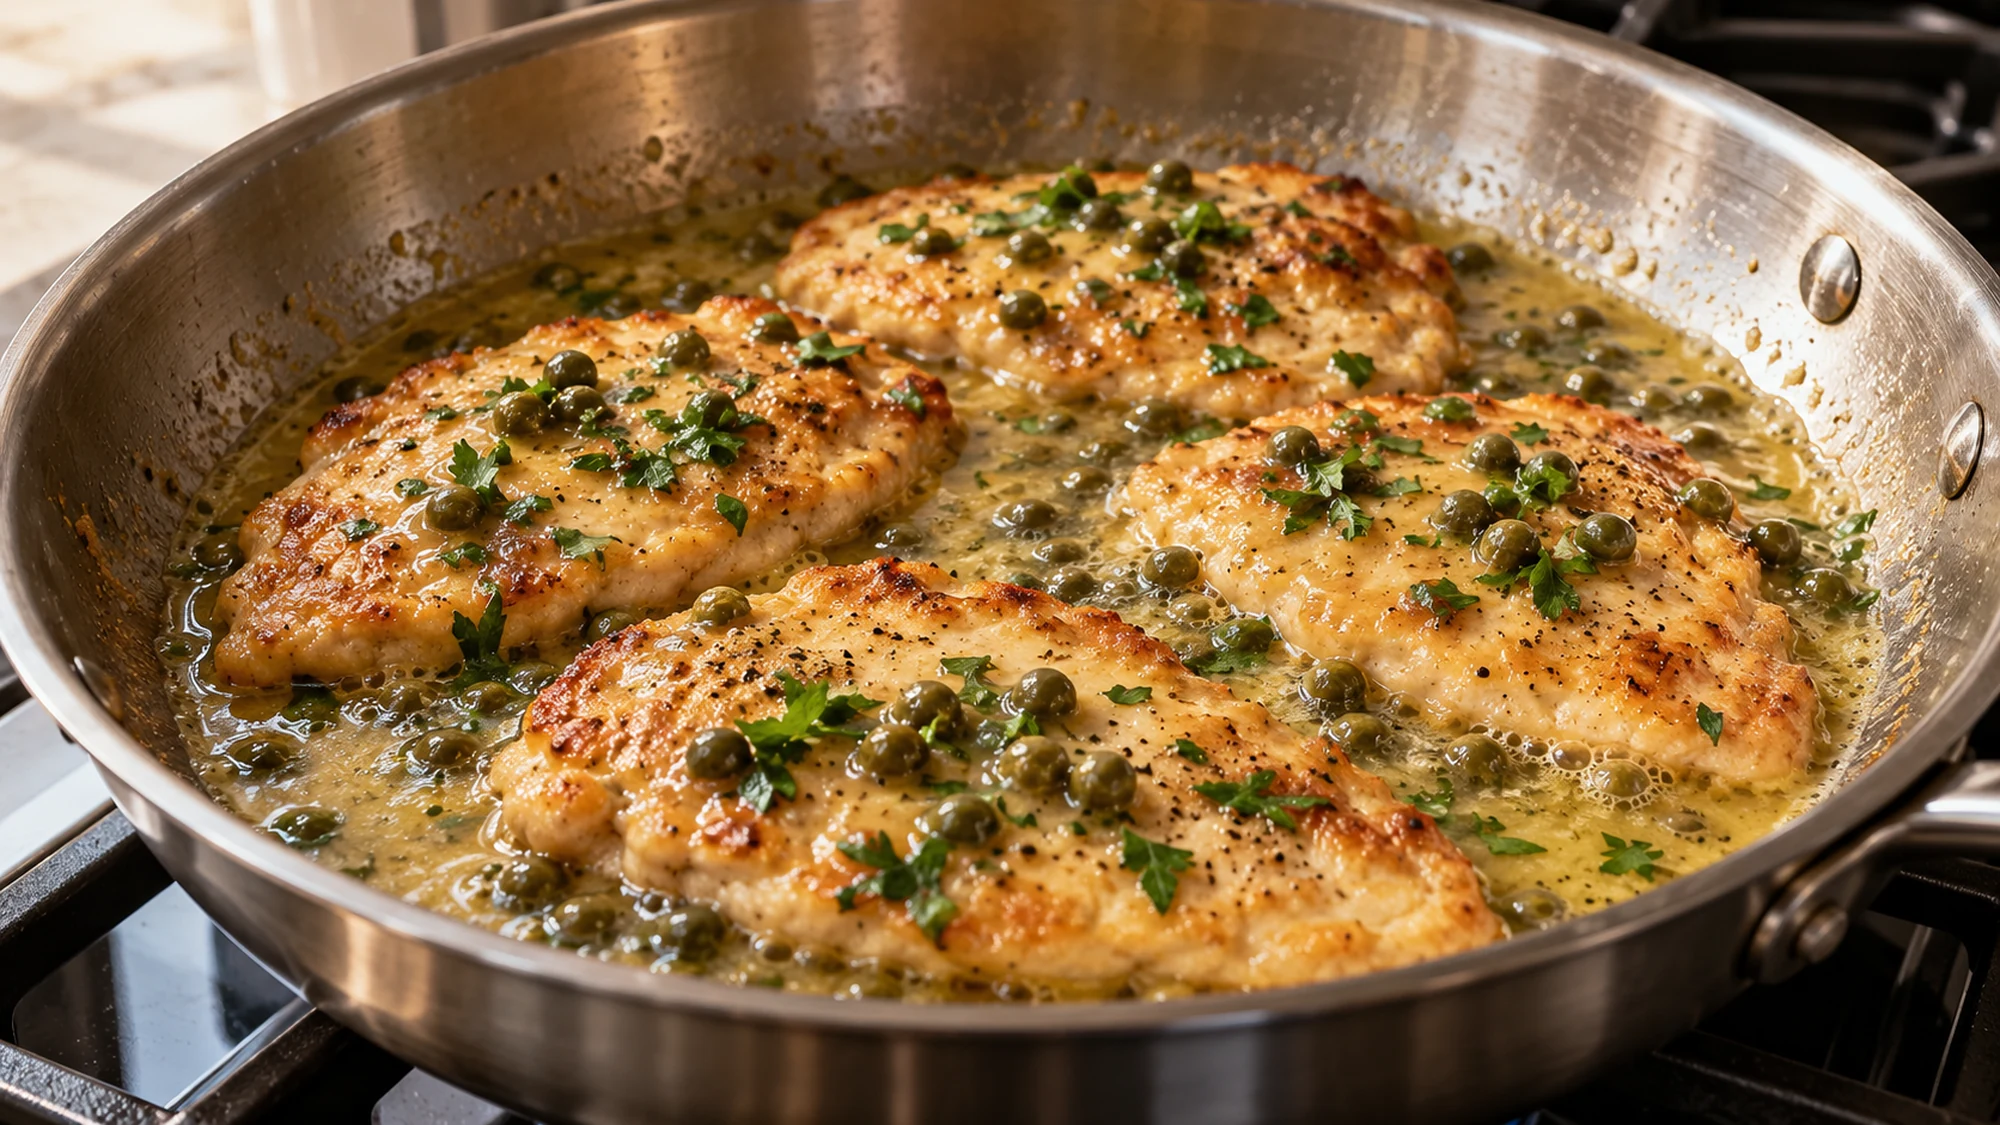
- Reduce the heat to medium. Add drained capers and stir for 30 seconds. Carefully pour in wine, lemon juice and stock. Scrape up golden pan bits and simmer 3–4 minutes, until the liquid reduces slightly.
- Turn the heat to low. Add cold butter a few cubes at a time, swirling the pan to make a glossy sauce. Avoid a hard boil after adding butter. Taste and add lemon juice or a splash of water as needed.
- Return chicken and its juices to the pan for 1–2 minutes, just to warm through. Sprinkle with parsley. Divide chicken and sauce among 4 plates and serve promptly.
Nutrition
Video
Notes
Tried this recipe?
Let us know how it turned out!Hi, I’m Laura, the voice behind Tastiva. I’ve always believed that eating well should feel enjoyable, comforting, and realistic—not like another complicated rule to follow. I love creating recipes that fit into everyday life, sharing simple nutrition ideas, and finding small ways to make meals feel a little better without losing the pleasure of good food.