
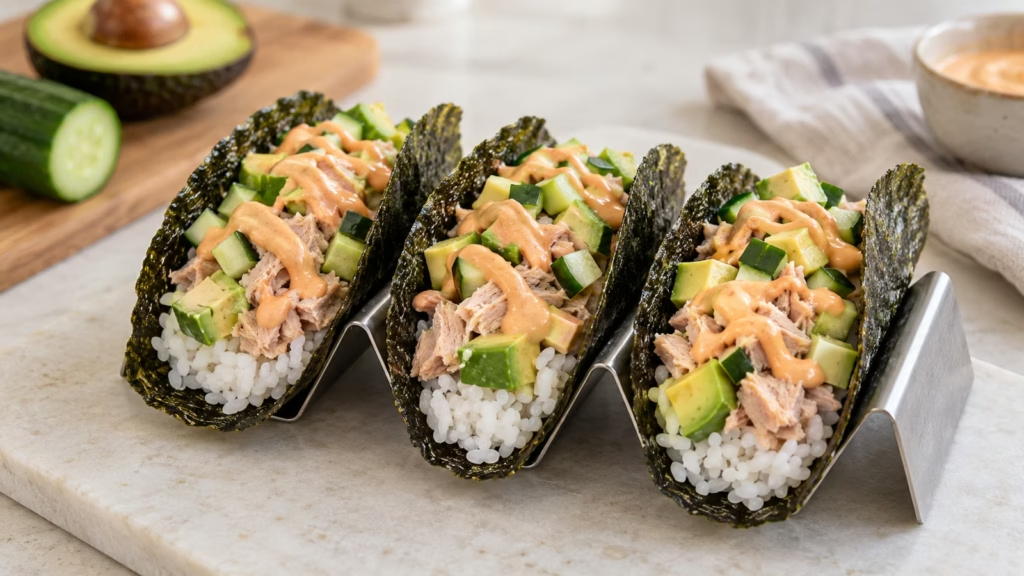
The first bite is the reason to make crispy nori sushi tacos: a dry, crackly edge against cool tuna, avocado and cucumber. The tricky part is keeping that contrast long enough to eat it. This version uses a thin layer of cooked rice to support the seaweed, then fills the shells at the last moment with fully cooked canned tuna.
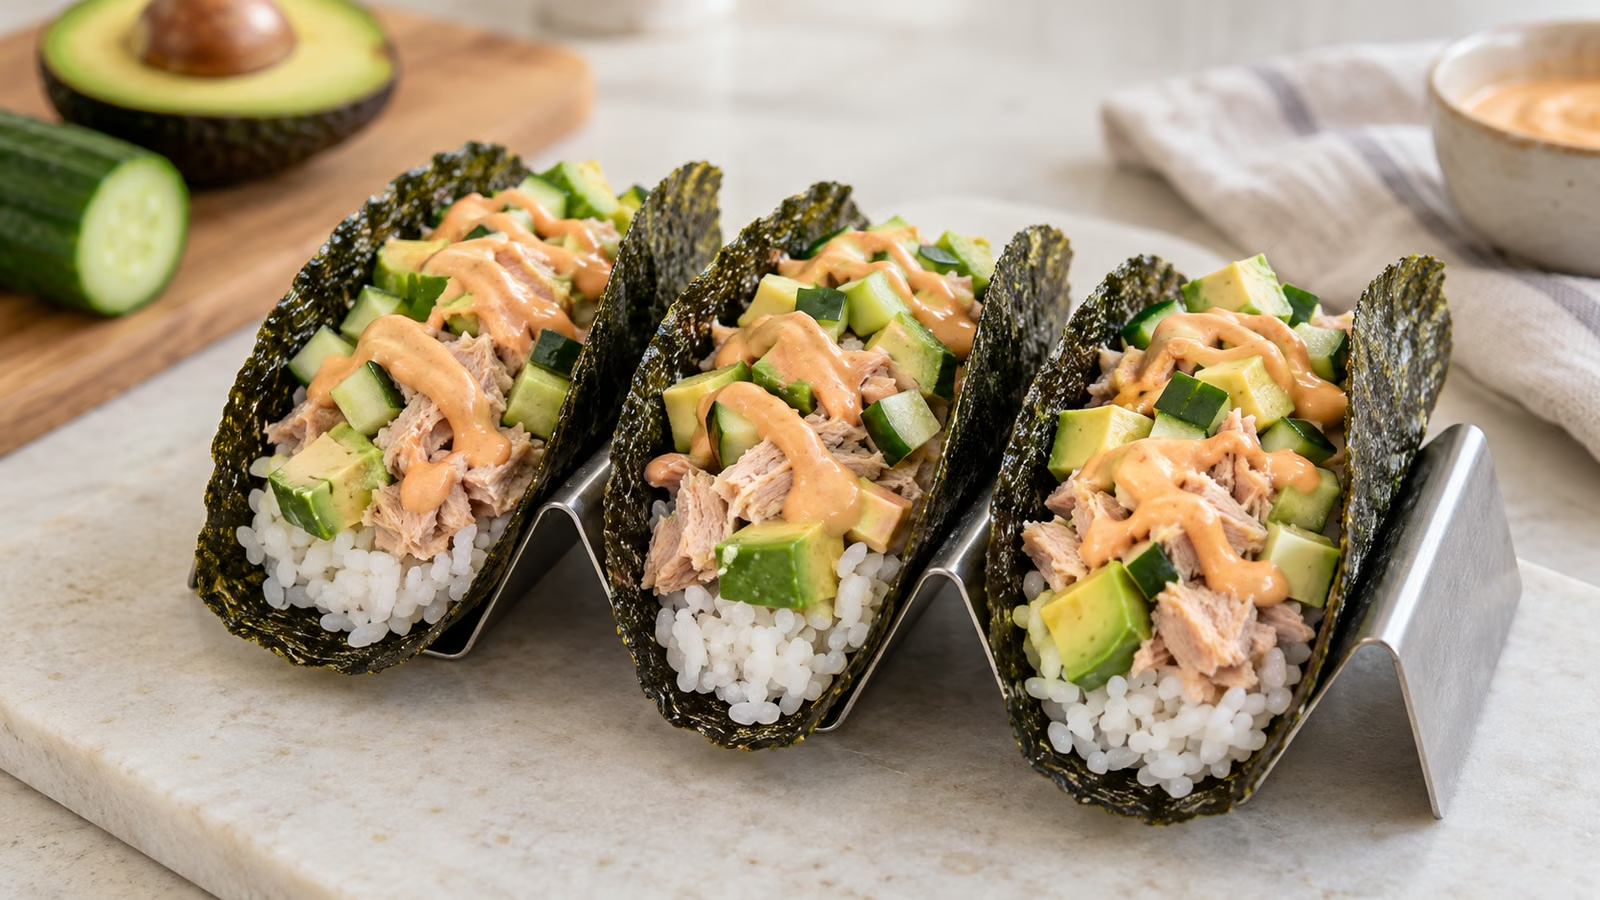
Keep the rice layer thin, support the shells while they crisp and save the moist filling until you are ready to sit down and eat.
How crispy nori sushi tacos hold their shape
These are sushi-inspired handheld shells, not corn tortillas wearing a seaweed costume. Rice clings to the nori and gives it some structure as the surface dries. The format has appeared in 2026 trend coverage, but the practical details matter more than a dramatic social-media crunch.
- Start with short-grain rice. Its stickiness helps the layer stay attached. Loose long-grain rice makes a less cohesive surface and is harder to spread thinly.
- Use a broad curve. A rounded U gives the filling room and is kinder to the nori than a sharp fold. Support the shape until it has cooled briefly.
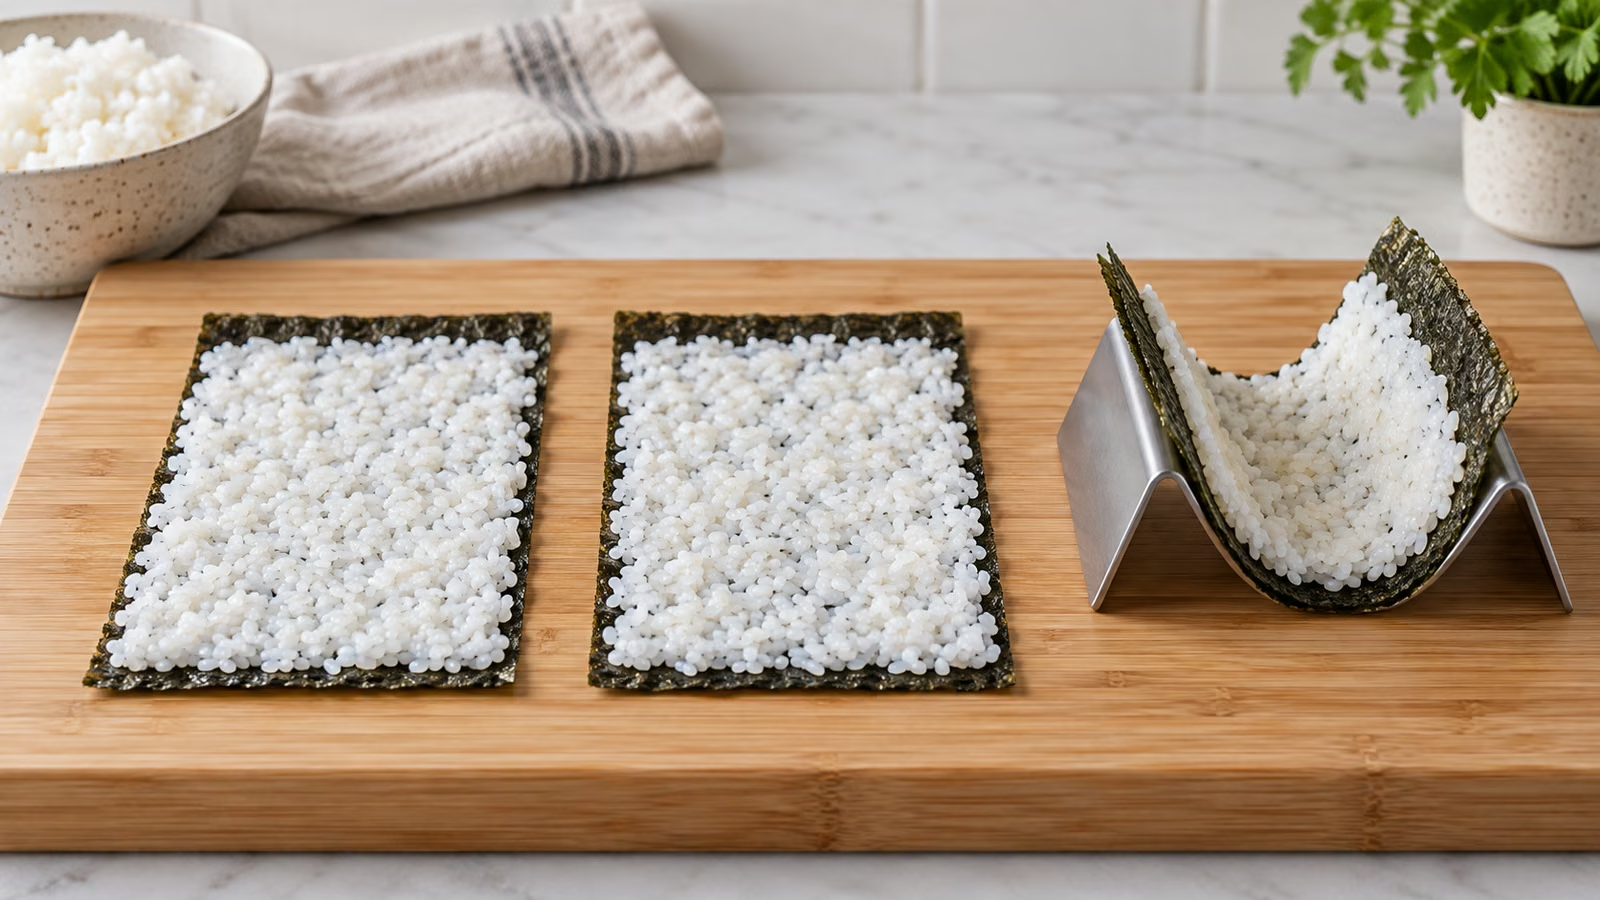
- Measure the rice. Each shell gets 50 grams. Thick mounds can remain chewy while the exposed seaweed edges darken, so spread evenly rather than piling it in the center.
- Expect delicate shells. These are best carried from plate to mouth, not packed tightly into a lunchbox. A small plate under your taco is sensible insurance.
A cooked-tuna filling keeps things straightforward
I would choose canned light tuna packed in water for this version. It is already cooked, easy to portion and ready once drained. Briefly salting or marinating raw fish is not a substitute for safe cooking, so there is no home-curing shortcut hidden in the instructions.
- Drain thoroughly. Excess packing liquid is the quickest route to a softened shell. Flake the tuna, then season it with the measured soy sauce.
- Dice the cucumber small. Small pieces tuck around the tuna rather than levering the shell apart. If the center is very watery, scoop out those seeds before weighing.
- Use ripe but firm avocado. It should yield enough to eat easily without turning into a slick layer of mash. Dice it close to serving for the freshest appearance.
- Drizzle, do not flood. The spicy mayonnaise connects the filling without filling the bottom of the shell. Offer extra separately if you want more heat.
The recipe makes three portions of two tacos. A simple vegetable side makes sense alongside them; another heavily dressed filling tends to hide the contrast you worked for.
Air-fryer checks that protect the shell
Nori and appliances vary, so watch the first batch rather than treating the timer as a guarantee. You want a drier rice surface and crisp edges, not scorched seaweed. I would rather give a pale shell another short interval than try to rescue one that tastes burned.
- Check the manual. Use foil only if your manufacturer allows it, and secure it with food. Keep it clear of the element and leave airflow paths open.
- Skip loose preheating foil. A fan can move light material. Put the supported, rice-covered shells in together, or use an appliance-compatible taco rack.
- Leave space. Overlapping shells trap moisture and can cook unevenly. Make another batch rather than stacking or wedging them tightly together.
- Cool while supported. Give the shells a short moment to firm before removing the mold. Pull gently instead of squeezing the rim.
Serve promptly, with a plan for extra filling
Have the tuna, vegetables and sauce ready before the last batch finishes. Fill only what you will eat right away, and keep the remaining components separate. The shells are a fresh-cooking project; the filling is the part that lends itself to advance preparation.
- Keep the cold ingredients cold. Refrigerate the tuna mixture and chopped vegetables at 40°F (4°C) or below until assembly. Cut the avocado last when possible.
- Chill within the safe window. Put perishable leftovers away within two hours, or one hour above 90°F (32°C). USDA guidance allows three to four days for properly handled leftovers; use these prepared fillings within three days.
- Store rice separately. Cool extra cooked rice promptly in a shallow container. Its original cooking date still matters if you use it in another batch.
- Read condiment labels. Soy sauce commonly contains wheat, while mayonnaise contains egg and nori products may have added seasonings. Check the exact products rather than assuming the seaweed shell makes the meal allergen-free. Tastiva’s soy-sauce label guide explains the distinction.
Crispy Nori Sushi Tacos Recipe

Ingredients
- 3 plain nori sheets about 7.5 g total
- 300 g cooked short-grain white rice about 1 3/4 cups
- 15 ml unseasoned rice vinegar 1 tablespoon
- 4 g granulated sugar 1 teaspoon
- 10 g canola oil about 2 teaspoons
- 200 g canned light tuna in water drained weight
- 15 ml reduced-sodium soy sauce 1 tablespoon
- 150 g avocado flesh diced
- 100 g cucumber finely diced
- 30 g regular mayonnaise 2 tablespoons
- 5 g sriracha 1 teaspoon
Equipment
- 1 air fryer
- 1 Air-fryer-compatible taco rack or permitted foil supports
- 1 Kitchen scissors
- 1 Mixing bowls
Instructions
- Stir the vinegar and sugar until dissolved and fold into the warm cooked rice. Spread the rice in a shallow bowl until comfortable to handle; do not leave it at room temperature beyond the safe two-hour limit.
- Cut each nori sheet in half to make six broad rectangles. With lightly damp fingers, spread 50 g rice over each rectangle in a thin even layer, leaving a narrow border. Brush the rice surface lightly with the measured oil.
- Check your air fryer permits foil and that the food can secure it without obstructing airflow. Set each rice-coated rectangle rice-side inward over an air-fryer-safe taco rack, or form a broad U around a firmly crumpled foil support. Keep foil away from the heating element; never preheat loose foil. Do not force a sharp crease.
- Air fry at 380°F (193°C) in a single layer for approximately 6 to 9 minutes, starting checks early, until the rice surface looks dry and the nori edges crisp. Work in two batches if needed. Let each shell cool supported for 2 minutes before gently removing the support. Shell strength varies with nori and rice thickness.
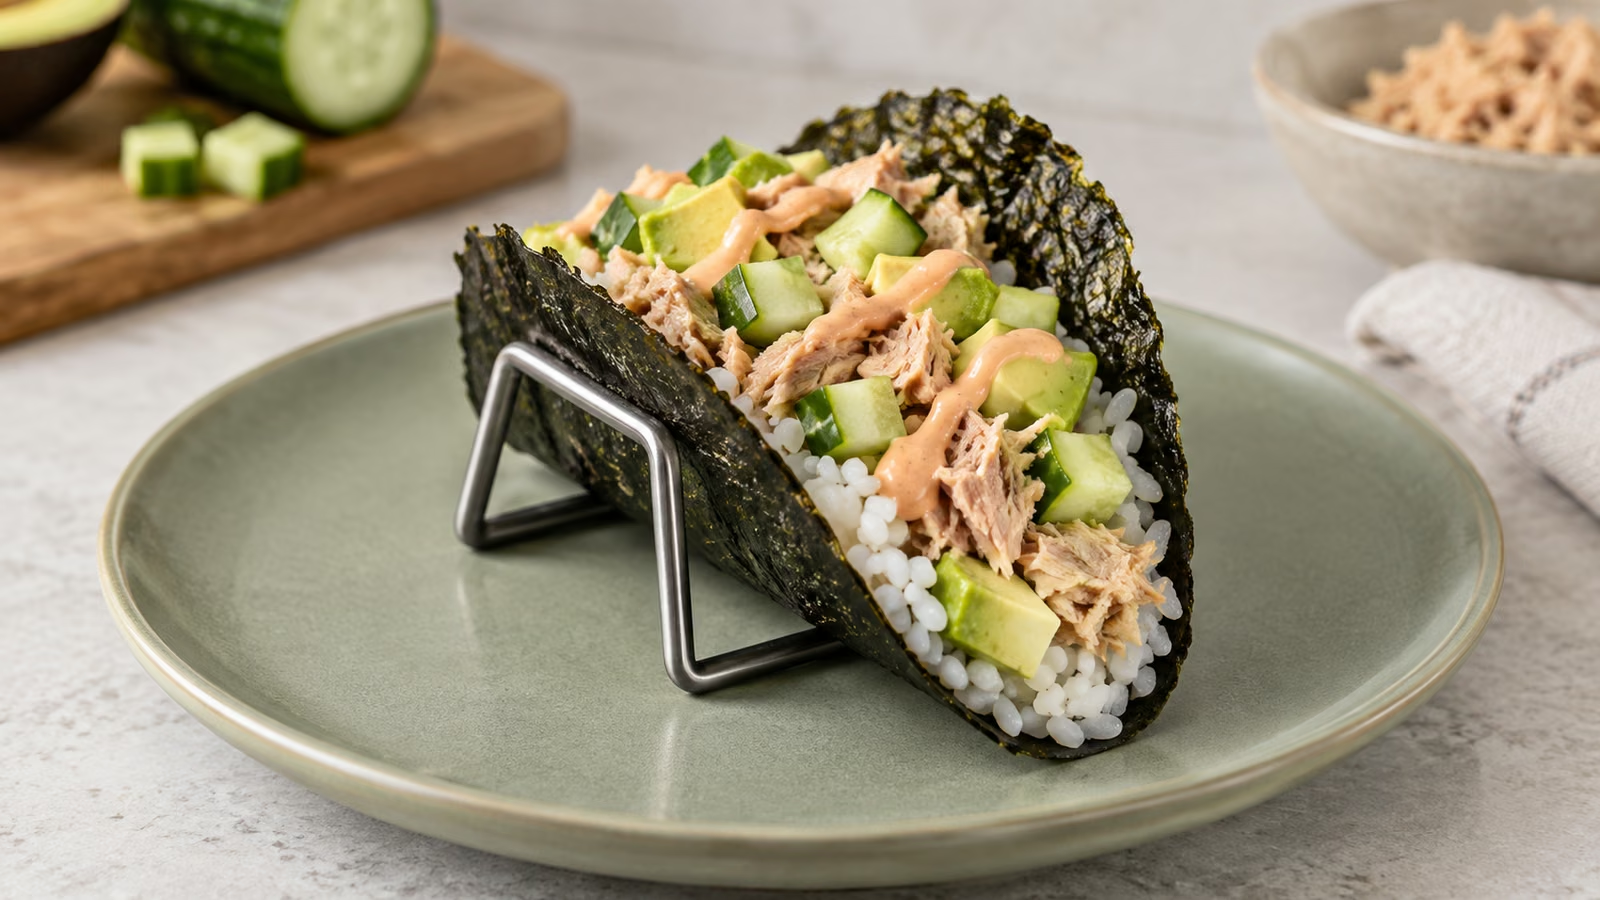
- Mix drained tuna with the soy sauce. Stir the mayonnaise and sriracha separately. Divide tuna, avocado and cucumber among the six shells, then drizzle with the sauce.
- Serve immediately, two tacos per portion. Do not fill ahead; the moist filling will soften the shells.
Nutrition
Notes
Tried this recipe?
Let us know how it turned out!Sources
- Recipe Diaries: sushi taco trend
- USDA: leftovers and food safety
- USDA FoodData Central: ingredient nutrients
Hi, I’m Laura, the voice behind Tastiva. I’ve always believed that eating well should feel enjoyable, comforting, and realistic—not like another complicated rule to follow. I love creating recipes that fit into everyday life, sharing simple nutrition ideas, and finding small ways to make meals feel a little better without losing the pleasure of good food.