
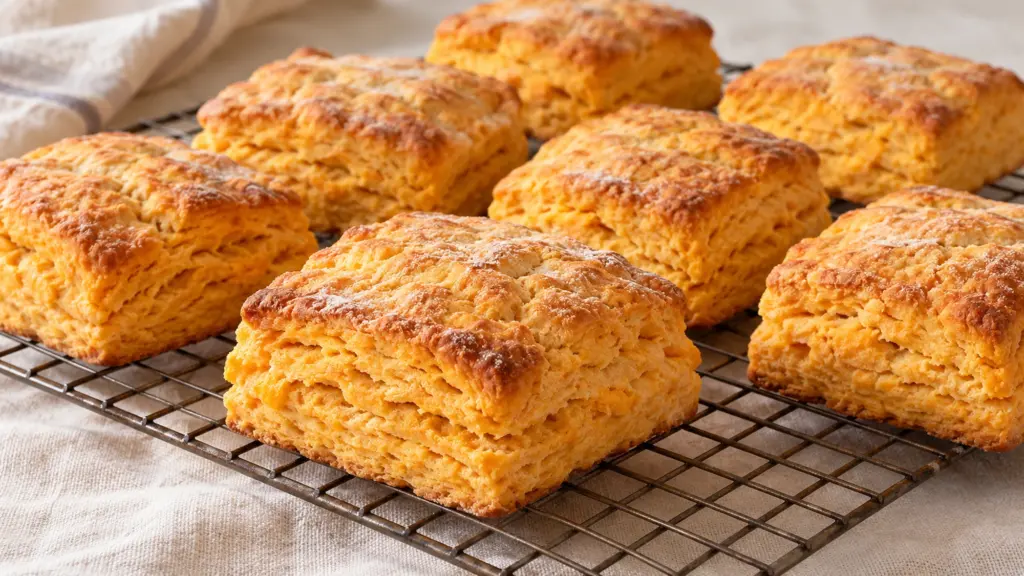
Sweet potato buttermilk biscuits land somewhere between a familiar savory biscuit and the mellow flavor of a baked sweet potato. There is no added sugar or glaze in this version. The orange mash brings its own sweetness, while cold butter and a little folding give the dough some structure before it meets the hot oven.
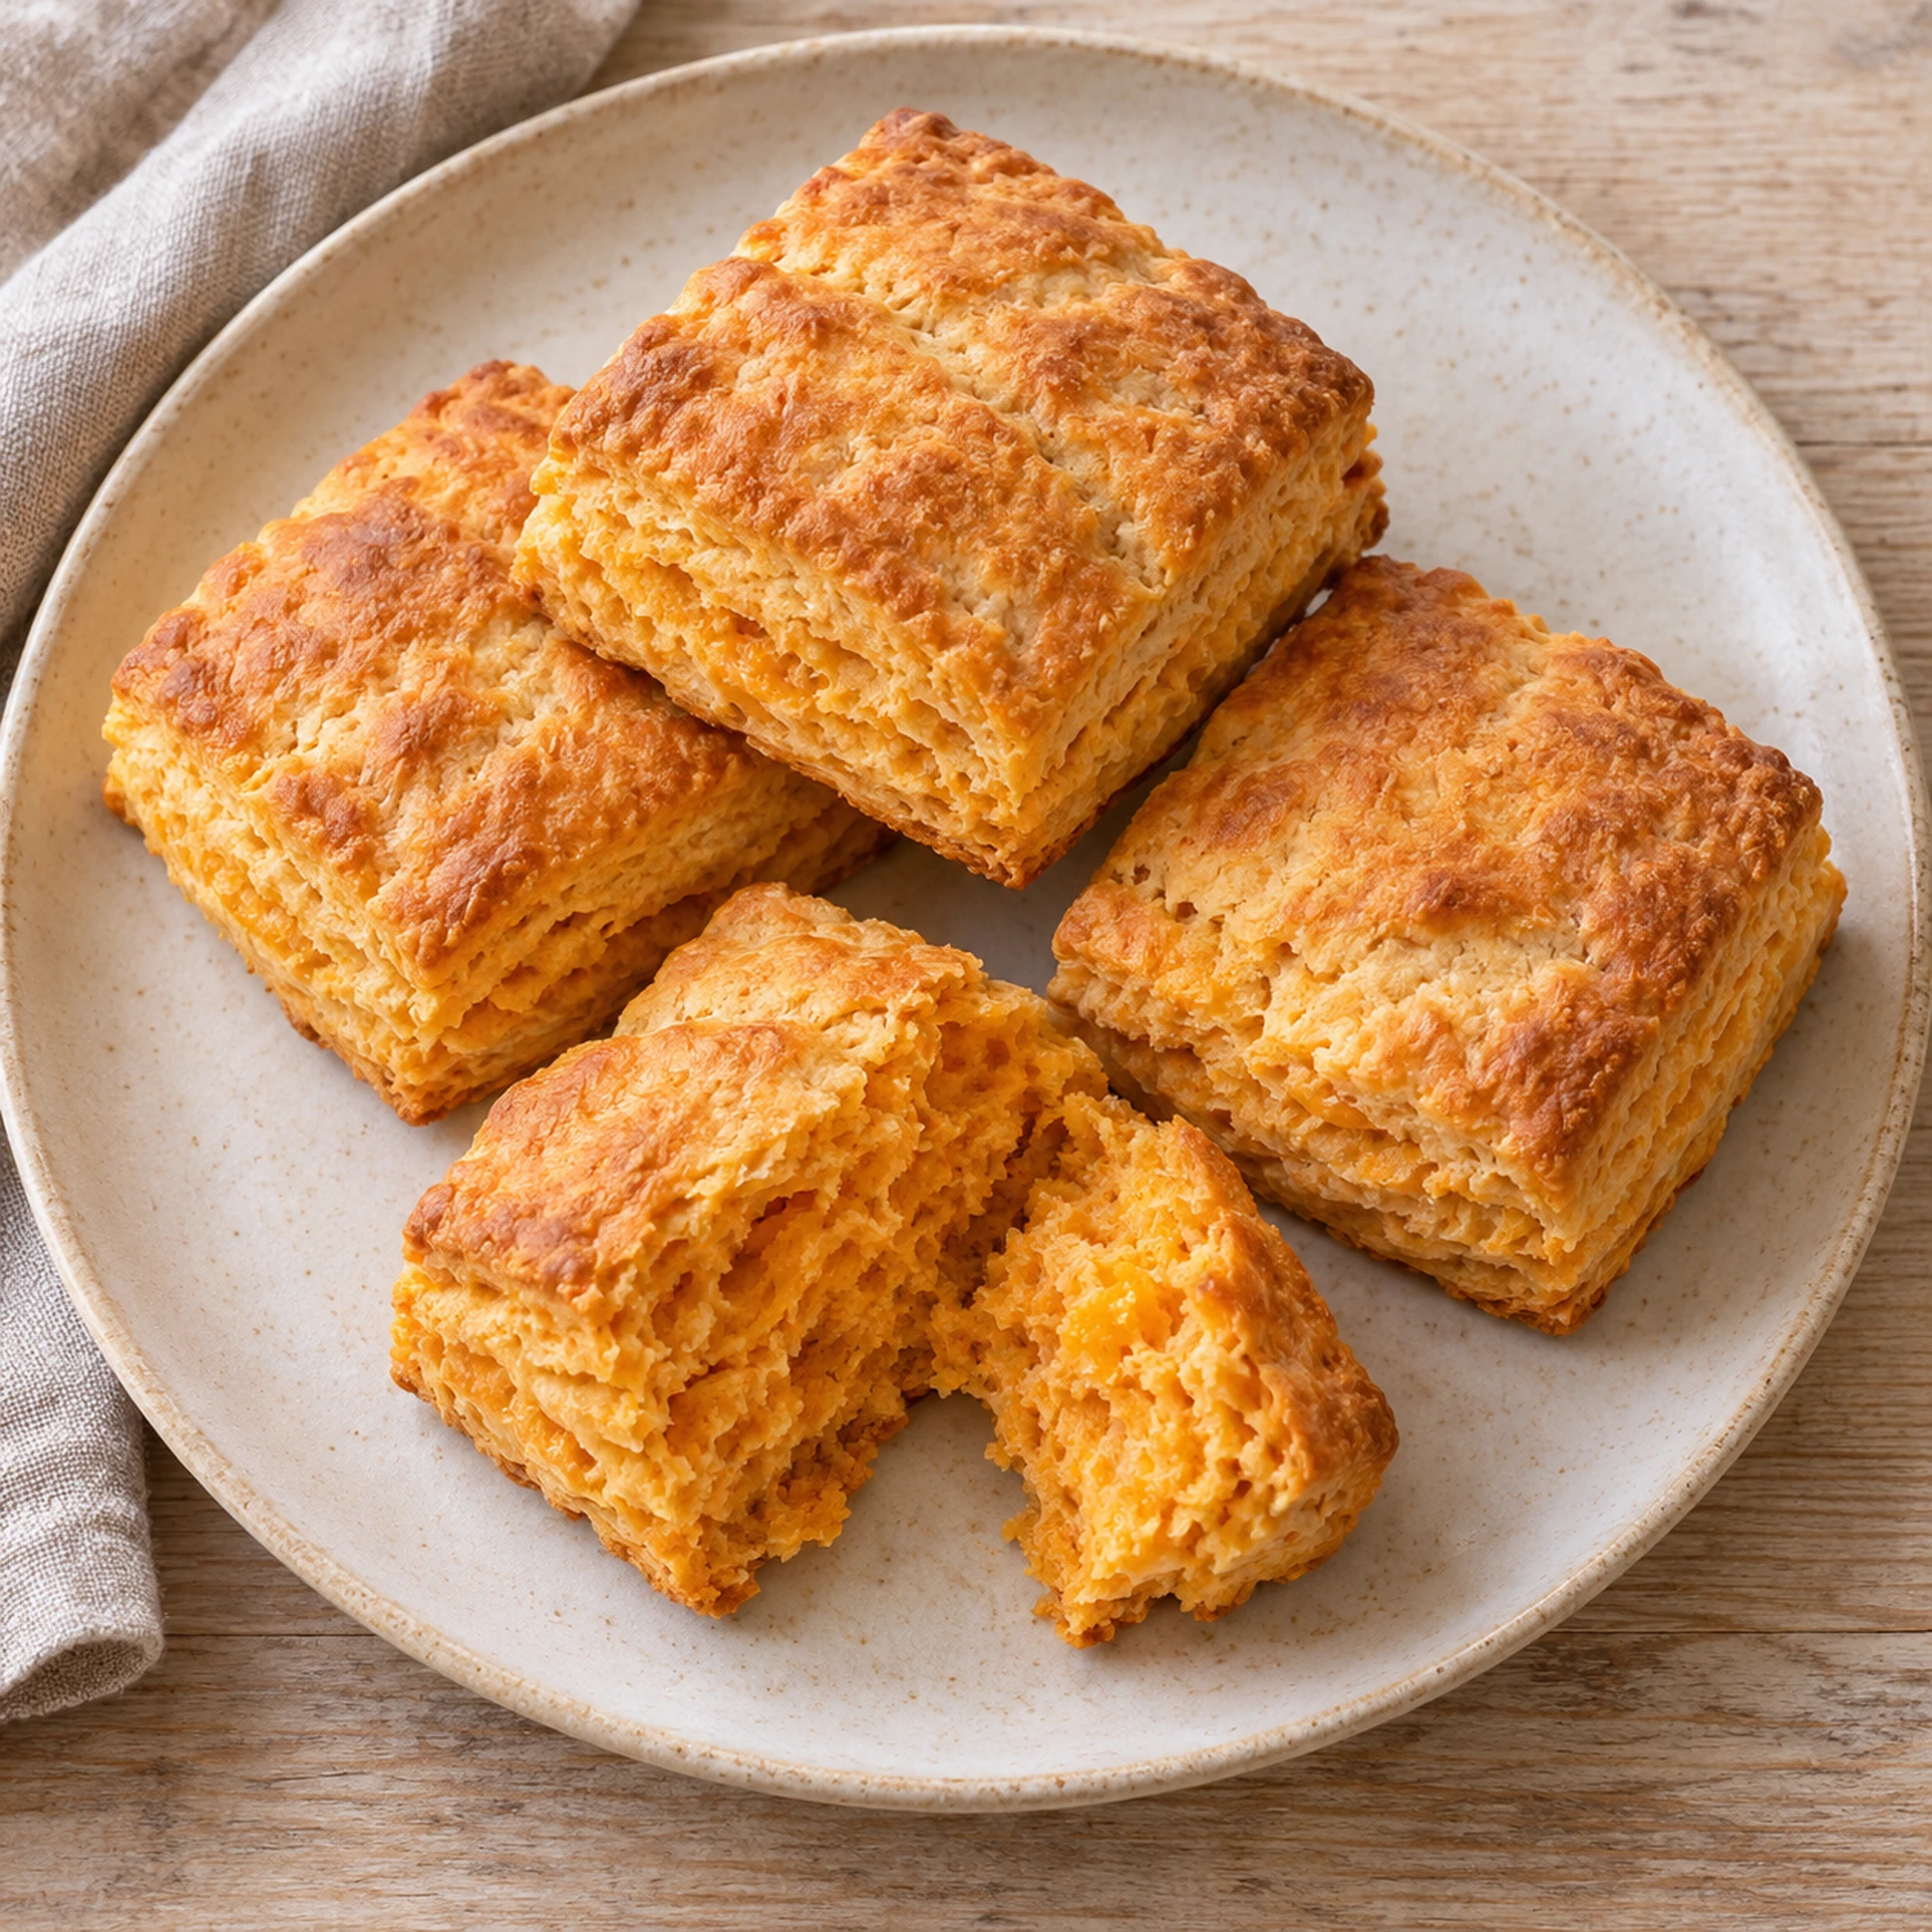
These sweet potato buttermilk biscuits start with cooled, plain baked sweet potato mash. Mix gently, add only enough buttermilk to bring the dough together and cut eight squares from a three-quarter-inch-thick rectangle. Square cuts keep the shaping simple and avoid a pile of scraps to reroll.
The preparation time assumes the sweet potato is already baked, mashed and cooled. That detail matters: warm mash softens the butter before baking even starts. Let steaming mash cool before you begin.
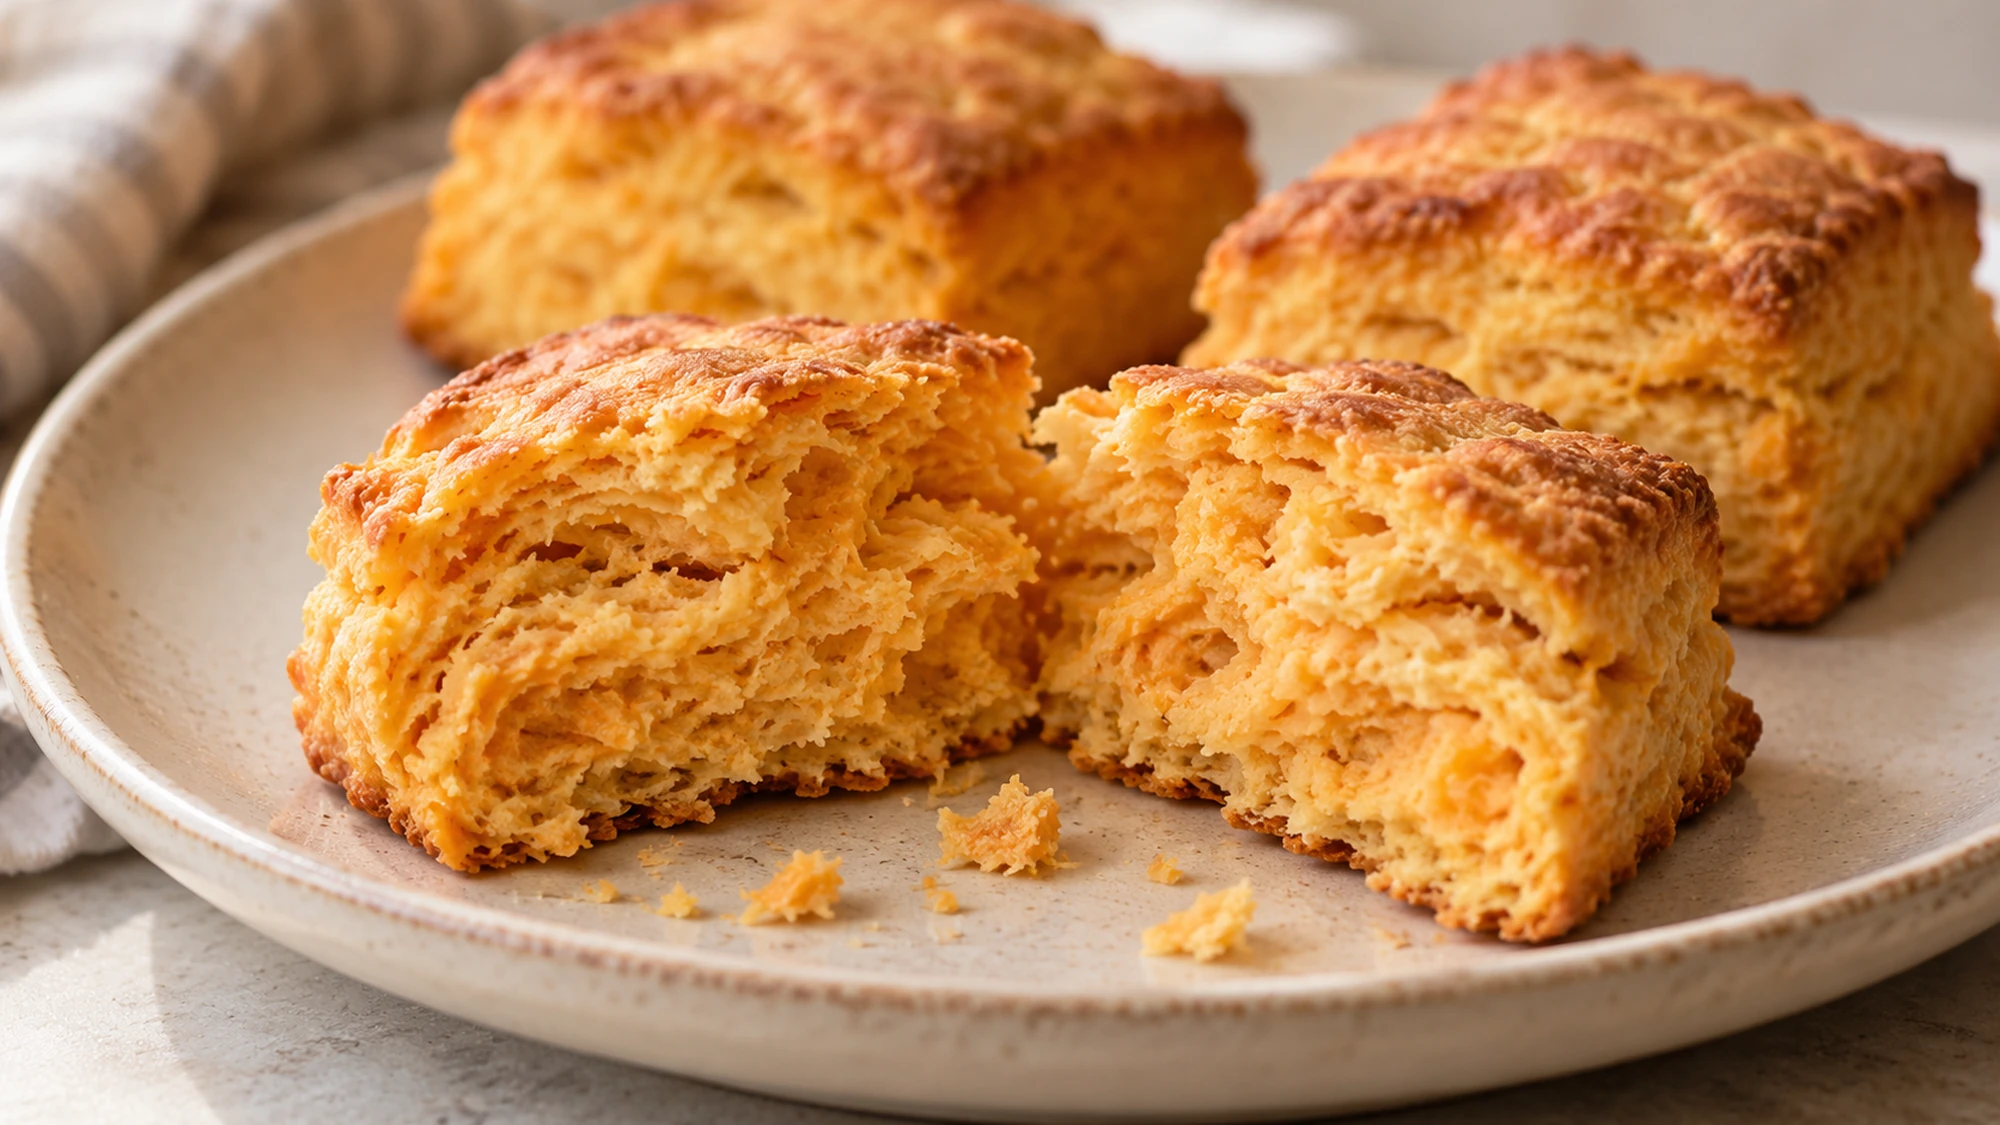
Serving Suggestions for Sweet Potato Buttermilk Biscuits
Let the biscuits stand for five minutes after baking so the centers settle before you split them. Their sweet potato flavor works with savory meals as well as breakfast, and they do not need a glossy topping to look inviting.
- Beside soup: Serve a biscuit with chicken wild rice soup or a vegetable soup. It gives you something to pull apart and dip.
- With eggs: Add a cooked egg and some sautéed greens for a more substantial breakfast. Those additions are separate from the biscuit’s nutrition estimate.
- With a salad: Our tangy whole cucumber salad contrasts with the soft crumb and butter.
- Simply warm: Start with a plain biscuit before reaching for extra butter or a sweet spread. The dough already contains both butter and naturally sweet mash.
For later servings, cool the biscuits, wrap them well and refrigerate promptly. A short spell in a moderate oven helps refresh the exterior; covering loosely prevents excess browning. For perishable fillings, follow USDA storage guidance and refrigerate within two hours, or one hour above 90°F (32°C).
Choose a simple partner and give the biscuits a few minutes to settle before opening them.
Variations and Dough Troubleshooting
The moisture in the mash controls how much buttermilk you need. Start with the measured amount, then use the small reserve only if dry flour remains and the dough will not hold together. A slightly rough dough is normal; kneading until it becomes perfectly smooth is not the goal.
| Situation | Practical adjustment | What to avoid |
|---|---|---|
| Mash feels warm | Cool it before mixing | Letting it melt the butter |
| Dough is dry and crumbly | Add reserved buttermilk a little at a time | Pouring in the whole reserve automatically |
| Dough sticks heavily | Lightly flour the work surface | Working in lots of extra flour |
| Biscuits vary in height | Pat the rectangle to an even thickness | Flattening the edges much thinner than the middle |
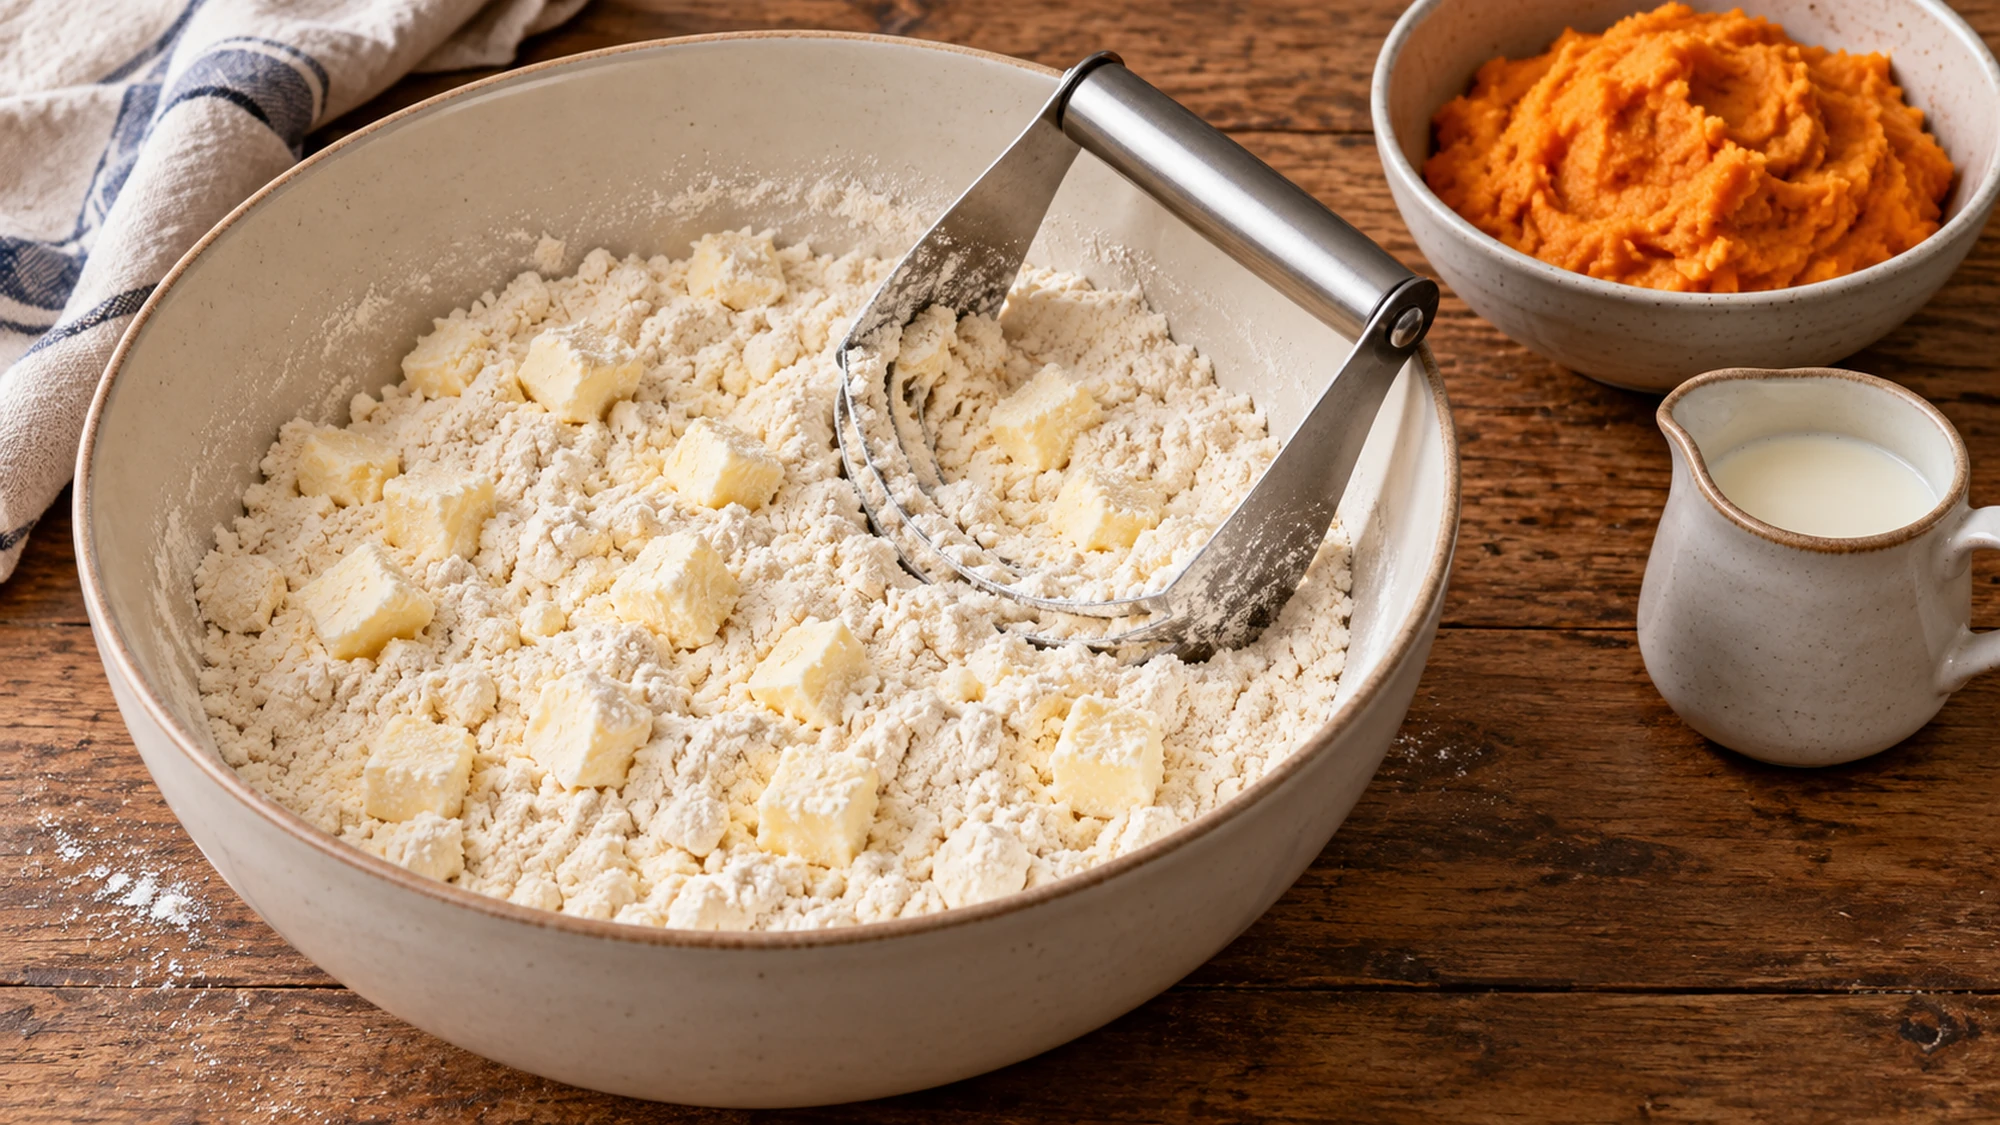
Keep the mash plain. Leftover sweet potato casserole may contain sugar, eggs, butter or marshmallows, so it is not an equivalent ingredient. Likewise, self-rising flour already contains leavening and salt; substituting it without changing the recipe would alter both.
- Keep butter pieces visible: Work it into the flour without turning the mixture into a greasy paste.
- Fold twice: The gentle folds organize the dough without a long kneading session. King Arthur Baking’s folding guidance explains layering in cold-butter doughs.
- Cut cleanly: Use a sharp knife or bench scraper, pressing down rather than dragging back and forth through the dough.
- Watch the bake: Look for set centers and lightly browned tops and bottoms. Color alone cannot tell you whether an especially thick biscuit is ready.
Dianne Applewhite’s demonstration in the card uses self-rising flour; follow our separately measured flour, leavening and salt.
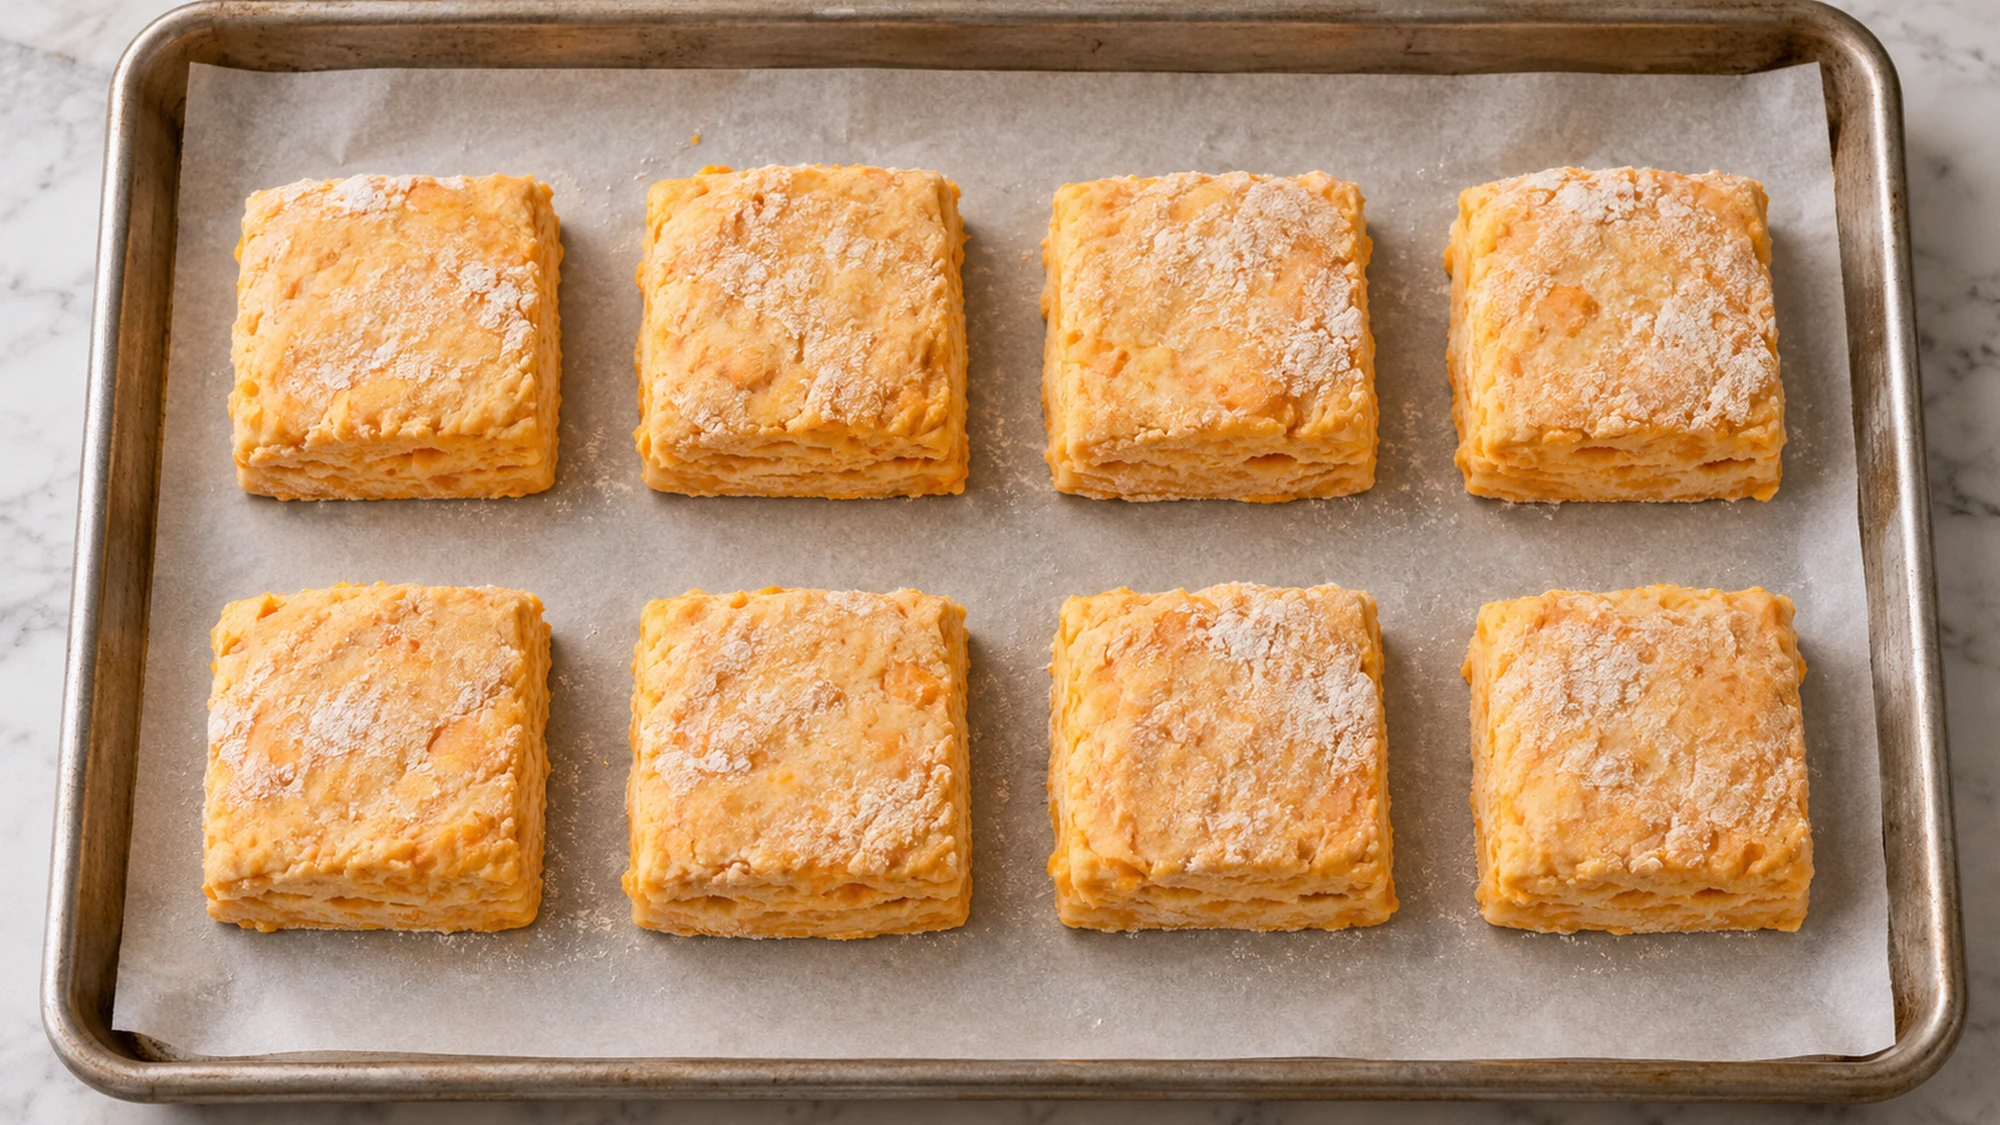
A light hand and an even rectangle matter more than making every raw square look perfectly tidy.
Health Benefits
Sweet potato contributes flavor, color and some fiber, but each biscuit contains only part of the recipe’s mash. It is not the same as eating a whole baked sweet potato. Flour and butter remain substantial ingredients, and the serving estimate reflects that.
- No added sugar is not sugar-free: Sweet potato and buttermilk contain naturally occurring sugars.
- Notice the portion: One of eight biscuits is the serving used for the nutrition estimate, before spreads or sandwich fillings.
- Check allergens: Wheat and milk are present. A different flour or dairy substitute would change how this dough behaves.
Enjoy the biscuits for their flavor and choose the rest of the meal to add variety.
Bottom Line
Start with cool mash and cold butter, add buttermilk gradually and stop handling the dough once it comes together. Two folds and eight simple square cuts are enough to bring these gently sweet biscuits to the table without a glaze.
Sweet Potato Buttermilk Biscuits Recipe

Ingredients
- 250 g all-purpose flour plus up to 2 tablespoons for handling
- 1 tablespoon baking powder about 14.4 g
- 1/2 teaspoon fine salt
- 85 g unsalted butter cold and diced
- 200 g plain baked sweet potato mash cooled completely
- 80 ml low-fat buttermilk plus up to 30 ml more only if needed
Equipment
- 1 Baking sheet
- 1 Parchment paper
- 1 Two mixing bowls
- 1 Pastry cutter or two forks
- 1 Spatula
- 1 Knife or bench scraper
- 1 Kitchen scale
- 1 Measuring jug
Instructions
- Heat the oven to 425°F (220°C). Line a baking sheet with parchment. Make sure the sweet potato mash is completely cool and the butter cold.
- Whisk the flour, baking powder and salt together in a bowl. Cut in the cold butter with a pastry cutter or two forks until the mixture is coarse with visible pea-sized pieces.
- In a second bowl, stir the cooled sweet potato mash and 80 ml buttermilk together. Add to the flour mixture and fold gently just until the dough holds together. If dry flour remains and it will not come together, add the reserve buttermilk a little at a time, up to 30 ml; do not add it automatically.
- Turn onto a lightly floured surface. Pat into a rectangle, fold in thirds, turn and repeat once more, for two gentle folds total. Do not knead smooth. Pat to an even ¾-inch thickness and cut into eight squares with a sharp knife or bench scraper.
- Transfer to the lined pan. If the butter has softened or the dough feels warm, chill for 10 minutes before baking; add this to the total time.
- Bake for 18–22 minutes until tops and bottoms are golden and the centers are set. Split one if uncertain: the center should be tender without wet dough.
- Let stand for 5 minutes before serving.
Nutrition
Video
Notes
Tried this recipe?
Let us know how it turned out!Hi, I’m Laura, the voice behind Tastiva. I’ve always believed that eating well should feel enjoyable, comforting, and realistic—not like another complicated rule to follow. I love creating recipes that fit into everyday life, sharing simple nutrition ideas, and finding small ways to make meals feel a little better without losing the pleasure of good food.