
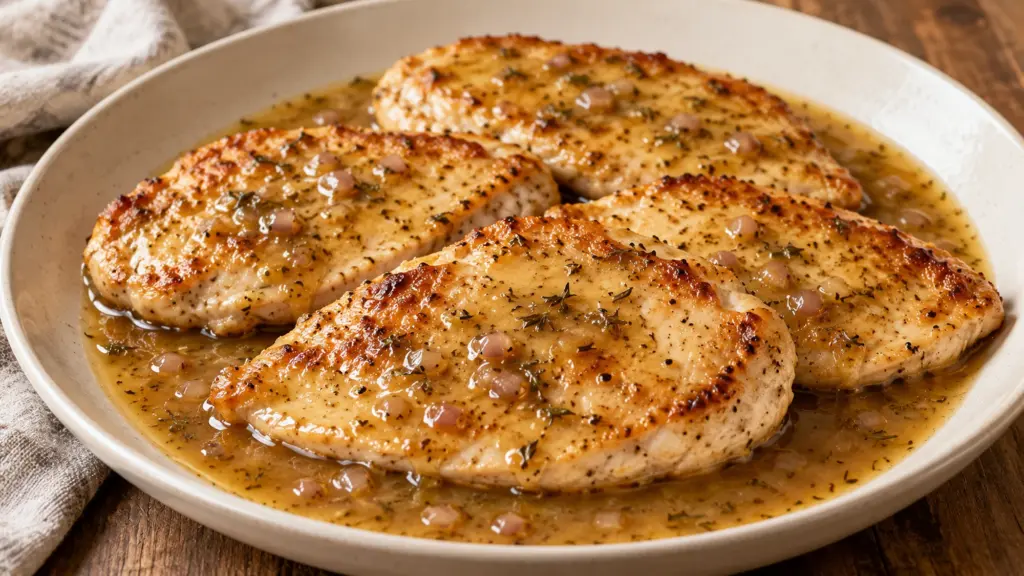
Apple cider chicken is a skillet dinner built around the sauce, but the chicken still needs the most attention. Thin breast cutlets brown quickly, and the cider picks up the flavorful bits left in the pan. Dijon and cider vinegar keep that sweetness from becoming the only thing you taste.
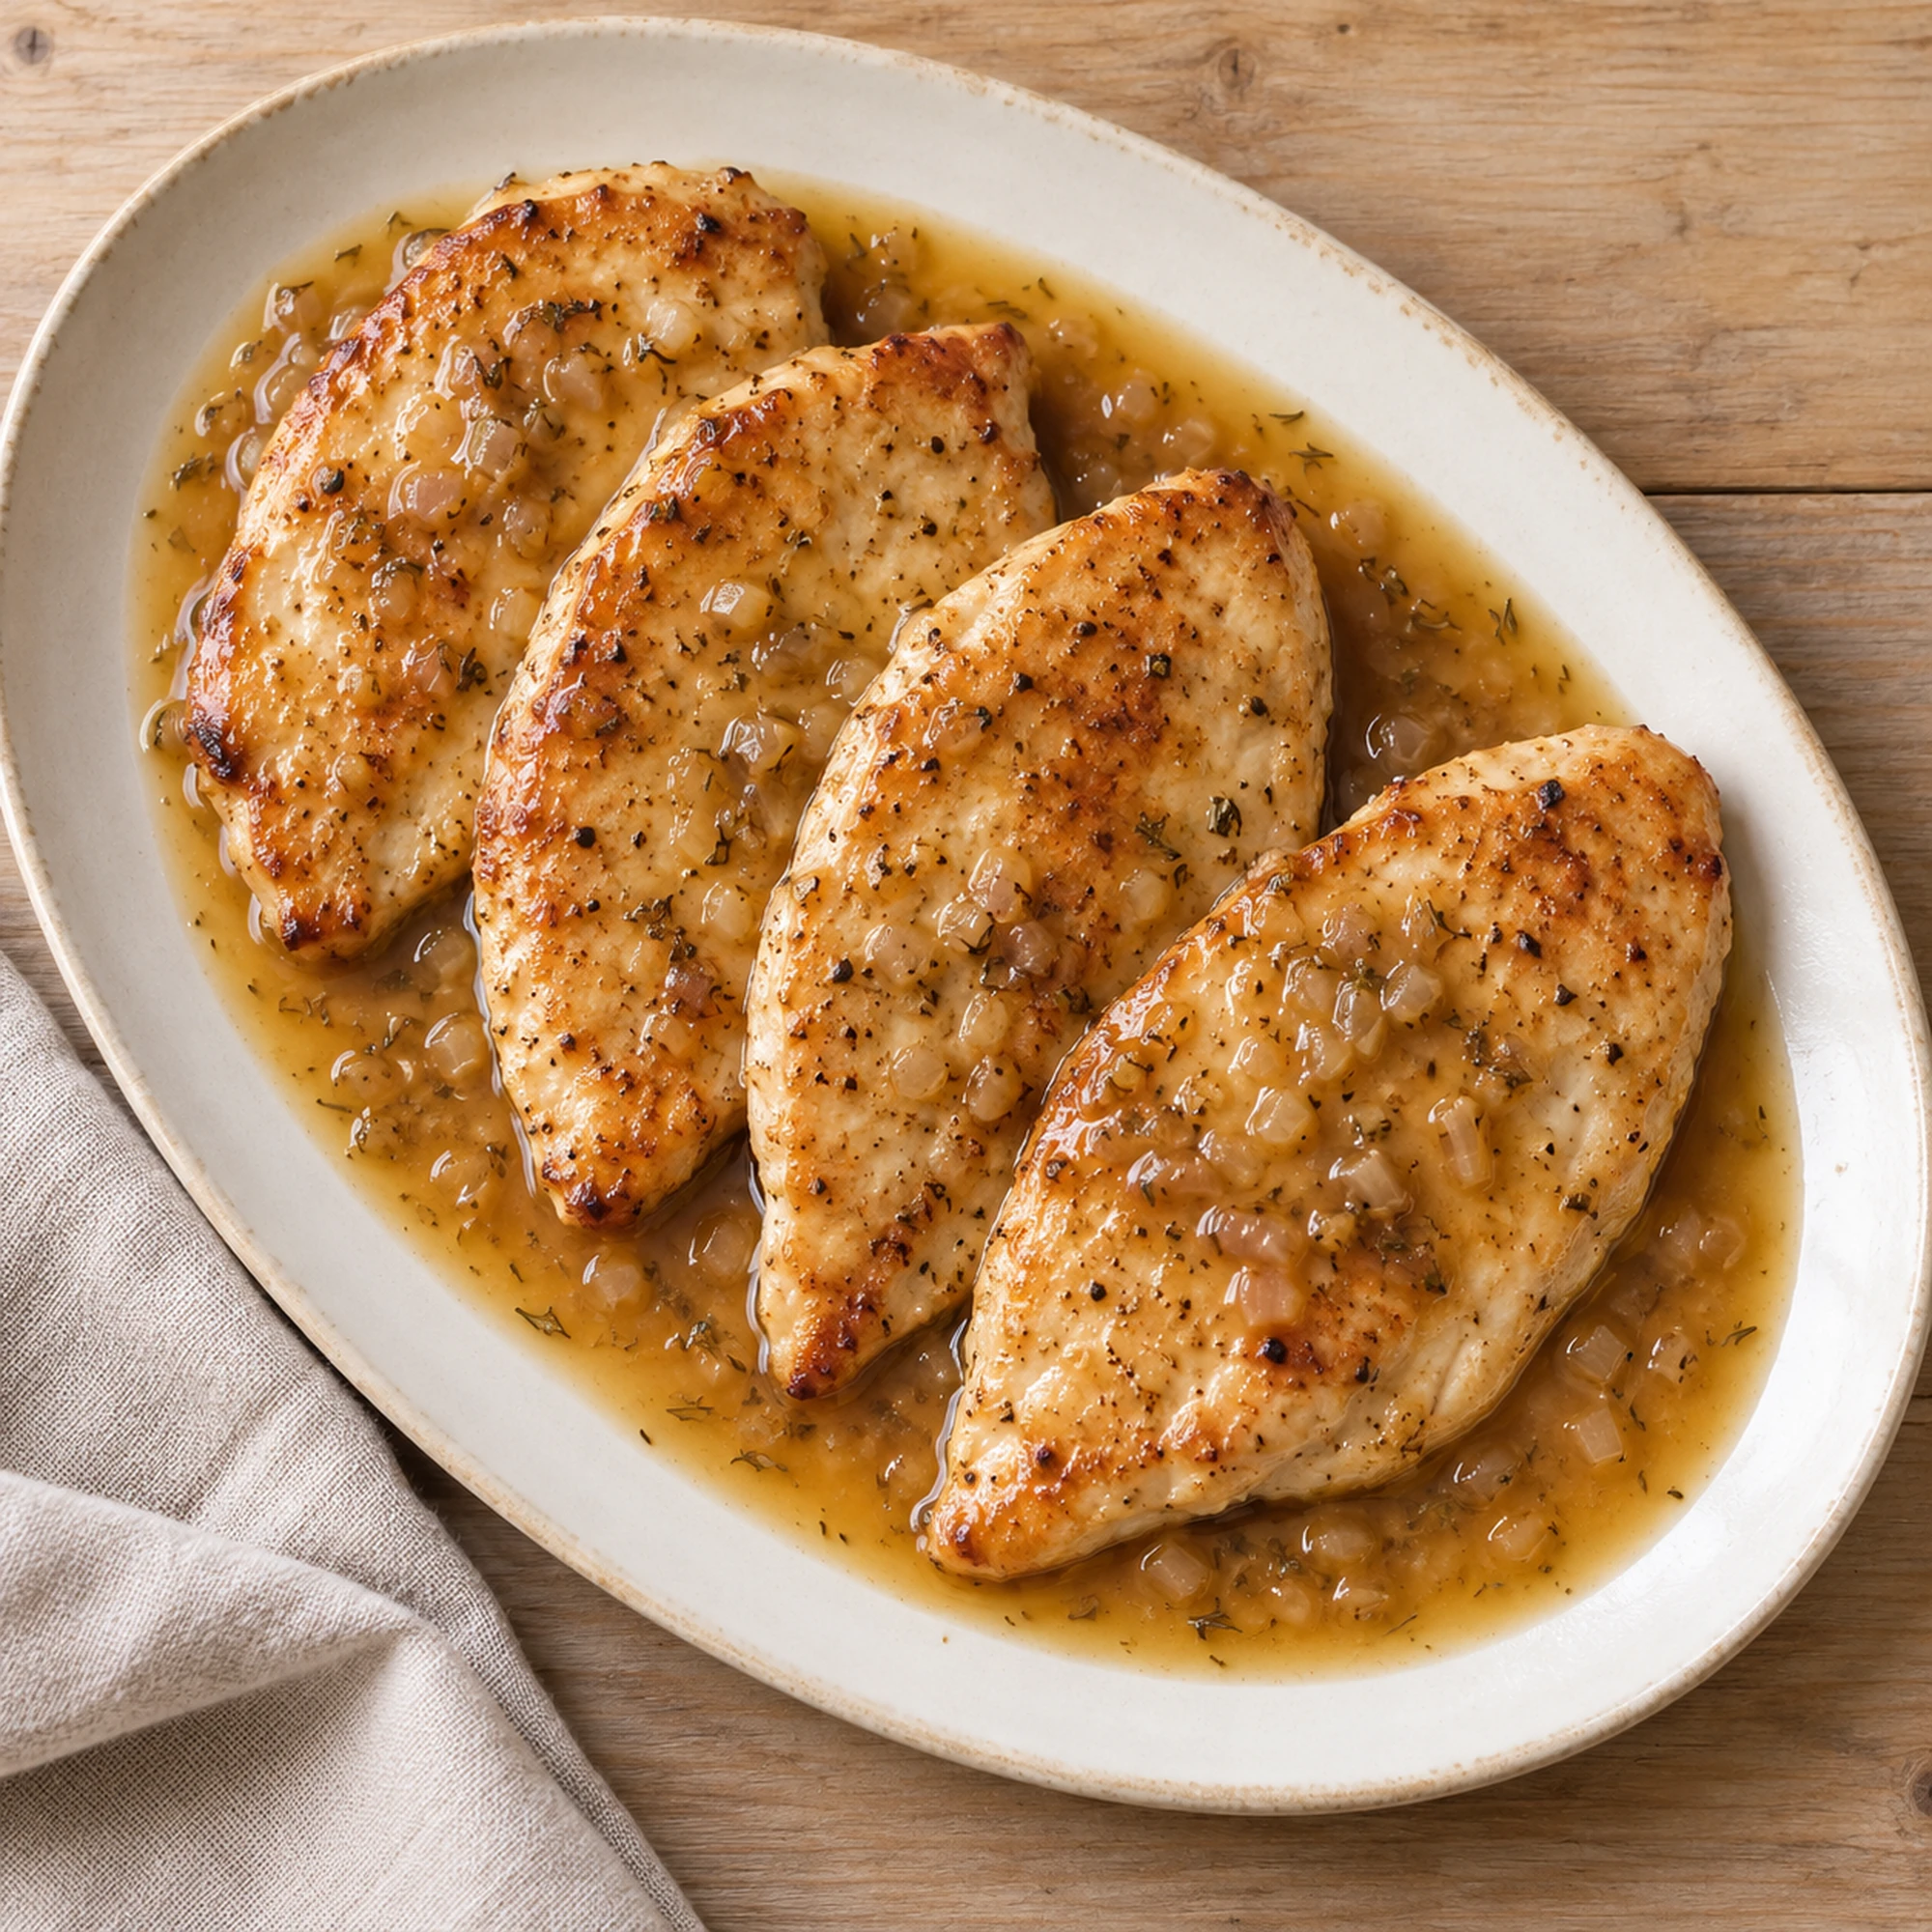
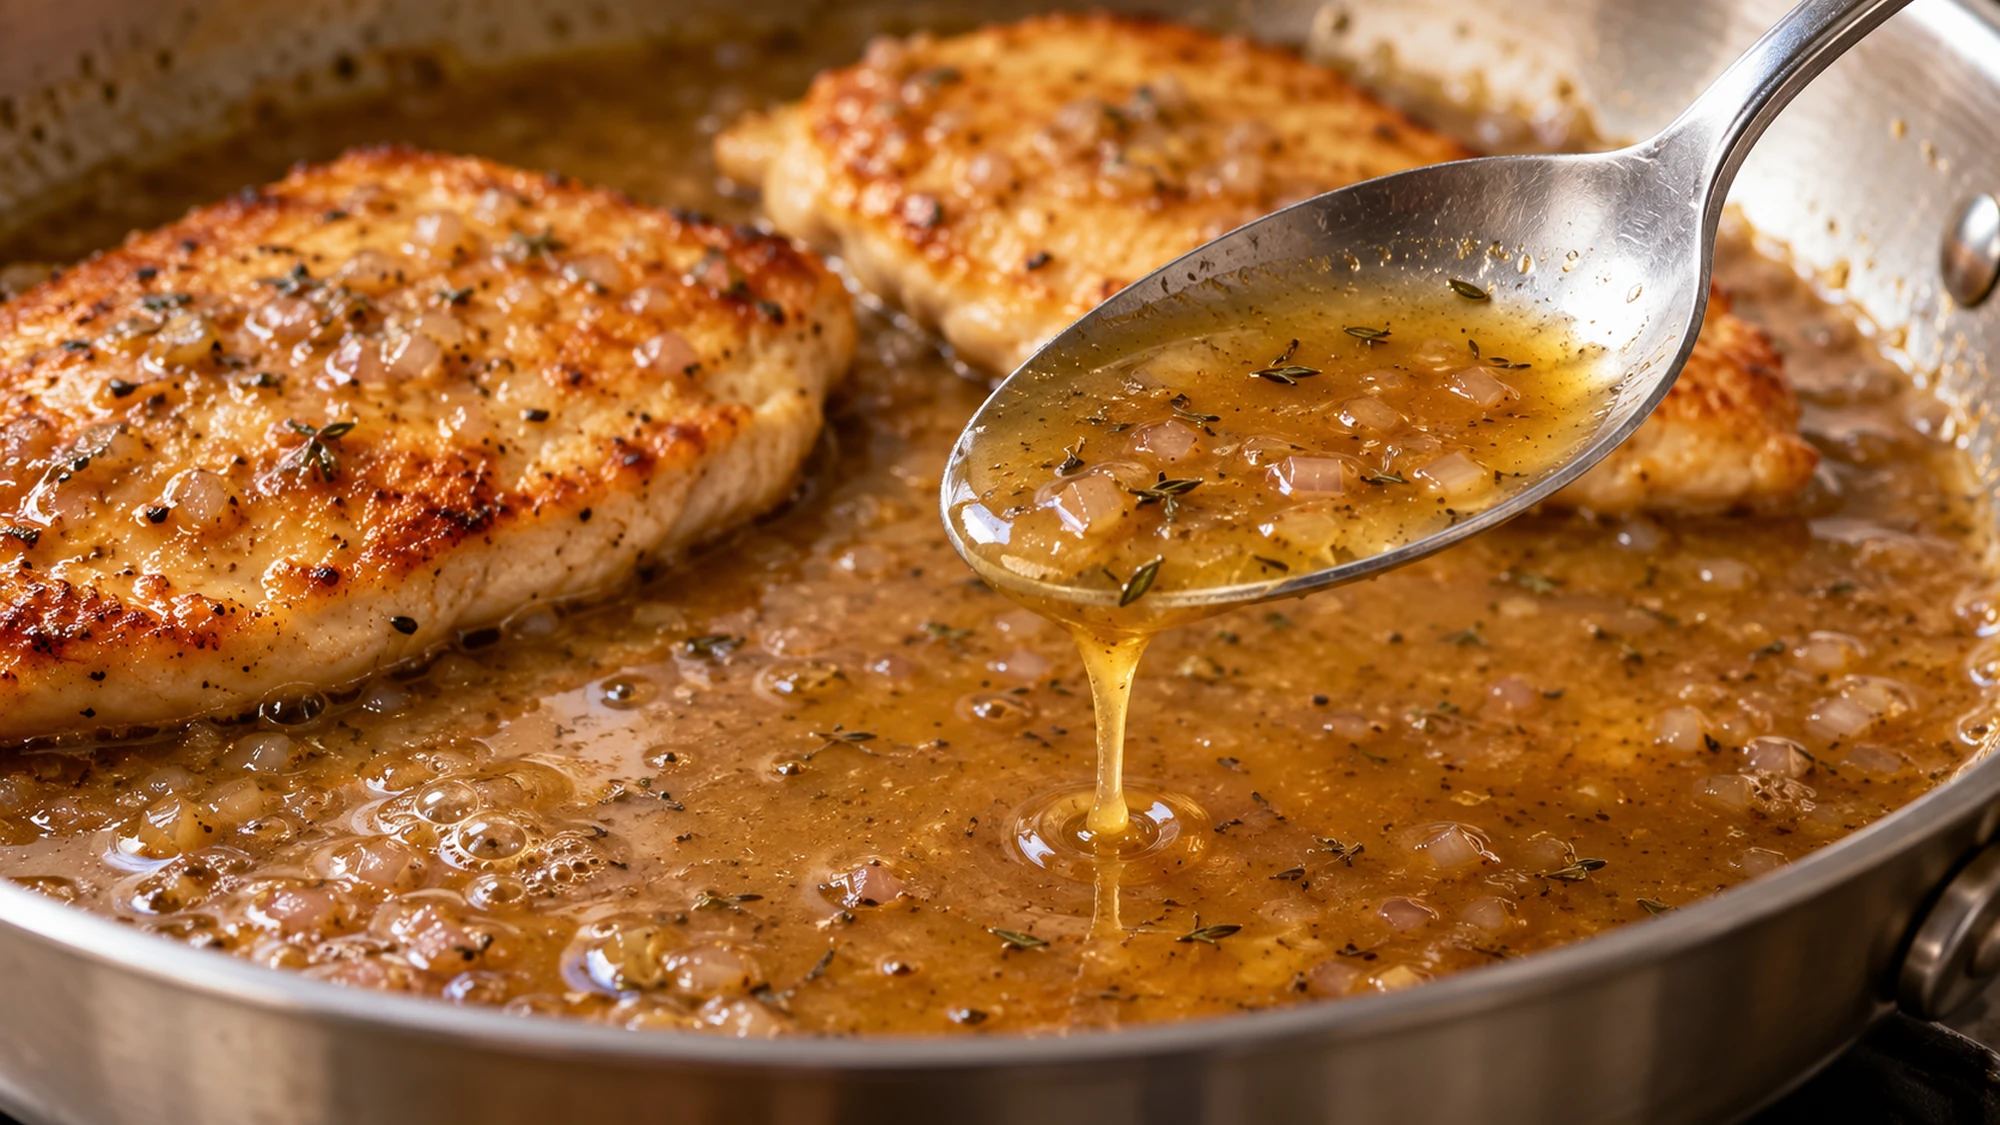
This apple cider chicken uses unspiced, nonalcoholic cider, a little broth and Dijon mustard, with butter stirred in at the end. There are no apple pieces or cream in the pan. Cook the cutlets to 165°F (74°C), then adjust the sauce while the chicken rests on a clean plate.
Start with cutlets of similar thickness rather than expecting a thick end and a thin end to finish together. The recipe calls for pieces about half an inch thick. Even thickness makes the cooking window easier to manage.
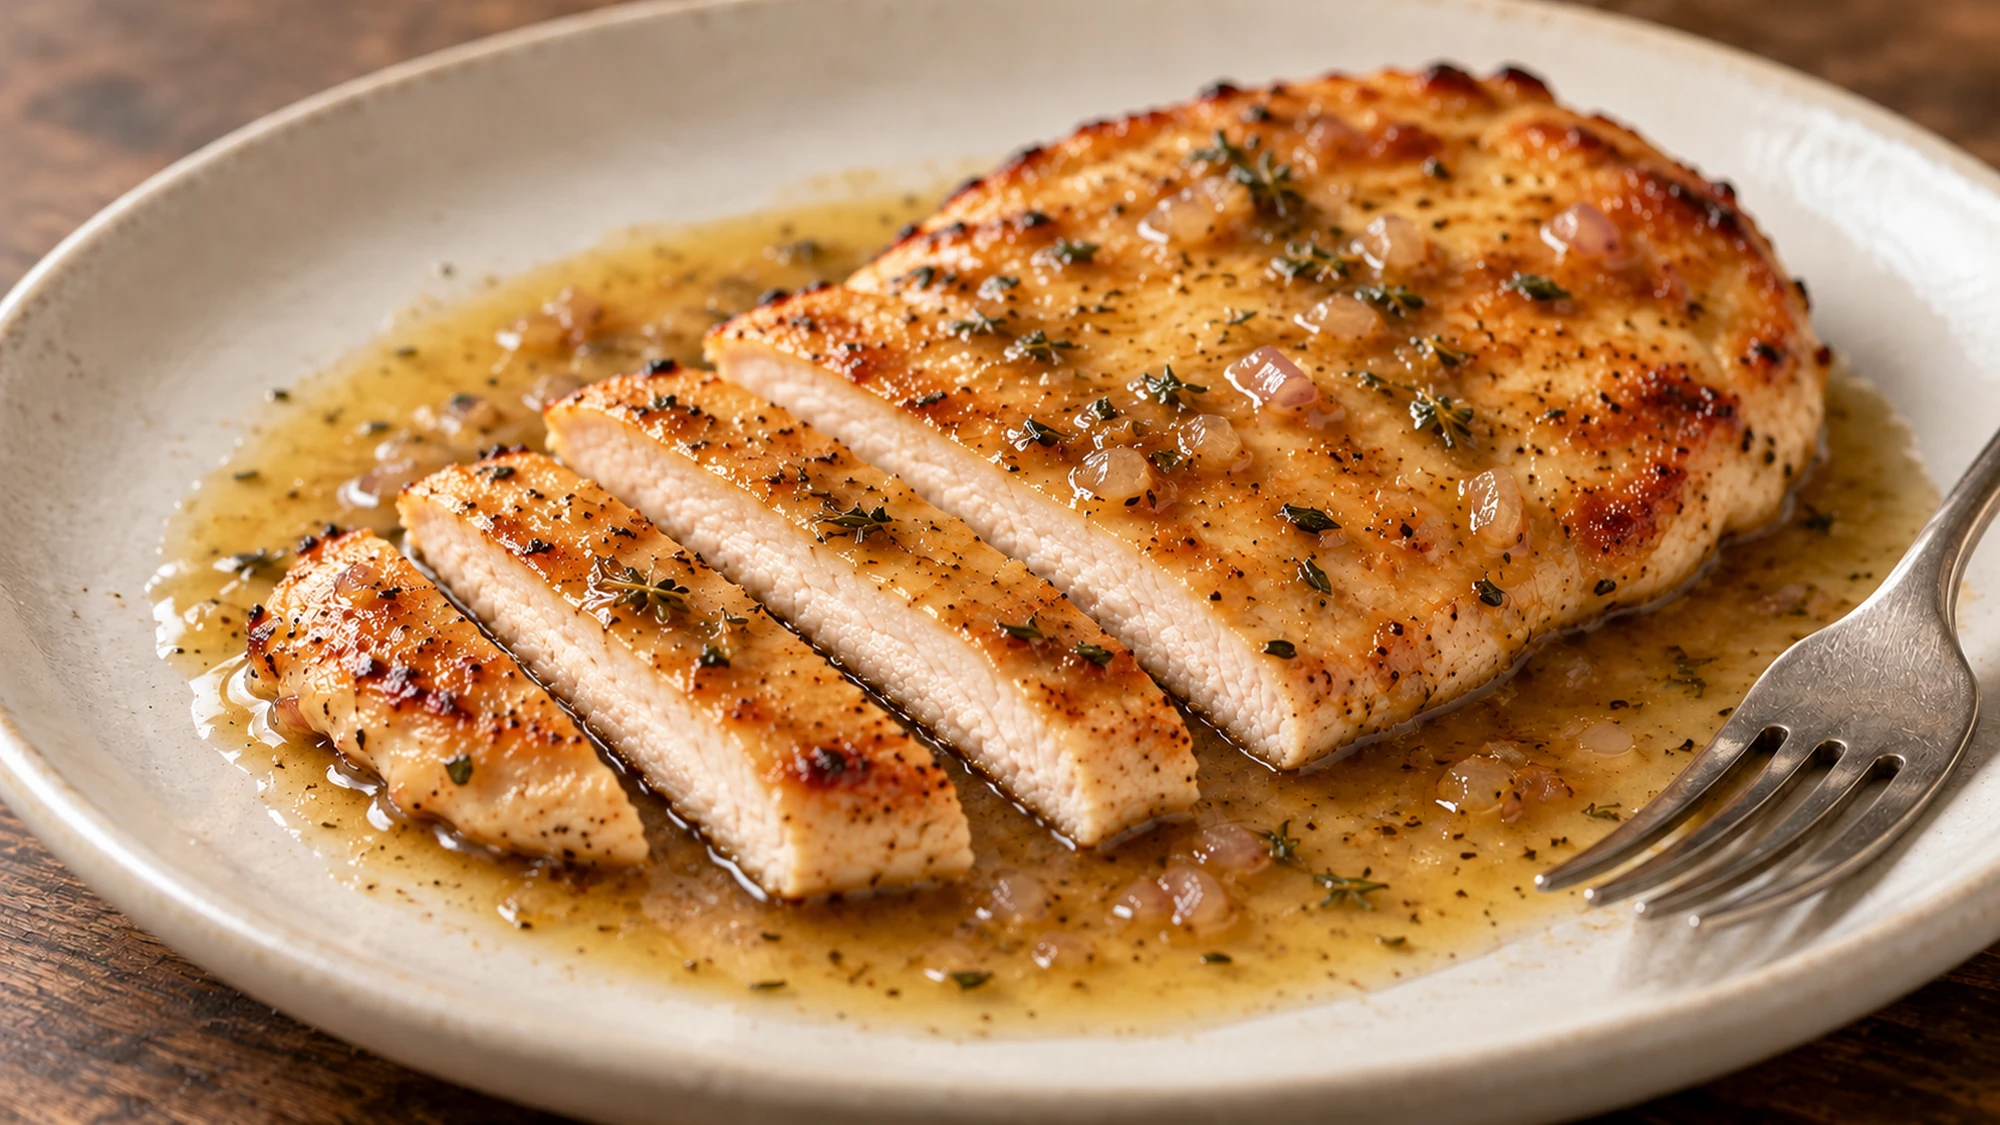
Serving Suggestions for Apple Cider Chicken
Spoon the finished sauce over the chicken just before serving, dividing it evenly. It should coat the cutlets lightly rather than sit on them like a thick gravy. A little water can loosen a sauce that has reduced too far.
- Add a green vegetable: Green beans bring a fresh contrast. Keep their seasoning simple so mustard and shallot remain noticeable.
- Choose something for the sauce: Mashed potatoes, plain rice or bread can catch what is left. These accompaniments are outside the recipe’s nutrition and timing.
- Keep the meal flexible: A crisp cabbage salad works when you prefer a cool side instead of another pan on the stove.
- Serve individual portions: One cutlet is the serving used for the estimate. Divide sauce evenly rather than treating it as an uncounted extra.
Refrigerate leftovers in shallow containers within two hours, or one hour above 90°F (32°C). Use within three days and reheat to 165°F (74°C). Add water and cover while reheating to keep sauce from drying before the chicken is hot through.
A green side and something simple to catch the sauce are enough; the skillet already carries the main flavor.
Variations and Pan-Sauce Troubleshooting
Choose plain cider without added spices, and check that it is nonalcoholic. Mulled cider introduces flavors the recipe does not account for, while hard cider changes the ingredient entirely. The vinegar is a separate measured ingredient, not a substitute for the cup of cider.
| Situation | Practical adjustment | What to avoid |
|---|---|---|
| Uneven cutlet thickness | Even them out before cooking | One cooking time for every piece |
| Scorched pan | Stop and assess dark residue | Stirring bitter blackened bits into sauce |
| Sauce reduces too much | Add water a little at a time | Washing out the flavor |
| Sauce tastes too sweet | Check measured mustard and vinegar | Adding more cider automatically |
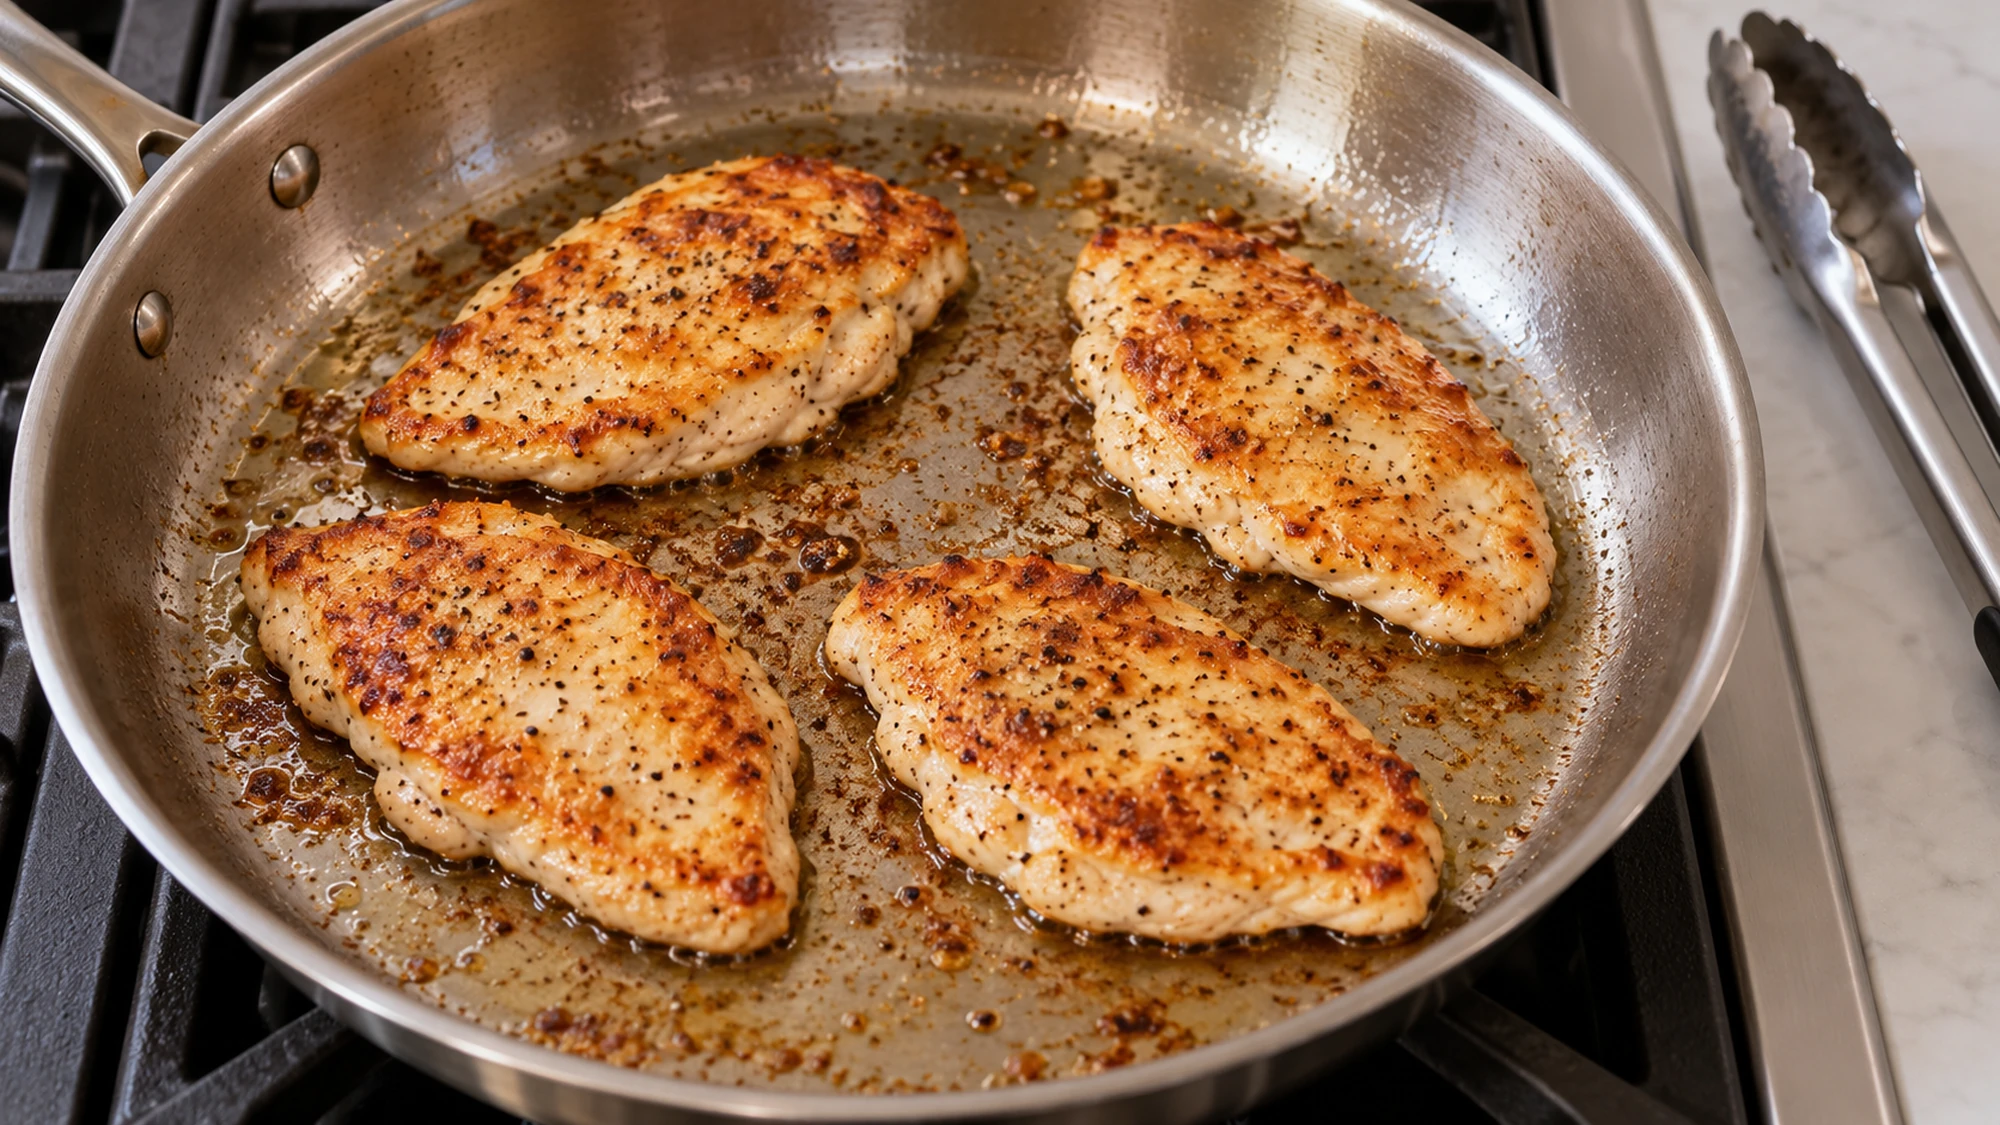
Use the browning stage to develop color, not to force the cutlets through their entire cooking time. They return to the sauce later, when the thermometer becomes more useful than guessing from the surface.
- Give the chicken space: Crowding encourages moisture to collect instead of letting the surface brown.
- Watch the shallot: It softens quickly. Lower heat if it darkens before the liquid goes in.
- Finish with butter off the heat: Stir it into reduced sauce rather than boiling aggressively.
- Follow the recipe beside the video: The Cook n’ Share version includes apples and rosemary; this skillet uses shallot, thyme and Dijon instead.
Small adjustments to heat and liquid are more helpful than adding several new ingredients when the sauce needs attention.
Health Benefits and Ingredient Context
Chicken breast provides most of the protein in this meal. Cider contributes flavor and naturally occurring sugar, while oil and butter add fat. The sauce is part of the dish, so its ingredients belong in the nutrition estimate rather than disappearing from the calculation.
- Check the portion: The estimate covers one-quarter of the chicken and sauce, without rice, potatoes or bread.
- Notice sodium sources: Mustard, broth and added salt all contribute. Unsalted broth offers more control, but labels differ.
- Check allergens: Butter contains milk and Dijon contains mustard. Review broth and other packaged ingredients for individual allergy needs.
Build the rest of the plate around foods you enjoy, with vegetables offering a useful contrast to the rich sauce.
Bottom Line
Keep the cutlets even, use plain cider and let the thermometer decide when the chicken is done. A short reduction and an off-heat butter finish turn the pan juices into a sauce worth spooning over every serving.
Apple Cider Chicken Recipe

Ingredients
- 4 boneless skinless chicken breast cutlets 680 g total, approximately ½ inch thick
- 1/2 teaspoon fine salt
- 1/4 teaspoon black pepper
- 1 tablespoon olive oil
- 30 g shallot finely chopped
- 240 ml unspiced nonalcoholic apple cider not hard or mulled cider
- 120 ml unsalted chicken broth
- 15 g Dijon mustard 1 tablespoon
- 15 ml apple cider vinegar 1 tablespoon
- 1 teaspoon dried thyme
- 14 g butter
- as needed water to loosen sauce
Equipment
- 1 Large skillet
- 1 Tongs
- 1 Knife and cutting board
- 1 Measuring cups and spoons
- 1 Instant-read thermometer
- 1 Clean plate
Instructions
- Pat the cutlets dry and ensure they are about ½ inch thick throughout. Season both sides with salt and pepper.
- Heat oil in a large skillet over medium-high heat. Brown cutlets without crowding for 3–4 minutes per side, working in batches if necessary. Transfer to a plate; they may not yet be fully cooked.
- Reduce heat to medium. Soften shallot for 1–2 minutes, moving the pan briefly off heat if too hot.
- Add cider, broth, Dijon, vinegar and thyme. Scrape up browned, not blackened, bits. Simmer 4–6 minutes to begin reducing.
- Return chicken and accumulated juices. Simmer gently 3–6 minutes, turning as needed, until every cutlet reaches 165°F (74°C) at its thickest part. Thickness affects timing.
- Move cooked chicken to a clean plate, not the unwashed plate used for partially cooked chicken. Reduce sauce briefly if thin, or loosen with water if concentrated.
- Remove from heat and stir in butter. Coat the chicken or spoon sauce over each portion, dividing evenly.
Nutrition
Video
Notes
Tried this recipe?
Let us know how it turned out!Hi, I’m Laura, the voice behind Tastiva. I’ve always believed that eating well should feel enjoyable, comforting, and realistic—not like another complicated rule to follow. I love creating recipes that fit into everyday life, sharing simple nutrition ideas, and finding small ways to make meals feel a little better without losing the pleasure of good food.