
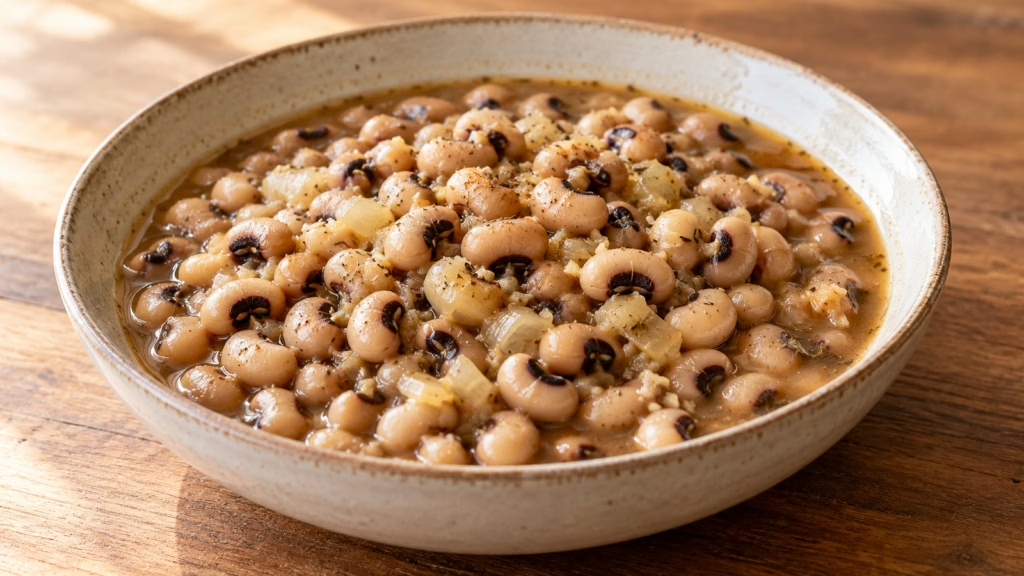
A pot of black-eyed peas can look ready while the centers still feel stubbornly firm. This black eyed peas recipe uses a gentle stovetop simmer, onion, garlic, and smoked paprika, with water added as needed rather than a race to finish at an exact minute. Start checking the peas early, then let their texture tell you when dinner is ready.
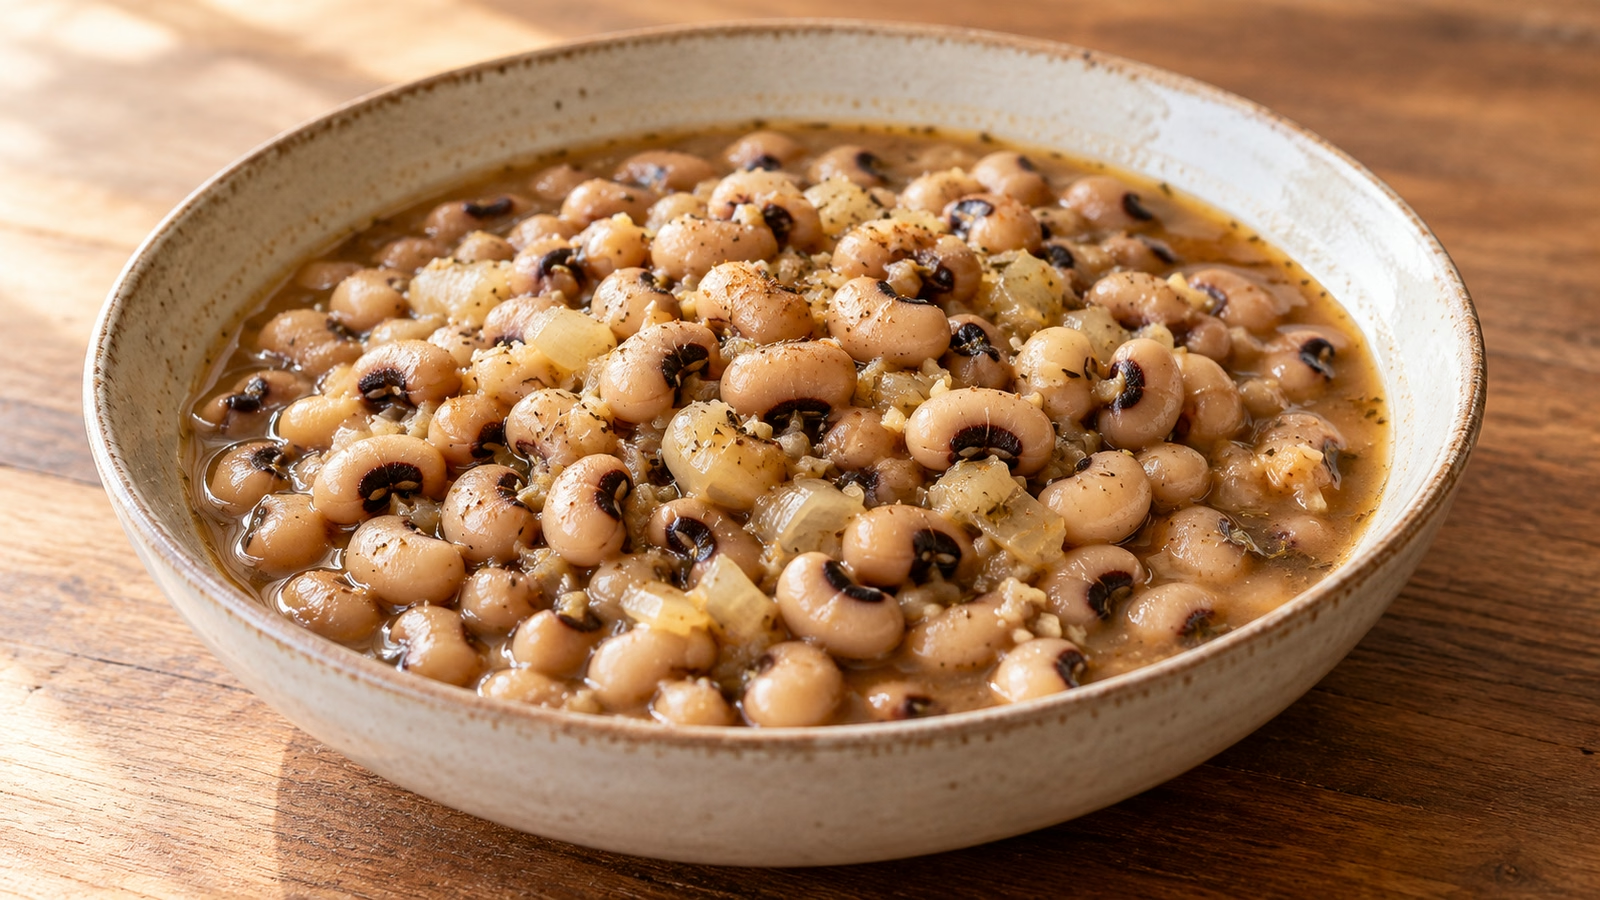
Give the peas time to soften, then decide how much broth belongs in your bowl.
Choose peas and seasonings that suit the pot
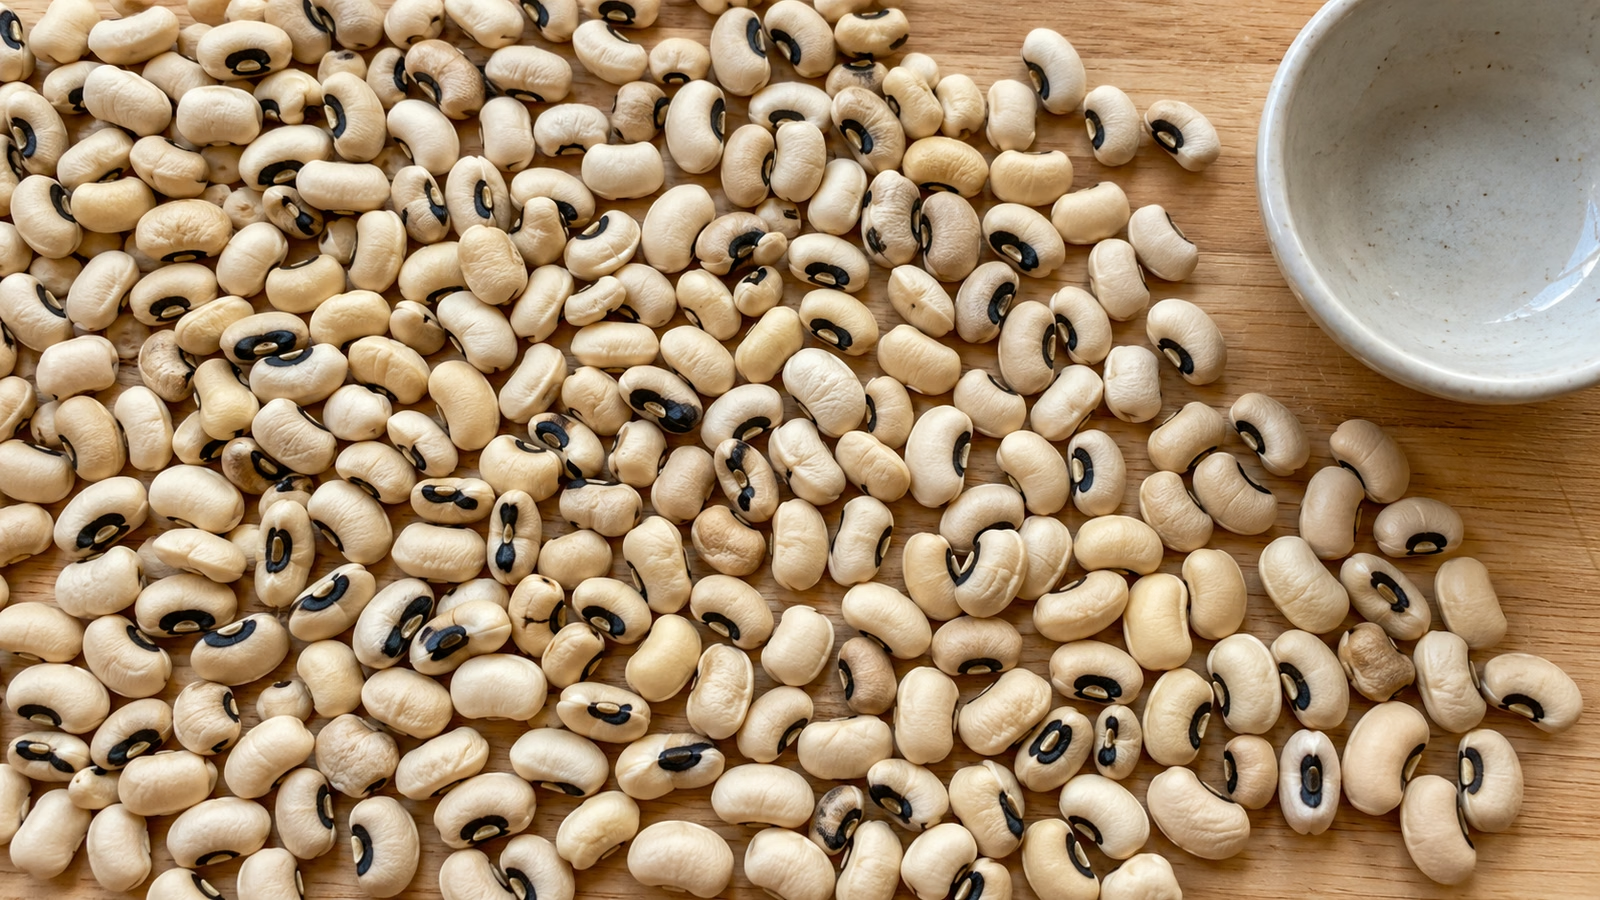
Dried black-eyed peas are the starting point here. I prefer a meatless base for this version because the onion and smoke can do their own work, and the pot stays flexible enough to serve beside several kinds of dinner.
- Sort before rinsing. Spread the peas where you can see them and remove stones, debris, or visibly damaged peas.
- Use smoked paprika, not just any red powder. It supplies the smoky note without bacon. Sweet paprika brings color and a different flavor; it is a choice, rather than an identical substitute.
- Soften the onion first. Give it time in the oil before adding the liquid. Garlic goes in later so it does not sit over the heat as long.
- Choose water or a familiar broth. Water leaves seasoning in your hands. Vegetable broth changes both flavor and salt; taste before adding the full amount of salt if you make that swap.
- Keep the acid for the finish. The vinegar belongs after the peas soften. That also makes it easier to taste its effect without guessing how the final broth will balance.
A gentle simmer beats a fixed deadline
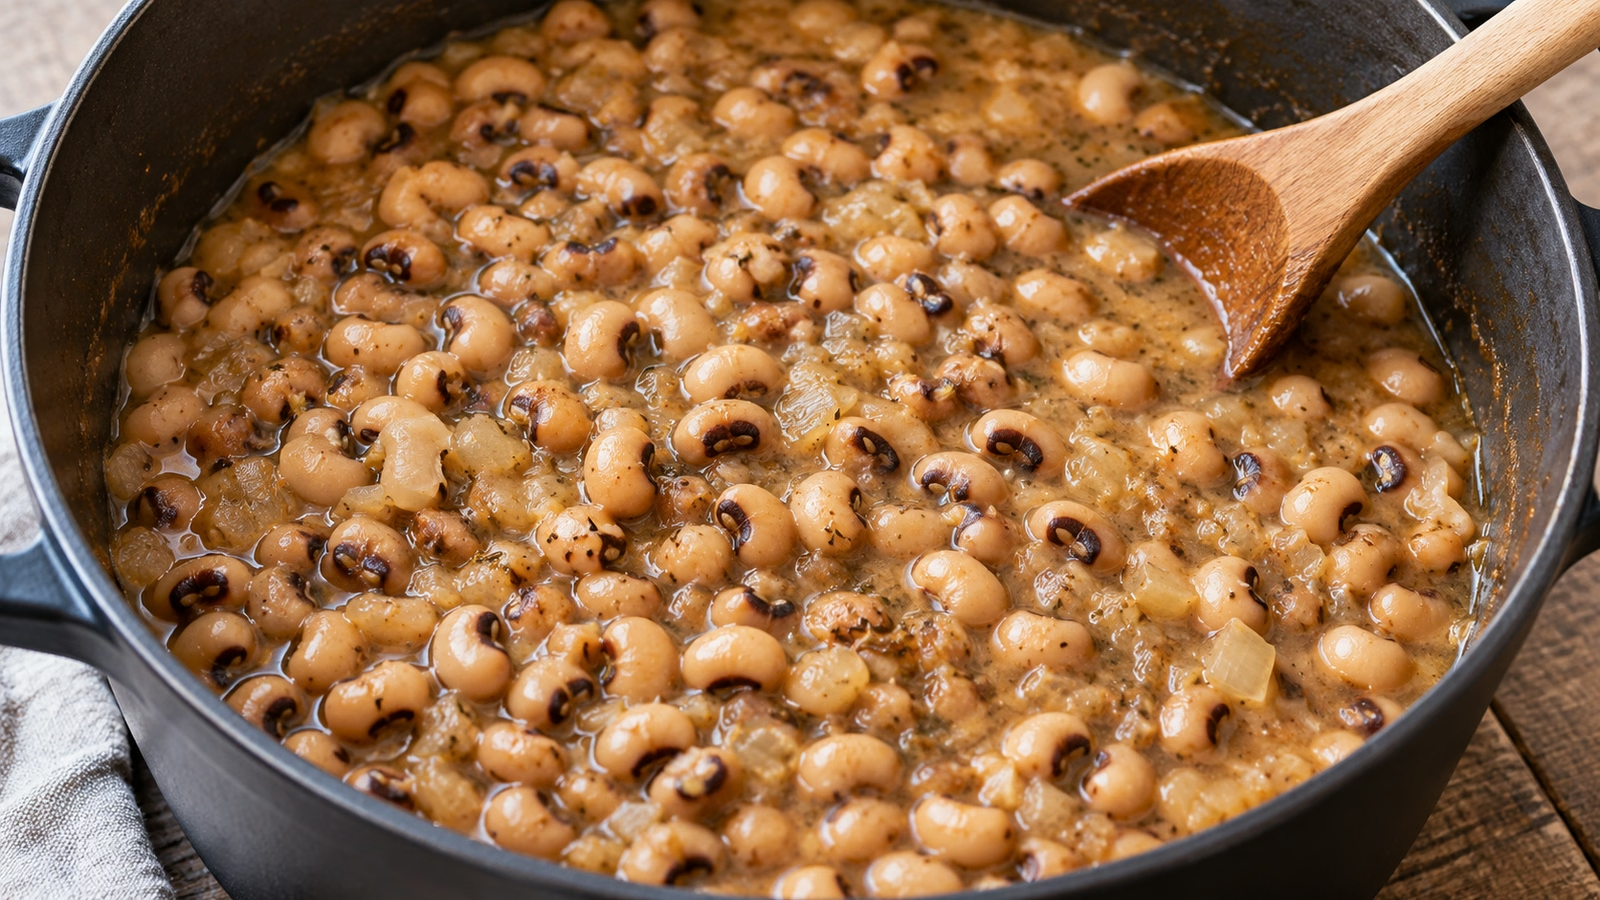
The practical question is less “How many minutes?” and more “Are the centers soft?” The recipe allows about 60–90 minutes for unsoaked peas, but the age of the peas and the way your stove holds a simmer can change that window. Build some room into your plans instead of turning up the burner to chase the clock.
- Watch the surface. Look for a steady, gentle simmer rather than a pot that churns violently. Stir occasionally, especially along the bottom.
- Watch the waterline. Keep the peas submerged while they cook. Add water when needed; a drying pot needs liquid before it needs another guess at the timer.
- Sample more than one pea. Begin checking after 45 minutes. Let a few cool enough to taste, then look for a soft center without a gritty or chalky bite.
- Finish the texture last. Once the peas are tender, uncover briefly if you want less liquid. Add hot water if you want a looser, spoonable bowl.
I would rather give firm peas another patient simmer than serve them because the timer has spoken. The timer is useful company, but it does not get the final vote.
Adjust the broth without losing the peas
This is a pot of whole peas with broth, not a smooth puree. A small amount of mashing can bring those two parts together while leaving plenty of peas intact. Make one adjustment at a time so you can tell whether the pot needs thickness, salt, or brightness.
- Too thin after the peas are tender: Mash a small spoonful against the side of the pot and stir it through. Let the liquid settle into a gentle simmer before deciding whether to repeat.
- Too thick: Add hot water a little at a time. Stir gently so you loosen the broth without breaking up every pea.
- Tender outside, firm inside: Continue cooking with enough liquid. Thickening is a finishing step, not a fix for undercooked centers.
- Flat flavor: Check salt first, then the finishing vinegar. More paprika adds another layer of smoke, but it will not replace those decisions.
- Considering canned peas: They are already cooked and need a shorter warming method with less liquid. Do not give them the dried-pea instructions and expect the same texture.
For another brothy dinner with a different pulse, Tastiva’s carrot red lentil soup offers a useful alternative. Red lentils soften differently, so it should stay a separate recipe rather than a direct swap here.
Serve a bowl now and handle leftovers promptly
Serve these peas as a side, or pair them with rice and cooked greens for a larger meal. I would keep the first bowl simple enough to notice the broth before adding hot sauce or other toppings.
- Refrigerate promptly: Divide leftovers into shallow containers and refrigerate within two hours, or within one hour when temperatures exceed 90°F (32°C).
- Keep the fridge cold: Store at 40°F (4°C) or below and use refrigerated leftovers within three to four days.
- Freeze portions for later: FoodSafety.gov lists two to three months for the quality of frozen vegetable soups and stews. Label containers so the date is easy to find.
- Reheat thoroughly: Bring leftovers to 165°F (74°C). Add water if the peas have absorbed more broth in storage.
Follow FoodSafety.gov’s safe cooling guidance and storage chart; a warm pot should not wait on the counter until it feels cold.
Black-Eyed Peas Recipe

Ingredients
- 1 pound dried black-eyed peas 453 g; sorted and rinsed
- 1 tablespoon olive oil 13.5 g
- 1 medium yellow onion 150 g; diced
- 3 cloves garlic 9 g; minced
- 1 teaspoon smoked paprika 2.3 g
- 1/2 teaspoon dried thyme 0.5 g dried leaves
- 1 bay leaf
- 6 cups water plus more as needed
- 1 teaspoon fine salt 6 g; divided
- 1/4 teaspoon black pepper 0.575 g, ground
- 2 teaspoons apple cider vinegar 10 g
Equipment
- 1 Large heavy pot with lid
- 1 Colander
- 1 wooden spoon
- 1 Measuring cups and spoons
Instructions
- Pick through the dried peas and discard stones and visibly damaged peas. Rinse in a colander.
- Warm the olive oil in a large heavy pot over medium heat. Add the onion and cook for 6–8 minutes, stirring, until softened. Add garlic, smoked paprika, and thyme; stir for 30 seconds.
- Add the peas, bay leaf, water, and half the salt. Bring to a boil, then reduce to a gentle simmer. Partially cover the pot. Stir occasionally and add water if needed to keep the peas submerged.
- Begin checking tenderness after 45 minutes. Continue simmering until several sampled peas are soft through their centers; allow roughly 60–90 minutes and longer if needed. Avoid a hard rolling boil.
- Remove the bay leaf. For a thicker broth, mash a small spoonful of tender peas against the pot and stir them back in. For a looser result, add a little hot water. Add vinegar, pepper, and the remaining salt to taste, then serve.
Nutrition
Notes
Tried this recipe?
Let us know how it turned out!Sources
- FoodSafety.gov: Four Steps to Food Safety
- FoodSafety.gov: Cold Food Storage Chart
- FoodSafety.gov: Safe Minimum Internal Temperatures
Hi, I’m Laura, the voice behind Tastiva. I’ve always believed that eating well should feel enjoyable, comforting, and realistic—not like another complicated rule to follow. I love creating recipes that fit into everyday life, sharing simple nutrition ideas, and finding small ways to make meals feel a little better without losing the pleasure of good food.