
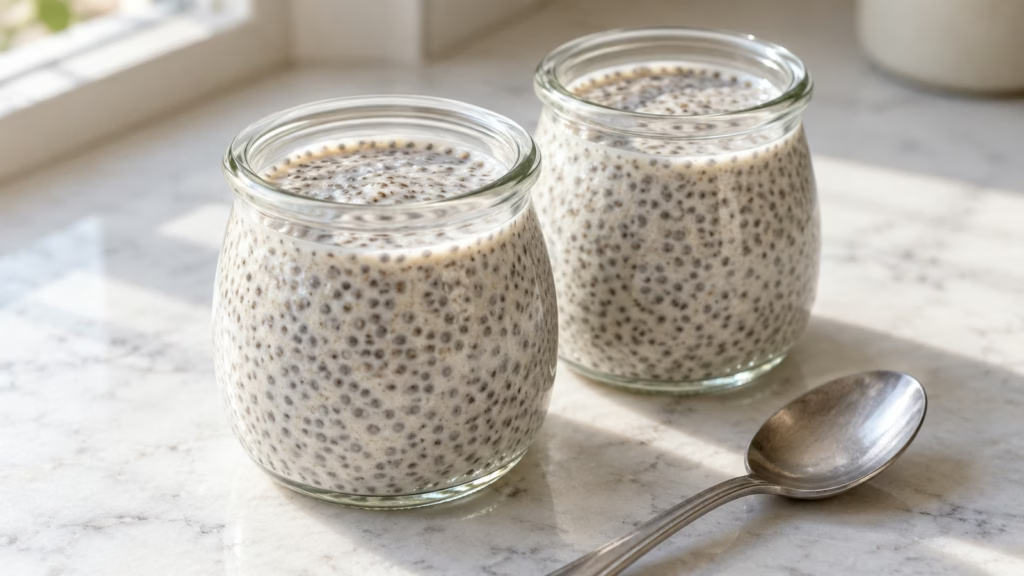
A jar of chia pudding can look ready on top while hiding a dry little seed island underneath. If you’re wondering how to make chia pudding with a more even texture, start with ¼ cup chia seeds for 1 cup milk, stir thoroughly, then stir again before the mixture finishes thickening. Refrigerate it covered until spoonable; this recipe allows four hours, with overnight as a convenient option.
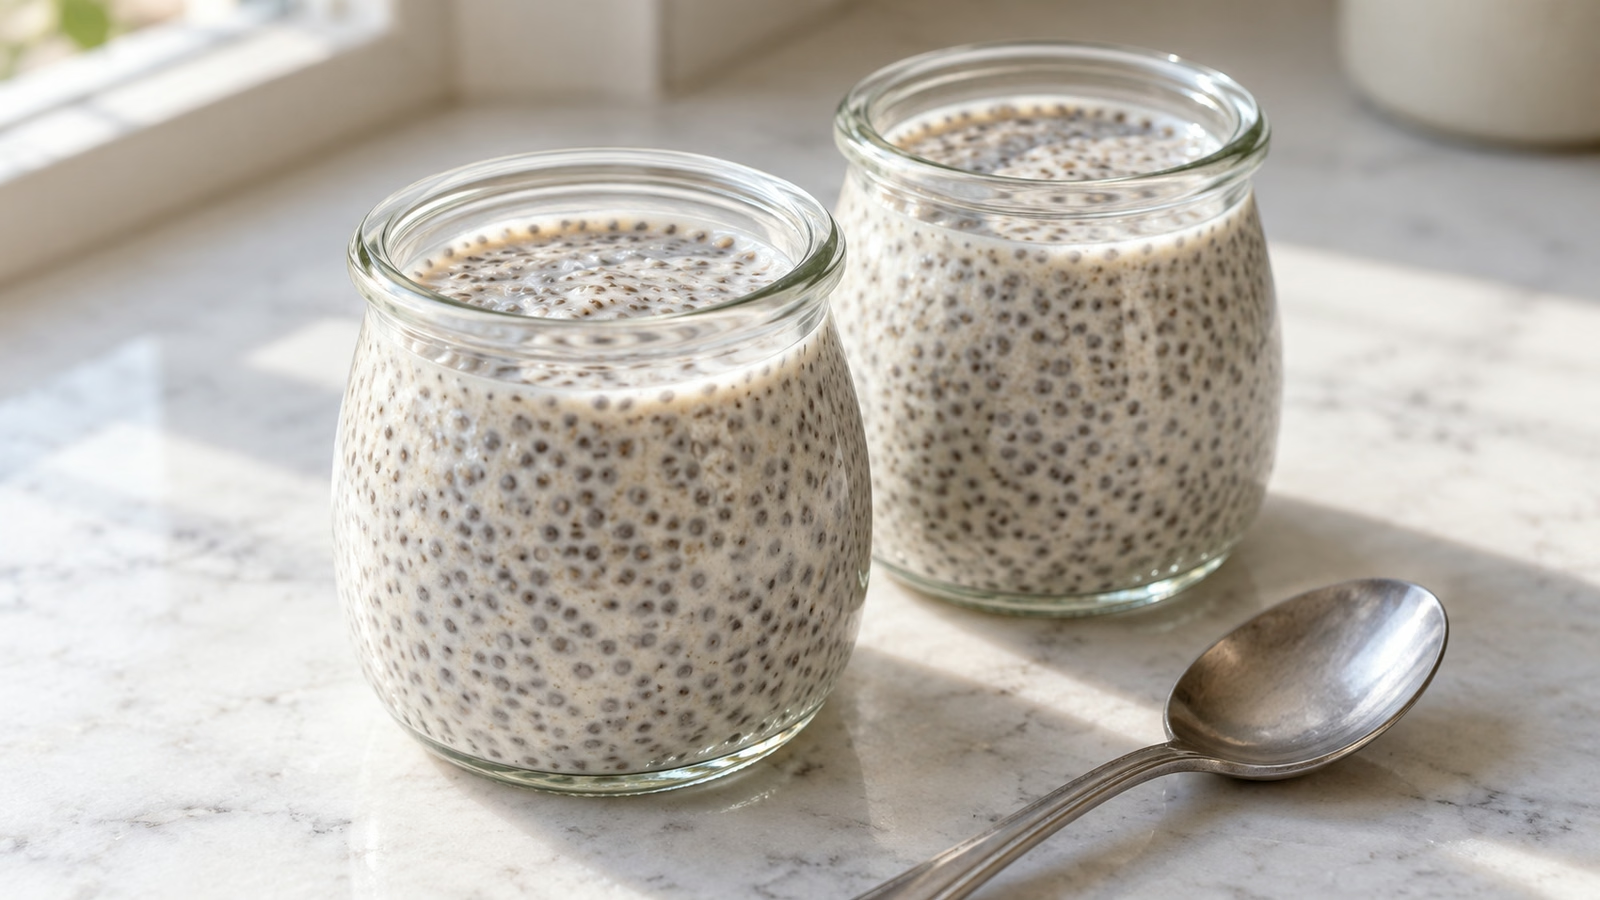
Give the seeds room to hydrate and a second good stir; the toppings can wait.
Start with the ratio, then choose your milk
Chia seeds thicken liquid without stovetop cooking, so the balance of seeds and milk does most of the work. The small seeds stay visible, giving the pudding a softly pebbled texture rather than the smoothness of custard. I’d decide whether that texture appeals to you before dressing it up as dessert.
- Whole seeds: Black or white chia seeds both work. Buy a plain product rather than a flavored mix, which may already contain sweeteners or other ingredients.
- Dairy milk: This recipe uses pasteurized 2% dairy milk for its reference base and nutrition estimate.
- Soy milk: A useful dairy-free option; choose a flavor you enjoy drinking because it will remain noticeable in the pudding.
- Almond milk: Another workable option, with its own flavor and nutrition profile. It isn’t nutritionally interchangeable with dairy or soy milk simply because all three hydrate the seeds.
- Vanilla and maple syrup: These season the base rather than make it set. Start modestly, especially if your milk is already sweetened.
A plant-based substitute changes the nutrition calculation. Check labels rather than assuming that dairy-free means nut-free.
How to make chia pudding without a clumpy bottom
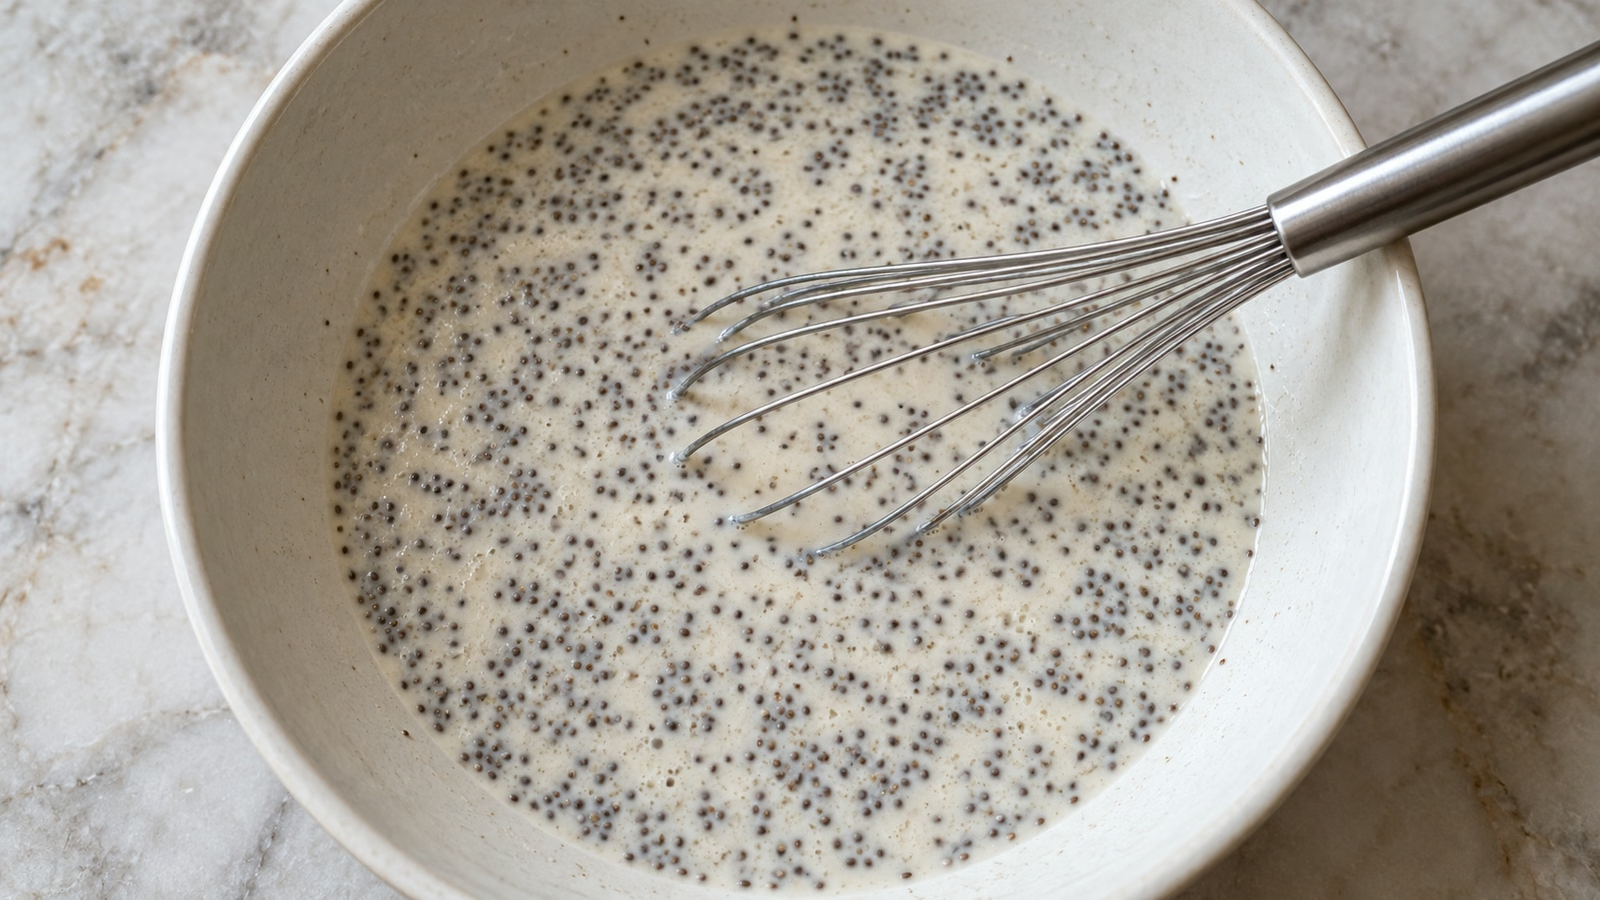
Distribute the seeds while the mixture is still loose. A clear jar makes seed pockets easier to spot.
- Mix in a bowl or roomy jar. Leave space to stir without spilling. Whisk the liquid and flavorings together before introducing the seeds.
- Stir right to the bottom. Work through the whole mixture, including the sides. Separate visible clusters rather than leaving them to sort themselves out.
- Return for a second stir. After about 10 minutes, stir again and scrape the base. The mixture will already be beginning to change consistency.
- Cover and chill. Let the refrigerator handle the waiting. Taste and adjust the consistency before adding toppings.
I prefer a bowl for mixing and jars for storing: it gives a whisk room to move without turning the counter into an incidental ingredient. If you’re comparing make-ahead breakfasts, Tastiva’s overnight oats recipe offers a different, oat-based texture.
Adjust the texture and toppings with purpose
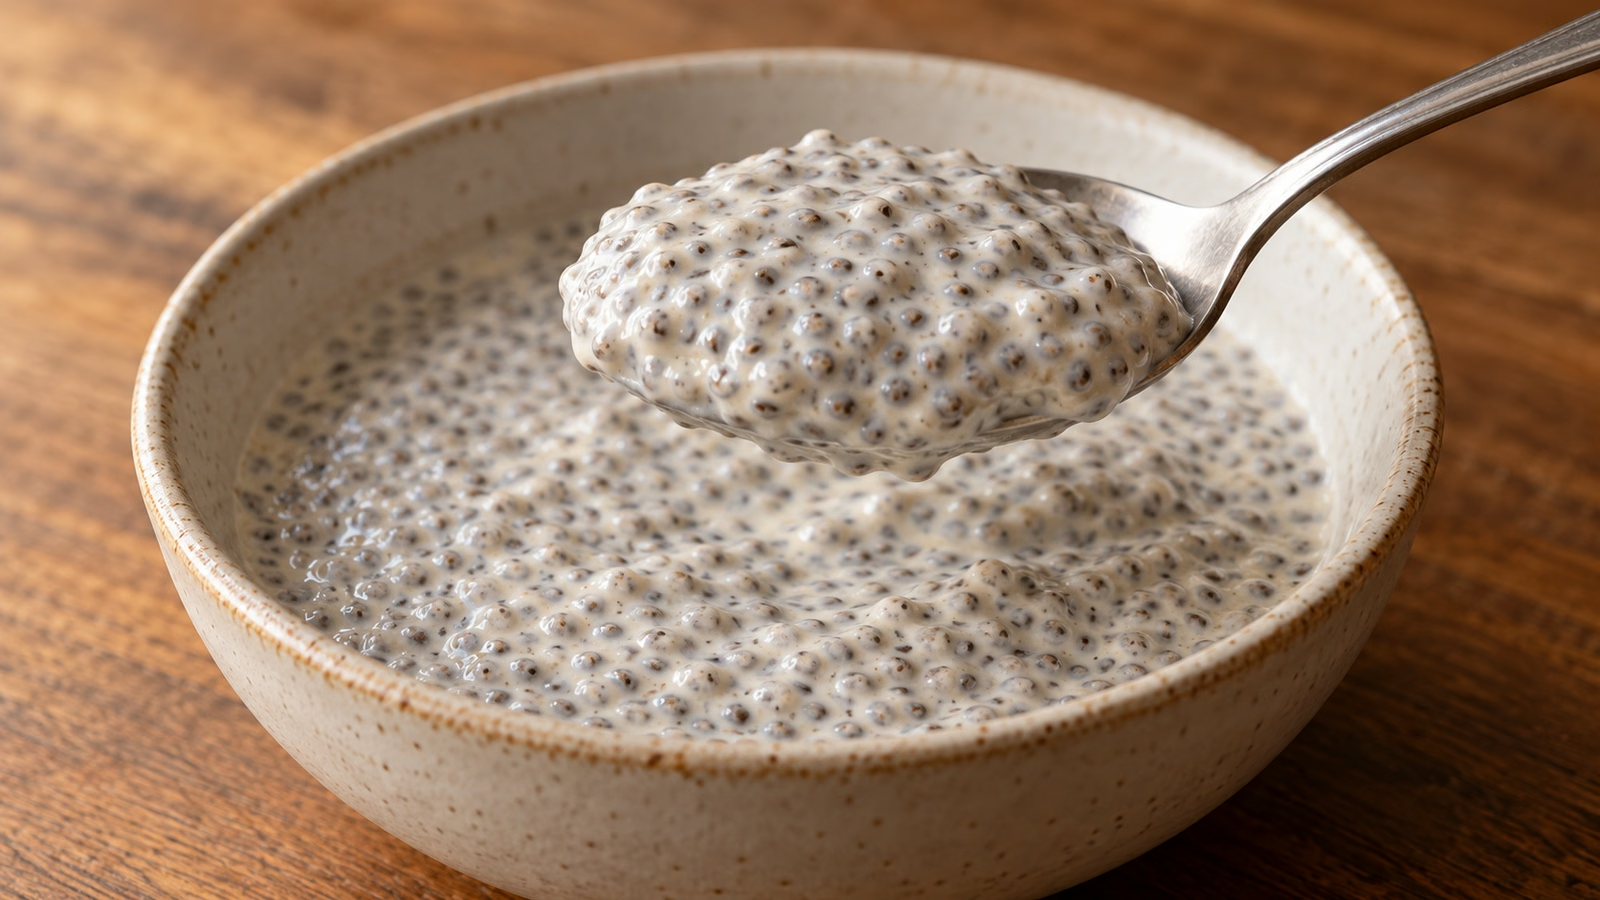
The first spoonful tells you more than a clock alone. Look for a mixture that holds together on the spoon yet moves when stirred, with hydrated seeds distributed throughout. Visible seeds aren’t a mistake.
- Too thick: Stir in a small splash of milk and reassess before adding more.
- Too loose: Stir thoroughly and give it more refrigerator time first. Check that you measured the seeds and liquid correctly before changing the ratio.
- Dry pockets: Break them apart with a fork or whisk so liquid reaches the seeds. Don’t serve a spoonful containing an unhydrated cluster.
- Want less seed texture: A blender can create a different texture, but that isn’t the same preparation as the whole-seed recipe here.
- Fruit topping: Add washed berries or sliced banana near serving time.
- Crunch topping: Add nuts or granola just before eating. Count toppings separately in nutrition estimates.
I’d keep the first batch lightly flavored rather than adding every topping at once. Separate toppings make your next adjustment more obvious. The pudding doesn’t need to audition as an entire breakfast buffet.
Keep the batch small and refrigerated
Prepare a manageable batch rather than a week’s supply, and use it promptly while respecting the milk’s storage directions. Store it covered at 40°F (4°C) or below. Don’t leave this milk-based mixture out for more than two hours, or one hour when the air is above 90°F (32°C), following FDA guidance.
- Label the container: Record when you mixed it so the jars don’t become a refrigerator guessing game.
- Store toppings separately: Add fruit and crunchy ingredients at serving time; inspect their condition and handle them safely too.
- Pack it cold: Use an insulated bag with cold packs when transporting it, and refrigerate it on arrival.
- Don’t use smell as a safety test: Discard a batch that was held too warm, even if it still looks normal.
Chia contributes fiber, but a pudding’s overall nutrition also depends on the milk, sweetener, toppings and serving size. I wouldn’t choose it for a promise of weight loss or a guaranteed blood-sugar outcome. Serve fully hydrated seeds rather than dry spoonfuls.
Chia Pudding Recipe

Ingredients
- 0.25 cup whole chia seeds 56 g; volume approximate
- 1 cup pasteurized 2% dairy milk fortified; 244 g, approximately 240 ml
- 1 teaspoon pure maple syrup
- 0.5 teaspoon vanilla extract
Equipment
- 1 Mixing bowl
- 1 Whisk or fork
- 1 Measuring cup and spoons
- 2 Covered storage containers
Instructions
- Whisk the milk, maple syrup and vanilla in a mixing bowl.
- Stir in the chia seeds, scraping the bottom and sides to distribute them.
- Cover and refrigerate. After 10 minutes, stir again to disperse developing clumps, then cover.
- Refrigerate for four hours total or overnight until spoonable and the seeds are fully hydrated.
- Stir and divide into two equal servings. Add optional toppings separately. If desired, loosen with a small splash of milk; additional milk and toppings change the nutrition estimate.
Nutrition
Video
Video: Lisa Bryan of Downshiftology demonstrates chia pudding with the same stir-and-chill method. Her version uses non-dairy milk and fruit layers; this recipe uses 2% dairy milk and less maple syrup. Follow the recipe above for its quantities and chilling time.
Notes
Tried this recipe?
Let us know how it turned out!Sources
- Harvard Nutrition Source: Chia Seeds — reference ratio, liquid options and guidance on hydrated seeds.
- FDA: Are You Storing Food Safely? — refrigeration temperature and time outside refrigeration.
Hi, I’m Laura, the voice behind Tastiva. I’ve always believed that eating well should feel enjoyable, comforting, and realistic—not like another complicated rule to follow. I love creating recipes that fit into everyday life, sharing simple nutrition ideas, and finding small ways to make meals feel a little better without losing the pleasure of good food.