
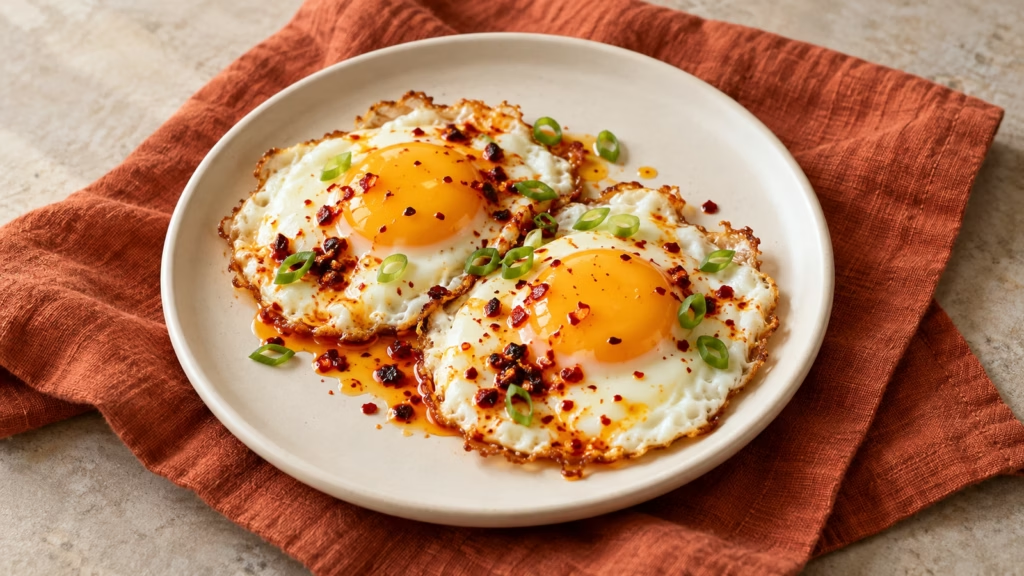
The red pepper smells inviting right up until it turns dark and bitter. Chili oil eggs need a gentler approach than a fiercely hot skillet: warm a small amount of oil with pepper flakes, add the eggs promptly, and finish cooking without scorching the seasoning. This pantry version makes one two-egg serving with a few scallions for a fresh finish.
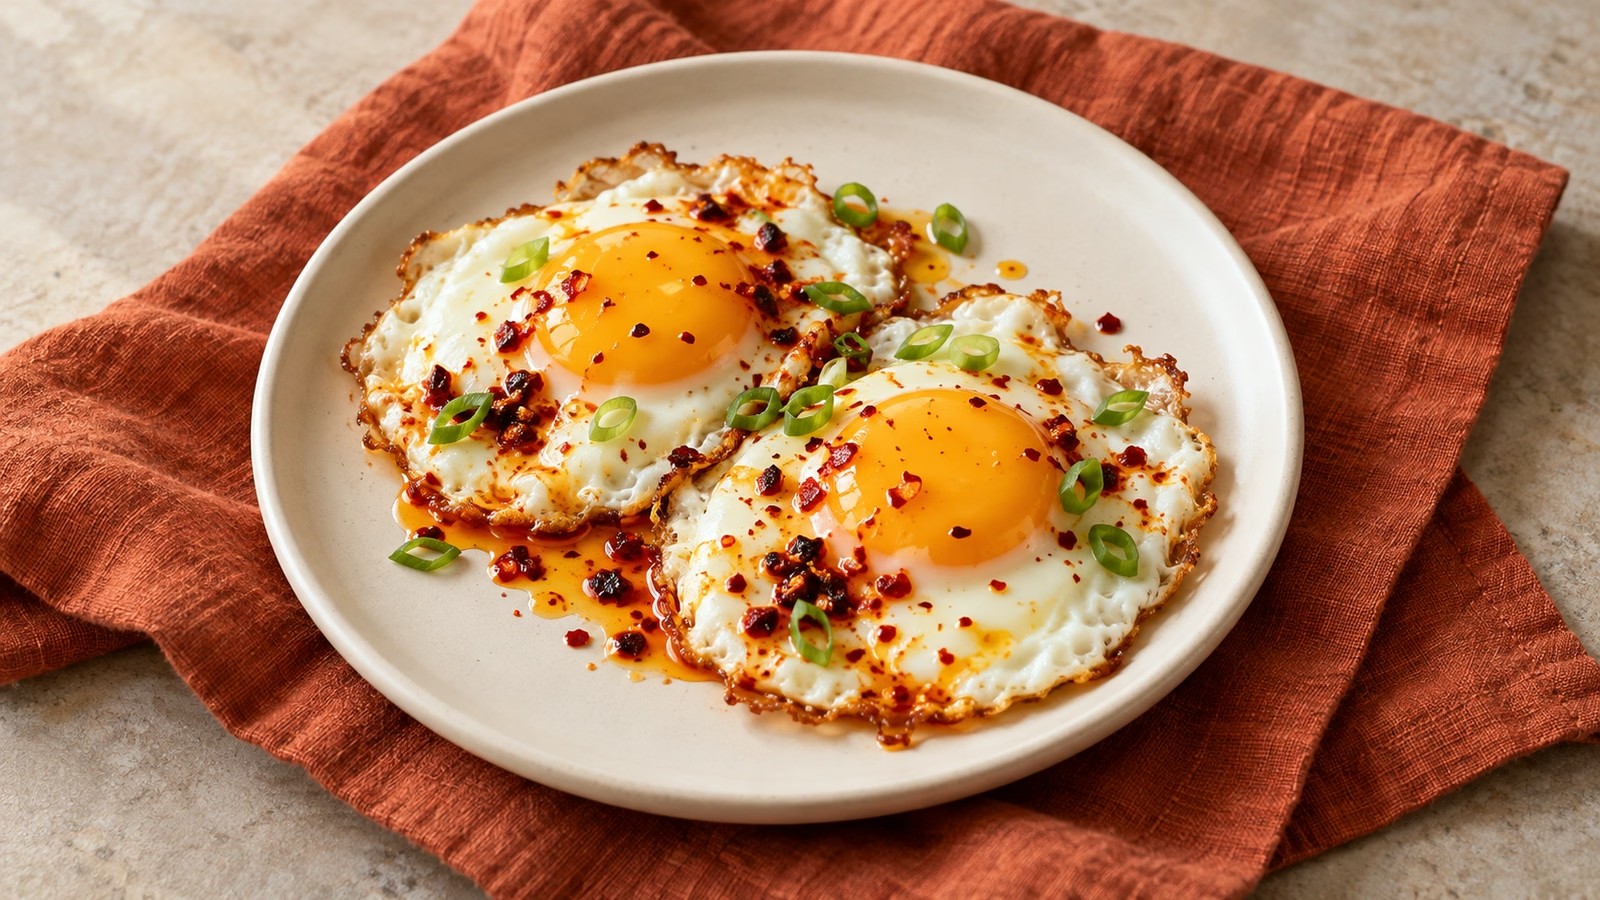
Let the pepper warm gently, and give the eggs enough time to finish before turning up the heat.
What makes chili oil eggs different
The oil carries the pepper around the egg as it cooks, rather than leaving all the heat in a spoonful on top. You get a lightly spicy coating around the whites and edges. The amount is deliberately modest; extra heat can always be added at the table, but it is difficult to remove from the pan.
Chili oil eggs appeared in Parade’s 2021 coverage and remain in its July 2026 viral-recipe collection. That makes them an established social-media idea, with a useful breakfast application. Here, neutral oil and dried red pepper replace the variable contents of a prepared chili-crisp jar.
- Chili oil: emphasizes pepper-infused oil, sometimes with flakes or other seasonings.
- Chili crisp: usually brings a larger proportion of crunchy solids, with ingredients that differ substantially by brand.
- This skillet mixture: is made for immediate cooking, not as a stored condiment. There is no need to make a jar first.
- Flavor direction: the eggs remain the main ingredient. Scallions add a small fresh contrast without another sauce.
Choose the pepper and prepare before heating
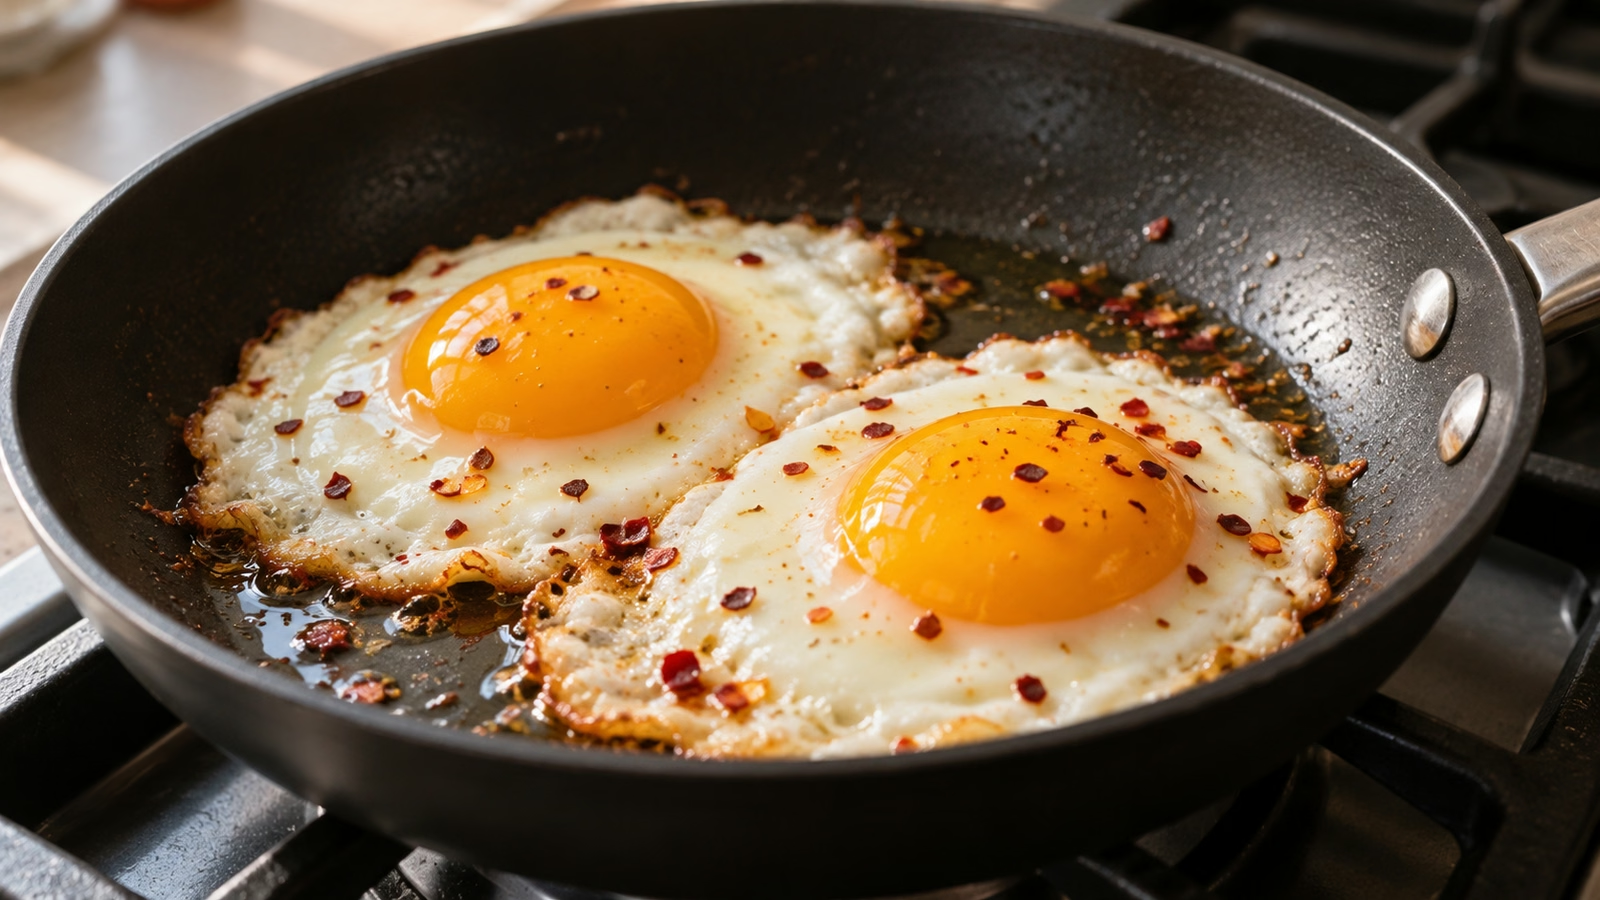
Use a small nonstick skillet with a lid and enough room for two eggs without stacking their whites. Crack the eggs into separate small bowls first. That makes it easier to remove shell fragments and slide them in promptly once the pepper is warm. Wash your hands after handling the shells.
I would start with a pinch if the pepper is unfamiliar. A measured quarter teaspoon is a starting point, not a guarantee of mild heat, because dried peppers vary. Keep your face away from the warm pan and avoid heating the flakes until they smoke.
- Oil: a neutral cooking oil such as canola keeps the flavor focused on the pepper. Measure it rather than pouring an unknown layer.
- Pepper flakes: stir briefly over medium-low heat. They should smell fragrant without becoming black.
- Scallions: wash, dry and slice them before cooking. Add them at the end so they remain fresh tasting.
- Using a jar instead: check its ingredients and salt first. Our hot honey and chili crisp comparison explains why these condiments are not interchangeable.
Cook for doneness, not just browned edges
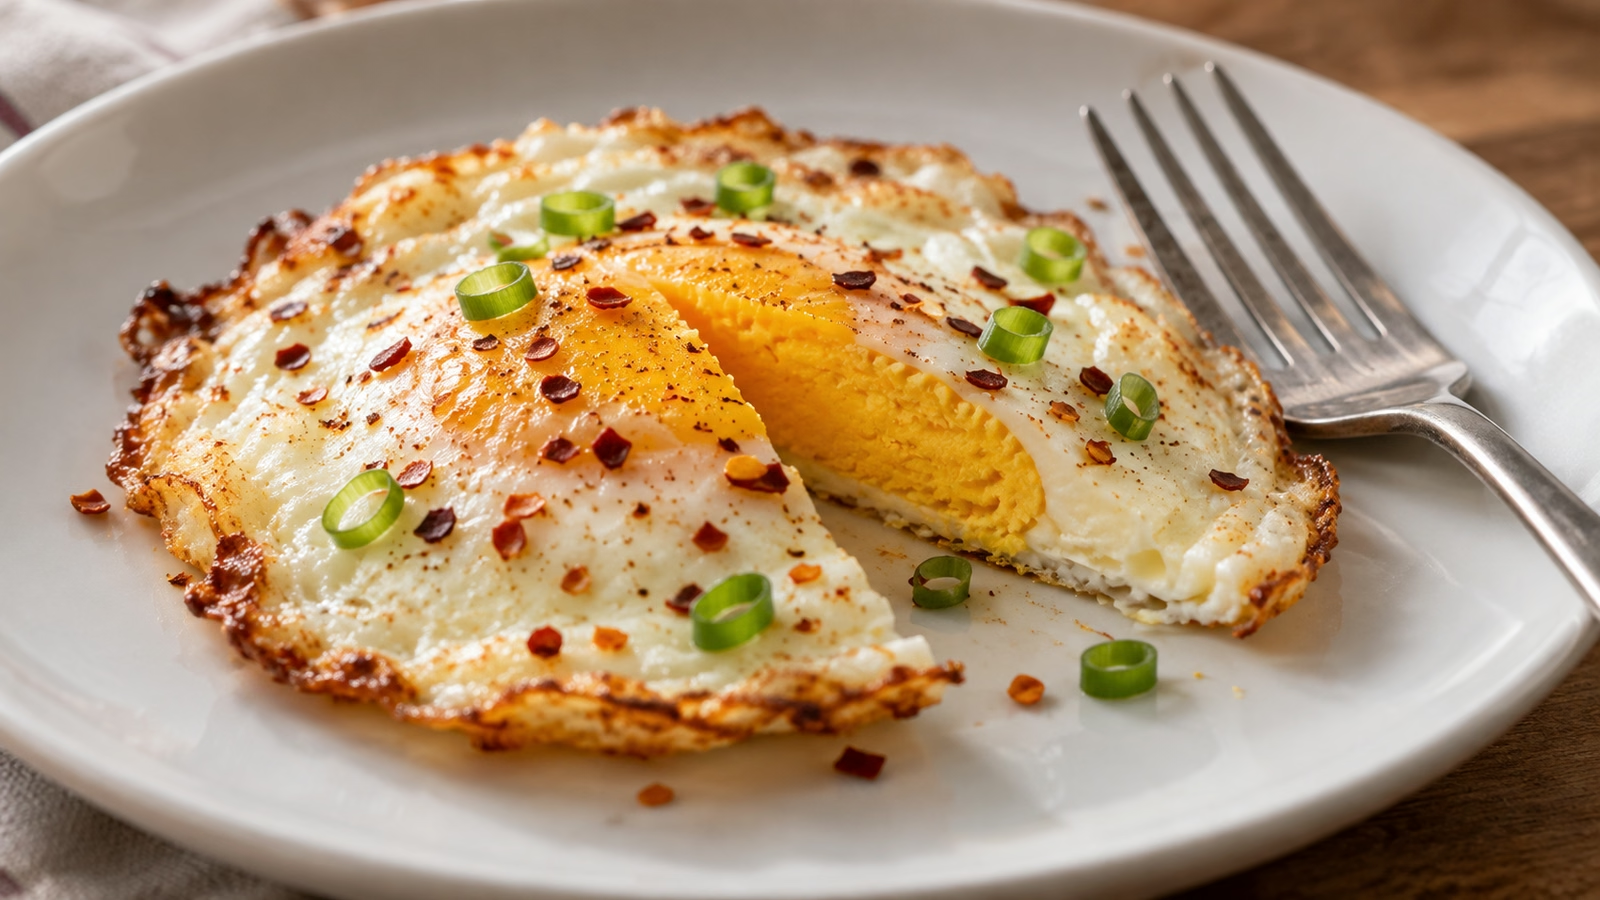
Once the eggs enter the pan, the whites should set gradually. If the underside colors before the top is ready, lower the heat and use the lid. A wide spatula can gently turn an egg when needed; preserving a picture-perfect top matters less than cooking the center properly.
The FDA advises cooking eggs until both whites and yolks are firm. This recipe follows that guidance rather than promising a runny center. Shell appearance, a browned edge or the oil’s heat does not establish that the egg is fully cooked.
- White still translucent: continue on low heat, covered, checking often. Do not rush it by blasting the burner.
- Yolk still soft: keep cooking and turn gently if needed, until it is firm throughout.
- Pepper darkening quickly: move the skillet off the heat briefly and lower the burner. Burnt pepper will not become milder with extra oil.
- Egg sticking: let the base set before sliding a thin spatula underneath. Scraping an unset white tends to tear it.
- Different pan: heavy pans retain more heat. Use the appearance of the eggs and pepper, not the clock alone.
Build a plate and serve it promptly
Toast, cooked rice or a few cucumber slices make practical companions, depending on what is already ready. I would prepare those before the eggs so breakfast does not wait while the pan keeps cooking. Spoon the small amount of seasoned oil over the whites when serving, then scatter the scallions.
The card’s estimate covers two eggs, all the measured oil, pepper and scallions. Bread, rice, additional condiments and optional salt are separate. If a commercial chili crisp replaces the simple oil mixture, its label is a better guide to sodium and allergens than the figures for this version.
- Serve immediately for the best texture. A fried egg loses its delicate edges as it sits.
- For leftovers, refrigerate promptly at 40°F (4°C) or below, use within three to four days and reheat to 165°F (74°C).
- Limit unrefrigerated time to two hours, or one hour above 90°F (32°C). These limits apply even if breakfast is being served slowly.
- When cooking for two people, make a second batch or use a larger pan with enough space. Crowding four eggs into the same small skillet changes the cooking.
Chili Oil Eggs Recipe

Ingredients
- 2 large eggs 100 g edible portion without shells
- 2 teaspoons canola oil 9 g
- 1/4 teaspoon crushed red pepper flakes about 0.5 g; reduce for milder heat
- 1 tablespoon sliced scallions 6 g
Equipment
- 1 Small nonstick skillet with lid
- 1 Two small bowls
- 1 wide spatula
Instructions
- Wash and slice the scallions. Crack each egg into a separate small bowl and remove any shell fragments. Wash your hands after handling the shells.
- Place the oil and red pepper flakes in a small nonstick skillet over medium-low heat. Warm gently for about 20–30 seconds, just until fragrant; do not let the flakes smoke or blacken.
- Slide in both eggs carefully. Cook for about 2 minutes, then lower the heat and cover. Continue for roughly 3–5 minutes, checking frequently, until the whites are completely opaque and both yolks and whites are firm. Turn gently with a spatula if needed to finish the yolks without scorching the bottoms.
- Transfer to a plate with the seasoned oil. Scatter the scallions over the eggs and serve immediately.
Nutrition
Notes
Tried this recipe?
Let us know how it turned out!Sources
- Parade: chili oil eggs technique and earlier trend coverage
- Parade: July 2026 viral-recipe collection
- FDA: egg doneness, serving and leftover safety
- USDA FoodData Central: SR Legacy ingredient data
Hi, I’m Laura, the voice behind Tastiva. I’ve always believed that eating well should feel enjoyable, comforting, and realistic—not like another complicated rule to follow. I love creating recipes that fit into everyday life, sharing simple nutrition ideas, and finding small ways to make meals feel a little better without losing the pleasure of good food.