
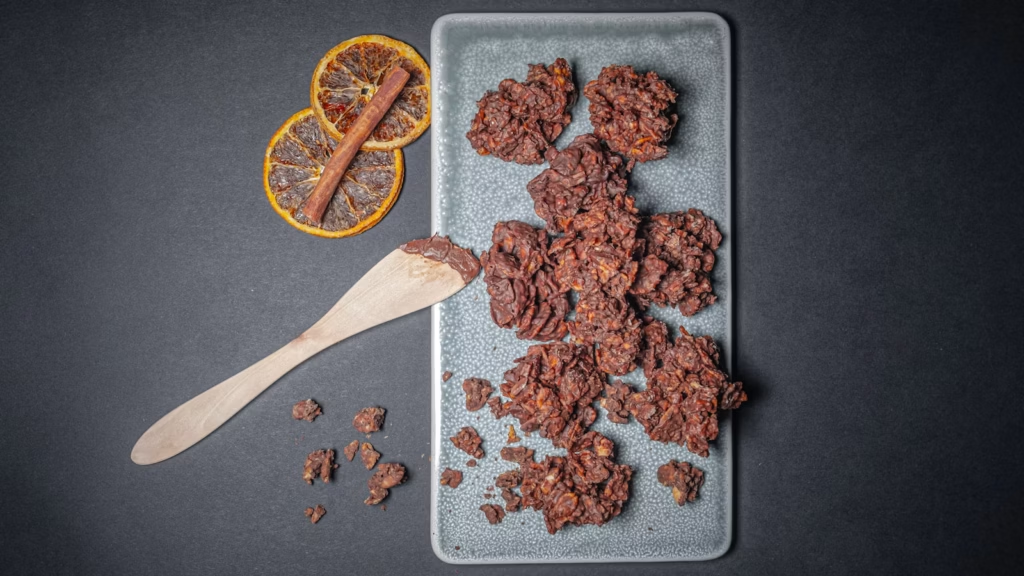
Cornflake cakes are the sort of no-bake treat that feels almost too easy until you bite into one. The chocolate sets into a thin snap around the cereal, the golden syrup adds a little chew, and the craggy shape catches every stray sprinkle. They are wonderfully unserious—and that is exactly their charm.
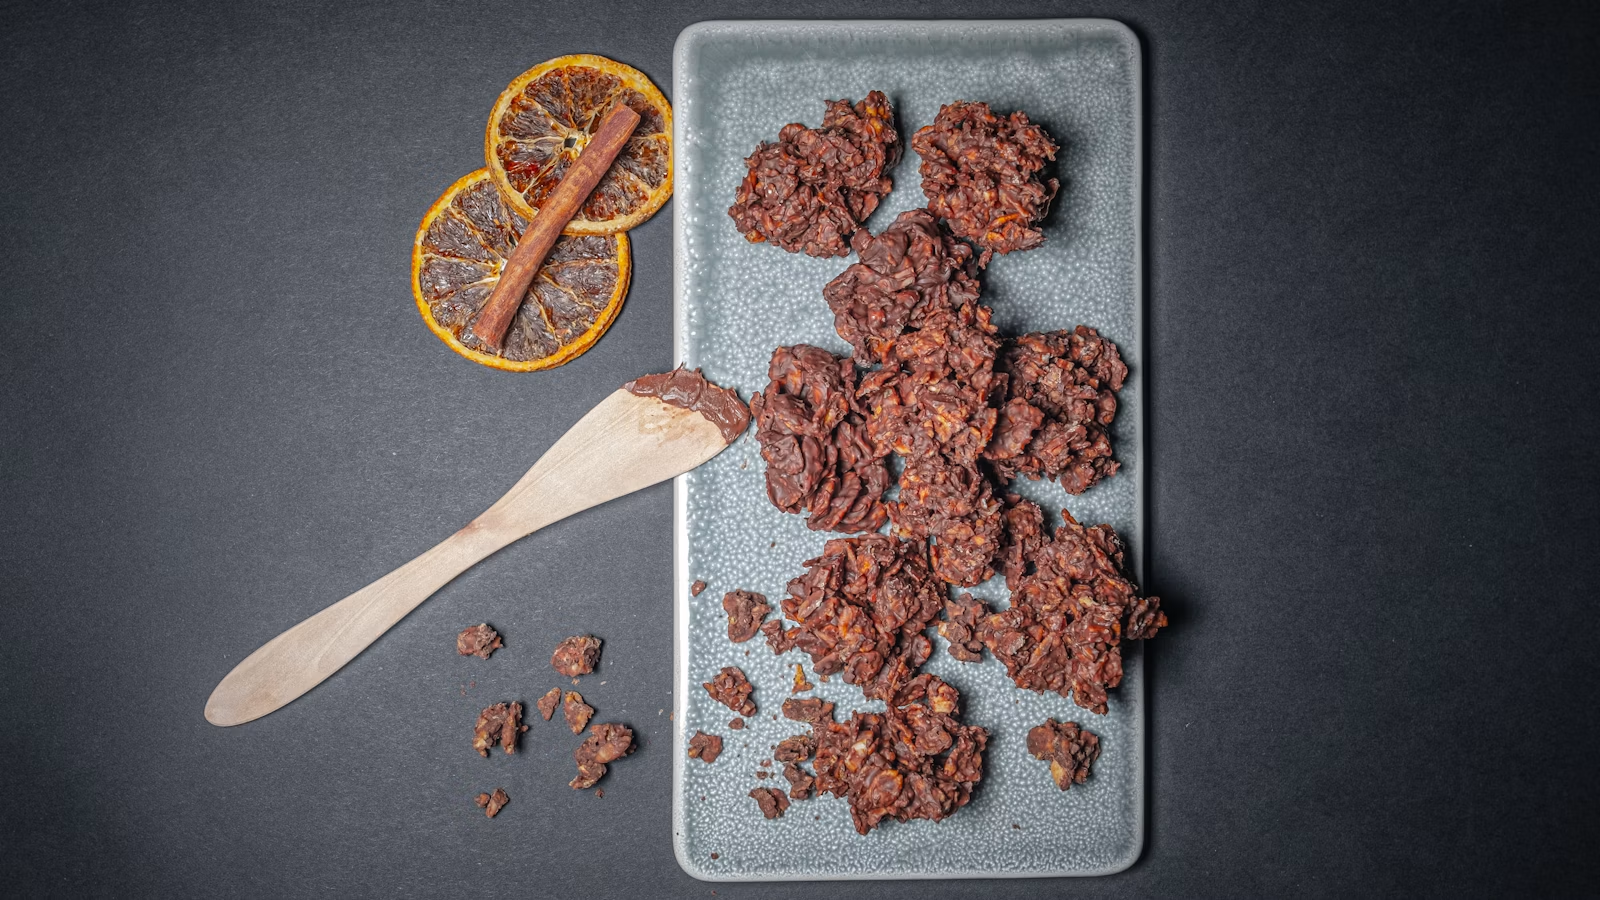
Cornflake cakes should crunch first and melt second. If they eat like a solid chocolate brick, someone has been a little too enthusiastic with the spoon.
Why cornflake cakes are a British classic
In Britain, these small chocolate cereal clusters appear at school fairs, birthday parties, Easter tables, and rainy-afternoon kitchen projects. Despite the name, they are not sponge cakes. They are individual no-bake clusters portioned into paper cases and chilled until firm.
The appeal is practical as well as nostalgic. You need no oven, the ingredient list is short, and children can help with measuring, folding, and decorating. An adult should handle the warm saucepan, but everything after that is satisfyingly hands-on. The recipe makes 12 generous cakes; for a bake sale, use smaller paper cases and make 16 to 18.
They also sit in a useful middle ground between candy and cake. One portion feels like a treat, yet the rough cereal shape keeps it light and crisp rather than dense. That texture depends on leaving some air between the flakes, so resist pressing the mixture flat. I use a muffin tin to support the paper cases while the chocolate sets; without it, the warm mixture can push the cases outward and produce charming but very wide little saucers.
Choose chocolate and cereal for the best crunch
Milk chocolate gives the familiar sweet, creamy flavor. Dark chocolate makes a more grown-up cake and balances the syrup, while white chocolate can be temperamental when combined with butter. Whatever you choose, chop a bar into even pieces so it melts smoothly. Chocolate chips will work, but some are formulated to hold their shape and may need more patient stirring.
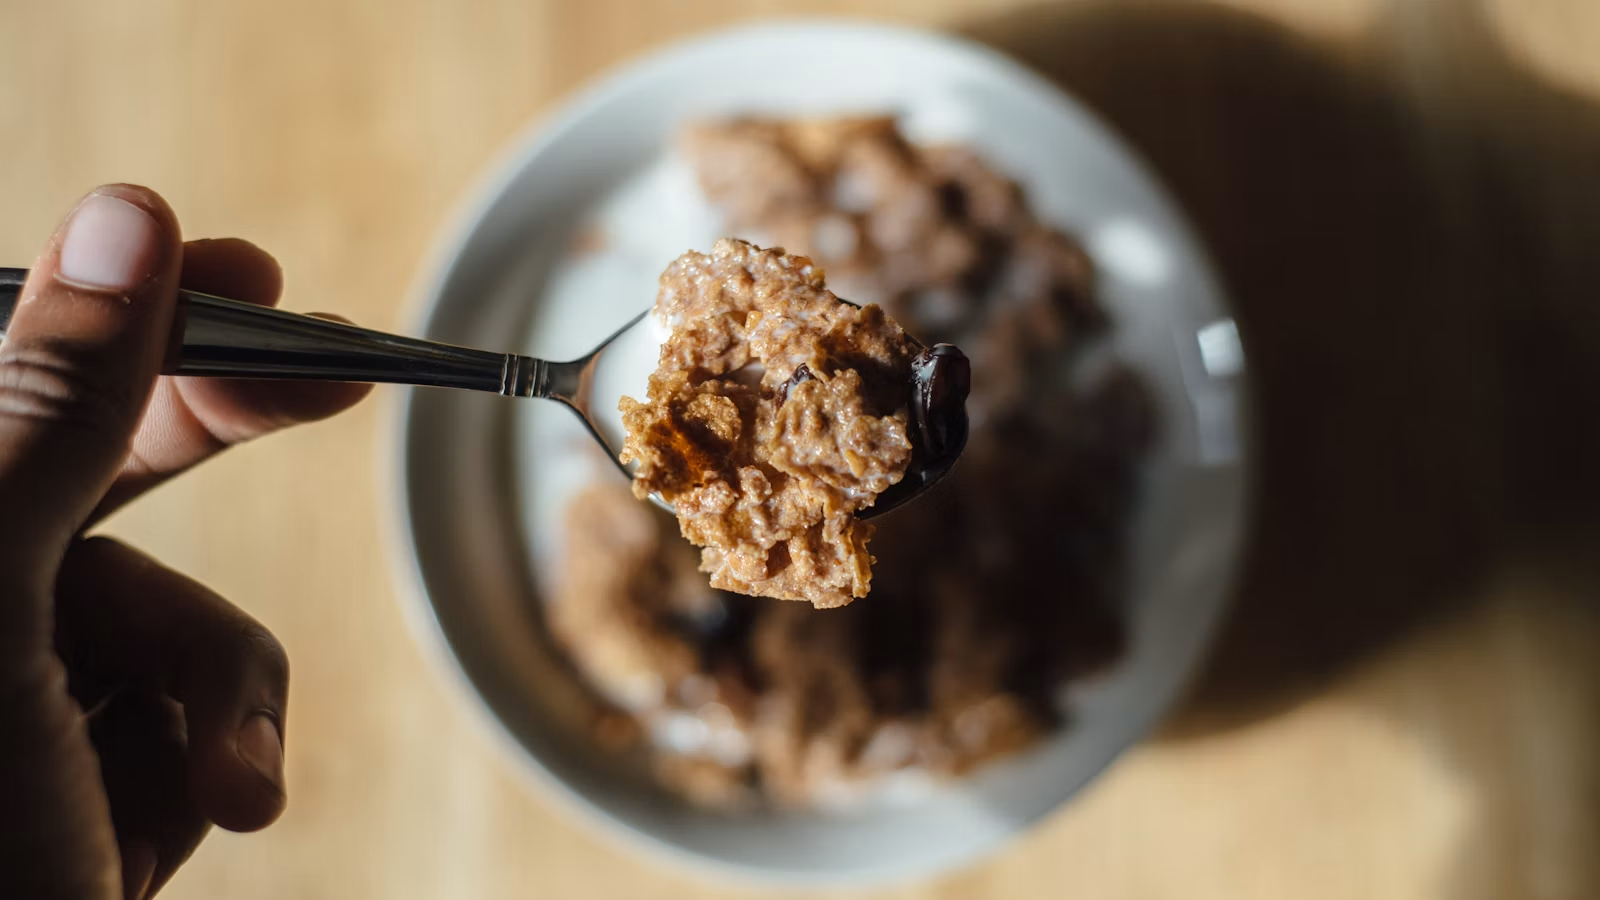
Use plain, fresh cornflakes. A box that has been open long enough to lose its snap will not recover under a chocolate coat. Measure the cereal before you start melting anything; the chocolate mixture begins to thicken as it cools, and this is not the moment to wrestle with a cereal bag.
Golden syrup contributes both flavor and flexibility. It keeps the coating from setting quite as hard as plain melted chocolate. If you substitute another syrup, expect a change in taste and texture. Decorations are optional. A few sprinkles, mini candies, or toasted coconut look festive, but the cakes are perfectly happy without accessories.
Cornflake cakes recipe
The complete quantities and timings are in the recipe card below. The important technique is gentle heat followed by gentle folding. Chocolate scorches easily, and cornflakes crush easily; treating both with a light hand is the whole recipe in miniature.
I portion the mixture while it is still glossy, using two spoons so the clusters stay loose and craggy. If the last few cakes look smaller, redistribute a spoonful from the first ones before the chocolate sets. This is also the moment for sprinkles: add them immediately, while the surface is tacky enough to hold them without glueing on a second layer of chocolate.
Cornflake Cakes Recipe

Ingredients
- 200 g milk chocolate about 7 ounces, chopped; use dark chocolate for a less-sweet version
- 75 g unsalted butter about 5 tablespoons
- 2 tablespoons golden syrup
- 150 g plain cornflakes about 6 cups
- 2 tablespoons sprinkles or mini chocolate candies optional
Equipment
- 1 12-hole muffin tin
- 12 paper cupcake cases
- 1 medium saucepan
- 1 large mixing bowl
- 1 silicone spatula
Instructions
- Line a 12-hole muffin tin with paper cases. Measure the cornflakes into a large mixing bowl so the chocolate mixture can be added immediately.
- Put the chopped chocolate, butter, and golden syrup in a medium saucepan. Warm over very low heat, stirring constantly, until smooth. Remove from the heat as soon as the final chocolate pieces melt.
- Pour the warm chocolate mixture over the cornflakes. Fold slowly with a silicone spatula, lifting from the bottom, until the flakes are evenly coated without being crushed.
- Divide the mixture among the 12 paper cases, mounding it lightly rather than packing it down. Add sprinkles or mini candies, if using.
- Refrigerate for about 2 hours, or until the chocolate is firm. Let the cakes stand at room temperature for 5 minutes before serving if they are very cold.
Nutrition
Video
Notes
Tried this recipe?
Let us know how it turned out!How to prevent soft, crumbly, or overly hard cakes
If the cakes are soft after chilling, the cereal-to-chocolate ratio may be too high or the refrigerator may be unusually warm. Give them another 30 minutes before changing anything. If they crumble when lifted, the flakes probably were not fully coated. Fold from the bottom of the bowl and pause when every flake has at least a thin chocolate sheen.
Very hard cornflake cakes usually contain too much chocolate or have been packed firmly into the cases. Spoon the mixture in loosely and let the irregular edges remain. The point is crunch, not structural engineering. If the chocolate mixture turns grainy while melting, the heat was likely too high or a drop of water entered the pan. Start again with a dry saucepan and the lowest heat your stove can manage.
Store the set cakes in an airtight container in the refrigerator for up to five days. Their crunch is best during the first two or three days. Let them stand for about five minutes before eating so the chocolate is firm rather than tooth-testingly cold. For lunchboxes or outdoor parties, keep them cool; warm chocolate and paper cases are a friendship with limits.
Sources
- Dr. Oetker: Chocolate Cornflake Cakes
- Kellogg’s UK: Corn Flakes ingredients and nutrition
- MS Society: Chocolate Easter Nests
Hi, I’m Laura, the voice behind Tastiva. I’ve always believed that eating well should feel enjoyable, comforting, and realistic—not like another complicated rule to follow. I love creating recipes that fit into everyday life, sharing simple nutrition ideas, and finding small ways to make meals feel a little better without losing the pleasure of good food.