
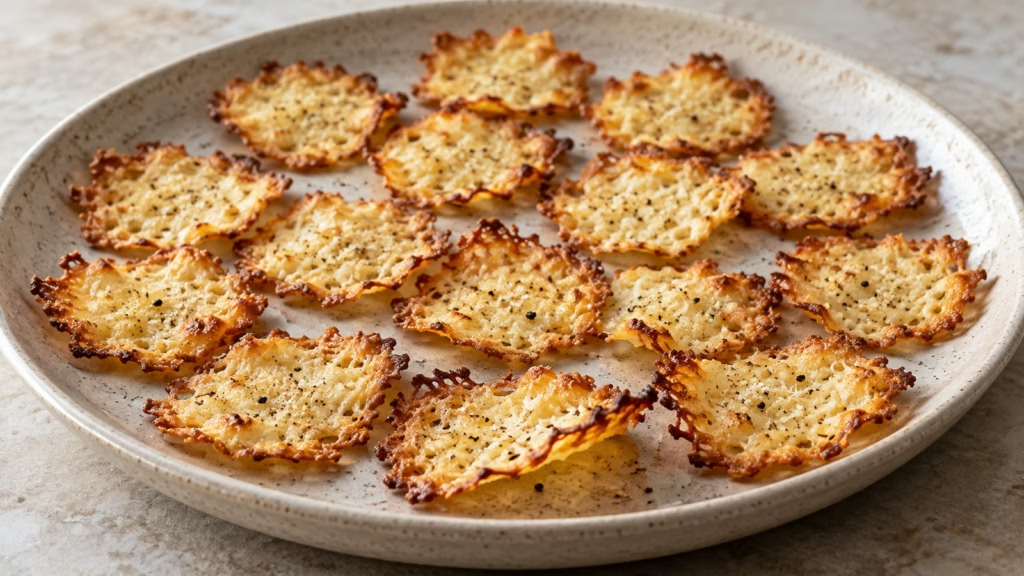
A tray of cottage cheese can look stubbornly pale until, suddenly, the edges are brown. Cottage cheese chips need your attention most at that last stage: spread small spoonfuls into thin rounds, bake until the edges color, then let them settle before lifting. This Parmesan-and-pepper version makes a modest batch of delicate, savory crisps.
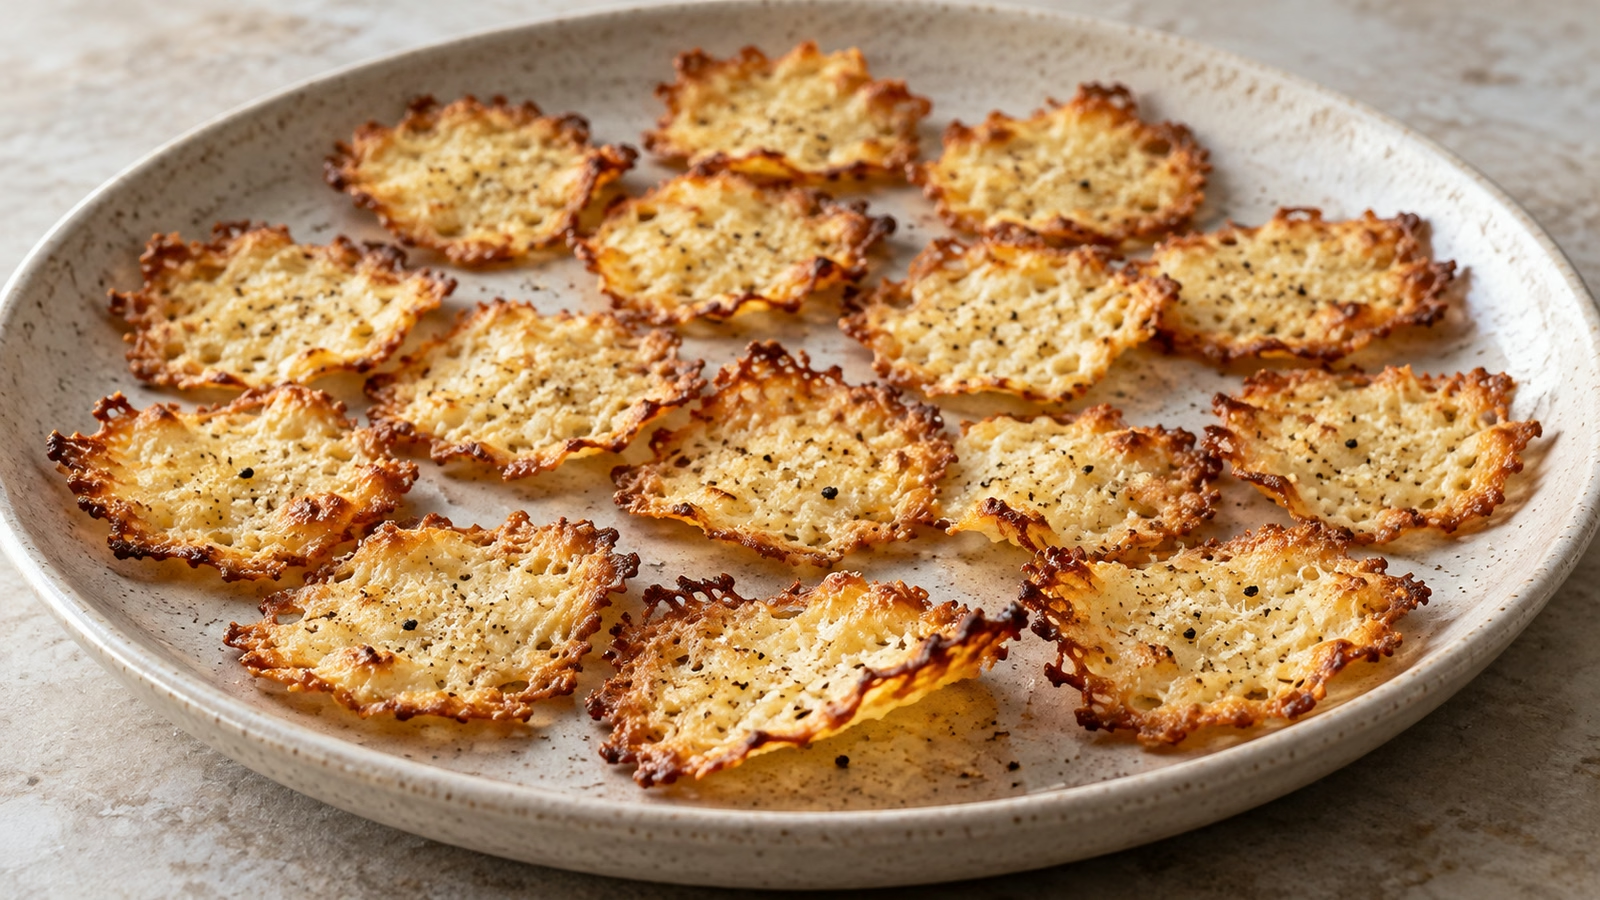
Give each spoonful space, keep the rounds thin, and watch the final minutes. The useful target is a browned cheese crisp with a little chew, rather than a potato-chip imitation.
Choose the cottage cheese for the texture you want
I’d start with plain, small-curd cottage cheese with about 4% milk fat. It is easy to portion, and the small curds make flattening less awkward. Stir the tub first; if there is an obvious puddle of liquid, spoon that off before weighing the cheese for this recipe.
- Use 225 g of cottage cheese after removing any loose liquid. Do not press it completely dry or rinse the curds.
- Finely grated Parmesan adds a more concentrated cheese flavor. Weigh the 10 g if you can, because fluffy freshly grated cheese packs differently from a shaker product.
- Black pepper is the only seasoning needed here. Both cheeses already contribute salt, so taste a finished chip before considering more.
- A light brush of oil on parchment helps release. The measured 2 g is for both sheets together; the cheese itself does not need an oil bath.
The brand matters because moisture, curd size and thickeners vary. Keep the first batch small enough to observe. A different tub may need slightly different timing, even when the fat percentage matches.
Small rounds and an uncrowded tray do the work
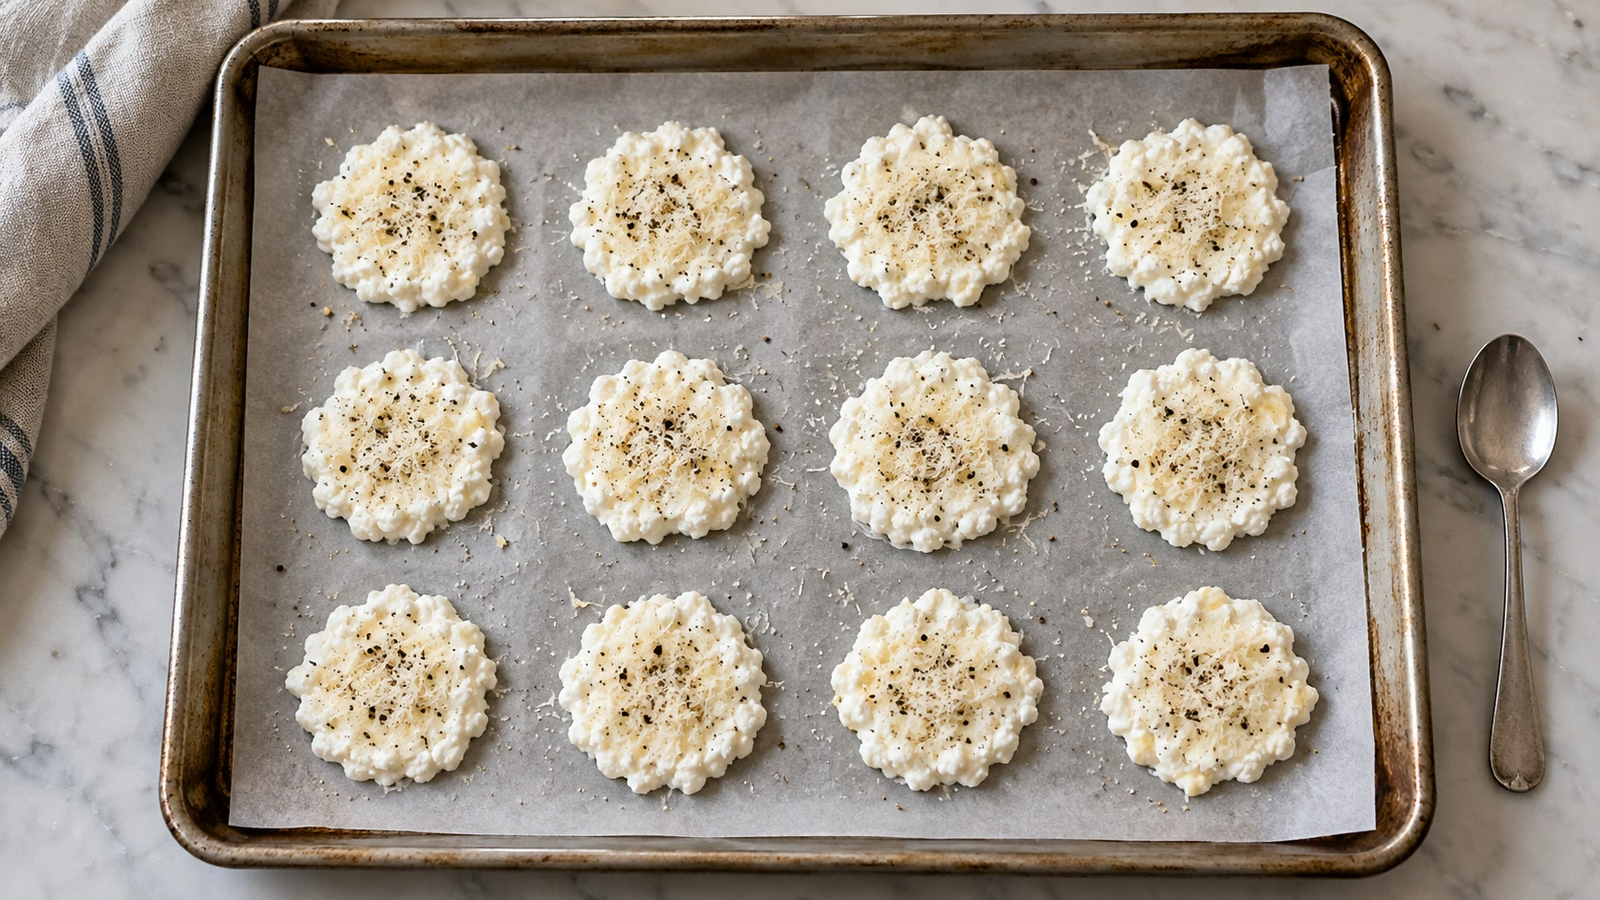
This batch is designed for roughly 24 small chips. Divide the cheese between two lined trays and flatten each spoonful to about 1½ inches across. Aim for an even layer with the curds touching; a thick hill in the center will stay soft while its thin perimeter darkens.
- Leave about 2 inches between rounds. They can spread as they heat, and joined edges are harder to lift cleanly.
- Use parchment approved for the oven temperature. Wax paper is a different product and does not belong on this tray.
- Bake at 350°F (175°C), rotating the trays and exchanging their positions midway through cooking.
- Start looking closely at 16 minutes. Around 18 to 24 minutes is a useful working range, but dry-looking centers and golden edges matter more than the clock.
- Cool on the tray for about 5 minutes. A thin spatula is gentler than fingers when the chips are still fragile.
I prefer a pale-gold center with a deeper rim over a uniformly dark chip. That extra minute can be expensive in cheese terms. Pull individual chips that finish early rather than waiting for every round to look identical.
Fix soft centers before adding more seasoning
Expect a light, cheese-forward snack with crisp edges and some possible chew. Good Housekeeping’s September 2026 coverage describes this texture limitation in the social-media trend; the appeal is the small savory bite, not a guarantee of a dry commercial-cracker snap.
- Brown edges, wet center: flatten the next batch more evenly and reduce the size of each spoonful. More heat can burn the rim first.
- Sticking underneath: let the rounds cool briefly, then slide a thin spatula flat against the parchment instead of pulling upward.
- Greasy surface: avoid stirring extra oil, pesto or oily chili crisp into the cheese before baking. Add a tiny amount after baking if you want that flavor.
- Uneven browning: rotate the trays, check your oven temperature and leave more room around thick rounds.
- Very dark edges: remove those pieces promptly. Browned cheese can become bitter as it burns; extra seasoning cannot reverse that.
For a different flavor on another batch, use a small pinch of garlic powder or paprika in place of some pepper. Keep the seasoning dry and light enough that you can still judge the cheese’s color.
Serve a small batch while the texture is fresh
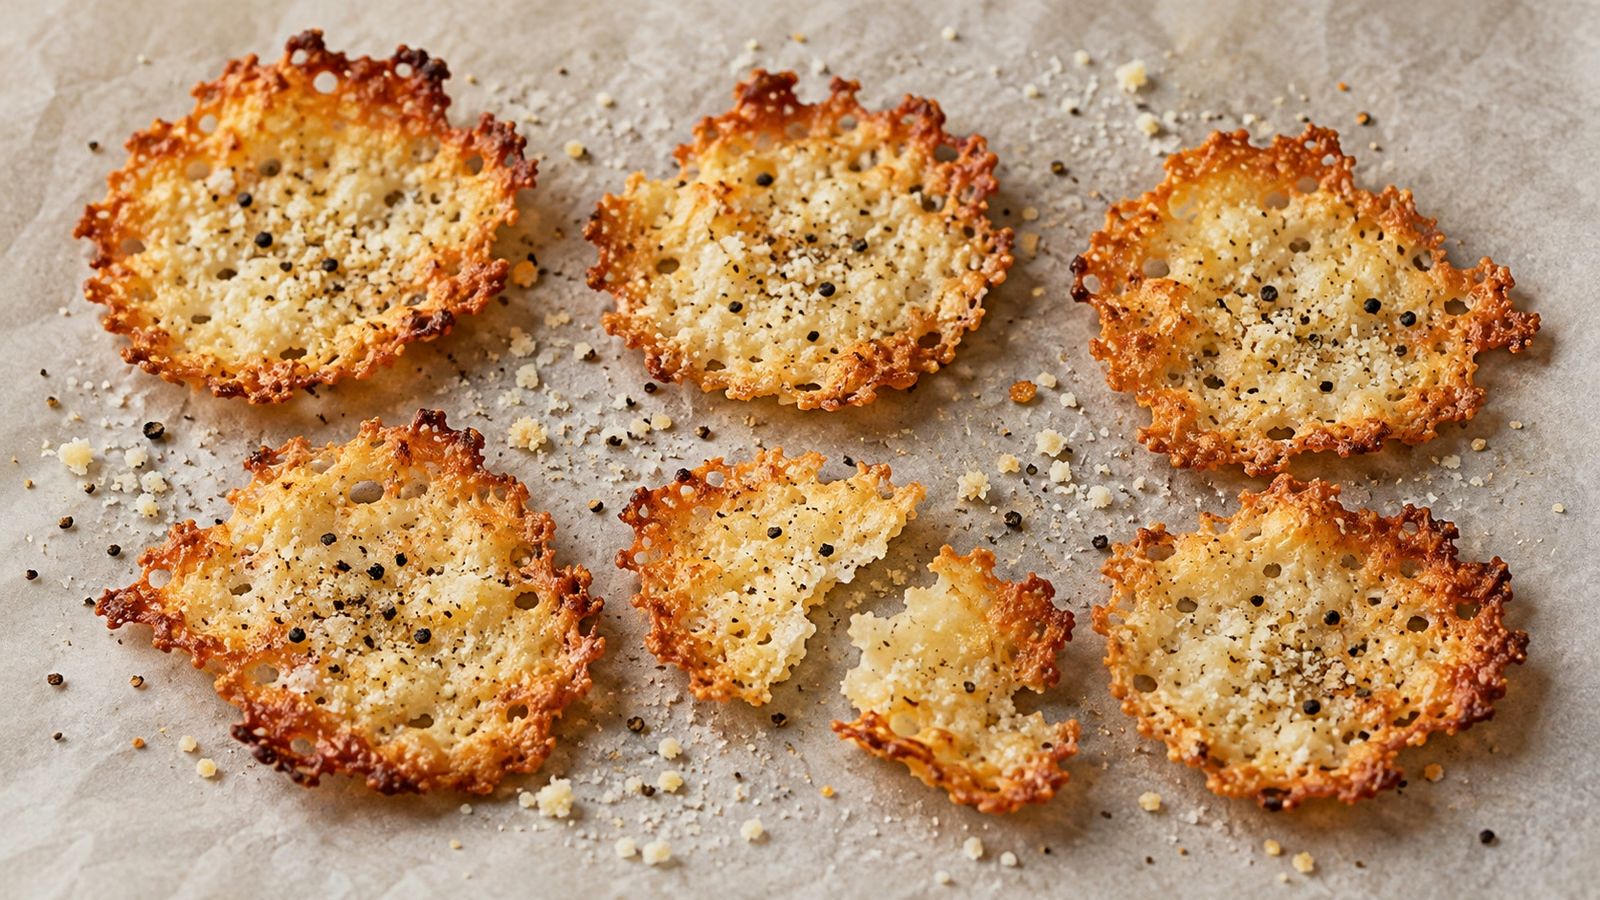
These are best treated as a snack you make for the moment. Pile them loosely rather than sealing them warm in a container, where trapped steam softens the edges. I’d serve cucumber alongside and put any thick dip in a separate bowl, so the crisps keep their own texture.
- For a larger snack: pair the chips with fruit, vegetables and something more substantial. Tastiva’s snack plate dinner guide offers useful building blocks.
- For a topping: crumble a few over salad just before serving, when their small crunchy pieces will still be noticeable.
- For leftovers: refrigerate promptly in a covered container at 40°F (4°C) or below. Enjoy within three days, expecting a softer result.
- At the table: do not leave this dairy-based snack out longer than two hours, or one hour in temperatures above 90°F (32°C).
The nutrition estimate is for one-quarter of the recipe, about six chips, including all the measured cheese and oil. Actual retained fat and moisture vary during baking, and the estimate changes with your cottage cheese brand.
Cottage Cheese Chips Recipe

Ingredients
- 1 cup small-curd cottage cheese, 4% milk fat 225 g after pouring off any loose liquid
- 2 tablespoons finely grated Parmesan 10 g
- 1/4 teaspoon black pepper 0.5 g
- 1/2 teaspoon olive oil 2 g, for brushing parchment
Equipment
- 2 rimmed baking sheets
- 2 parchment sheets
- 1 teaspoon
- 1 Thin spatula
Instructions
- Heat the oven to 350°F (175°C). Line two rimmed baking sheets with oven-safe parchment and brush the paper with the measured oil.
- Stir the cottage cheese. Divide into about 24 small spoonfuls across the trays, leaving about 2 inches between them. Flatten each to an even round about 1½ inches across. Sprinkle with Parmesan and pepper.
- Bake for about 18 to 24 minutes, rotating the trays and exchanging positions midway through. Begin checking closely at 16 minutes. Remove when the edges are golden-brown and the centers look dry; remove individual finished chips if needed.
- Cool on the trays for about 5 minutes, then lift carefully with a thin spatula. Serve promptly for the best texture; some chew in the centers is normal.
Nutrition
Notes
Tried this recipe?
Let us know how it turned out!Sources
- Good Housekeeping: cottage cheese chips and the social-media trend, September 2026
- Delish: cottage cheese chips, January 2026
- USDA: handling leftovers safely
- USDA FoodData Central: ingredient nutrition data
Hi, I’m Laura, the voice behind Tastiva. I’ve always believed that eating well should feel enjoyable, comforting, and realistic—not like another complicated rule to follow. I love creating recipes that fit into everyday life, sharing simple nutrition ideas, and finding small ways to make meals feel a little better without losing the pleasure of good food.