
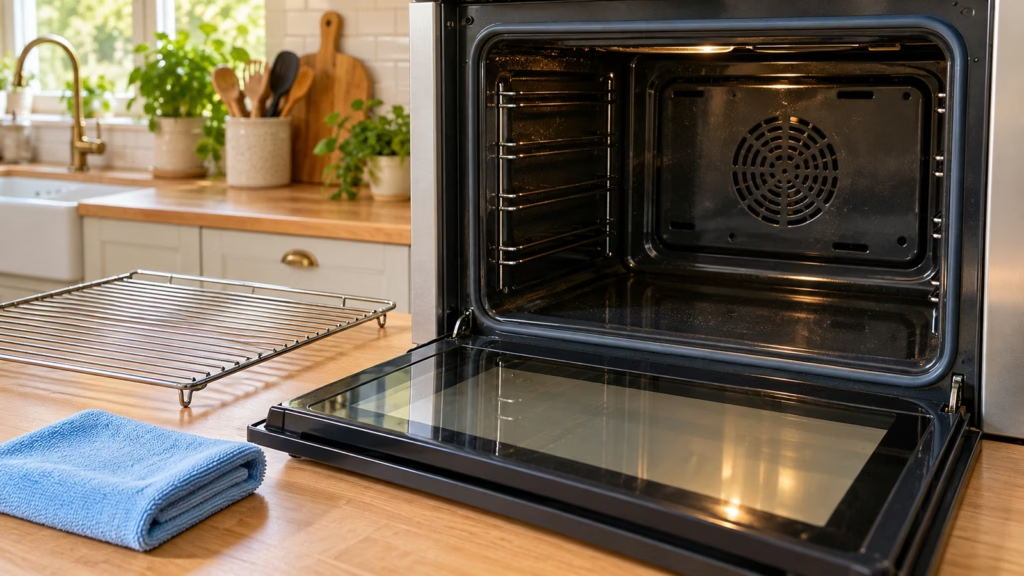
The casserole is out, the oven is cool, and a ring of baked-on sauce is still there. Before reaching for the strongest cleaner, check what your oven permits. Knowing how to clean an oven starts with its finish and cleaning system: a gentle manual wash, a built-in steam cycle, and high-temperature self-cleaning are different jobs, with different precautions.
Choose the method your oven was built for, then tackle the mess in manageable stages. More scrubbing power is not always more useful.
Start with the oven’s cleaning instructions
Find the model number and its care manual before buying a cleaner. I would rather spend a few minutes checking the finish than discover that a popular cleaning trick was meant for a completely different appliance. GE Appliances’ cleaning guidance favors soap, water, a cloth, or a non-scratch sponge for manual cleaning, with the model’s instructions deciding the details.
- Manual or standard clean: Cleaning is done by hand. Start with the mild method approved for the cavity rather than assuming it needs a spray-on oven cleaner.
- Steam clean or AquaLift: Use the appliance’s specified water amount, location, cycle, and wipe-down procedure. A bowl of steaming water is not automatically an equivalent method.
- High-temperature self-clean: The oven uses intense heat to reduce residue to ash. Preparation, ventilation, locking, and cooling time are part of the process.
Also check the permitted tools, rack treatment, and any power-isolation directions for manual cleaning. Do not pull out a built-in oven, disconnect a gas line, or dismantle the door to follow a general cleaning guide. If the manual is unclear, the manufacturer is the right place to ask.
How to clean an oven by hand
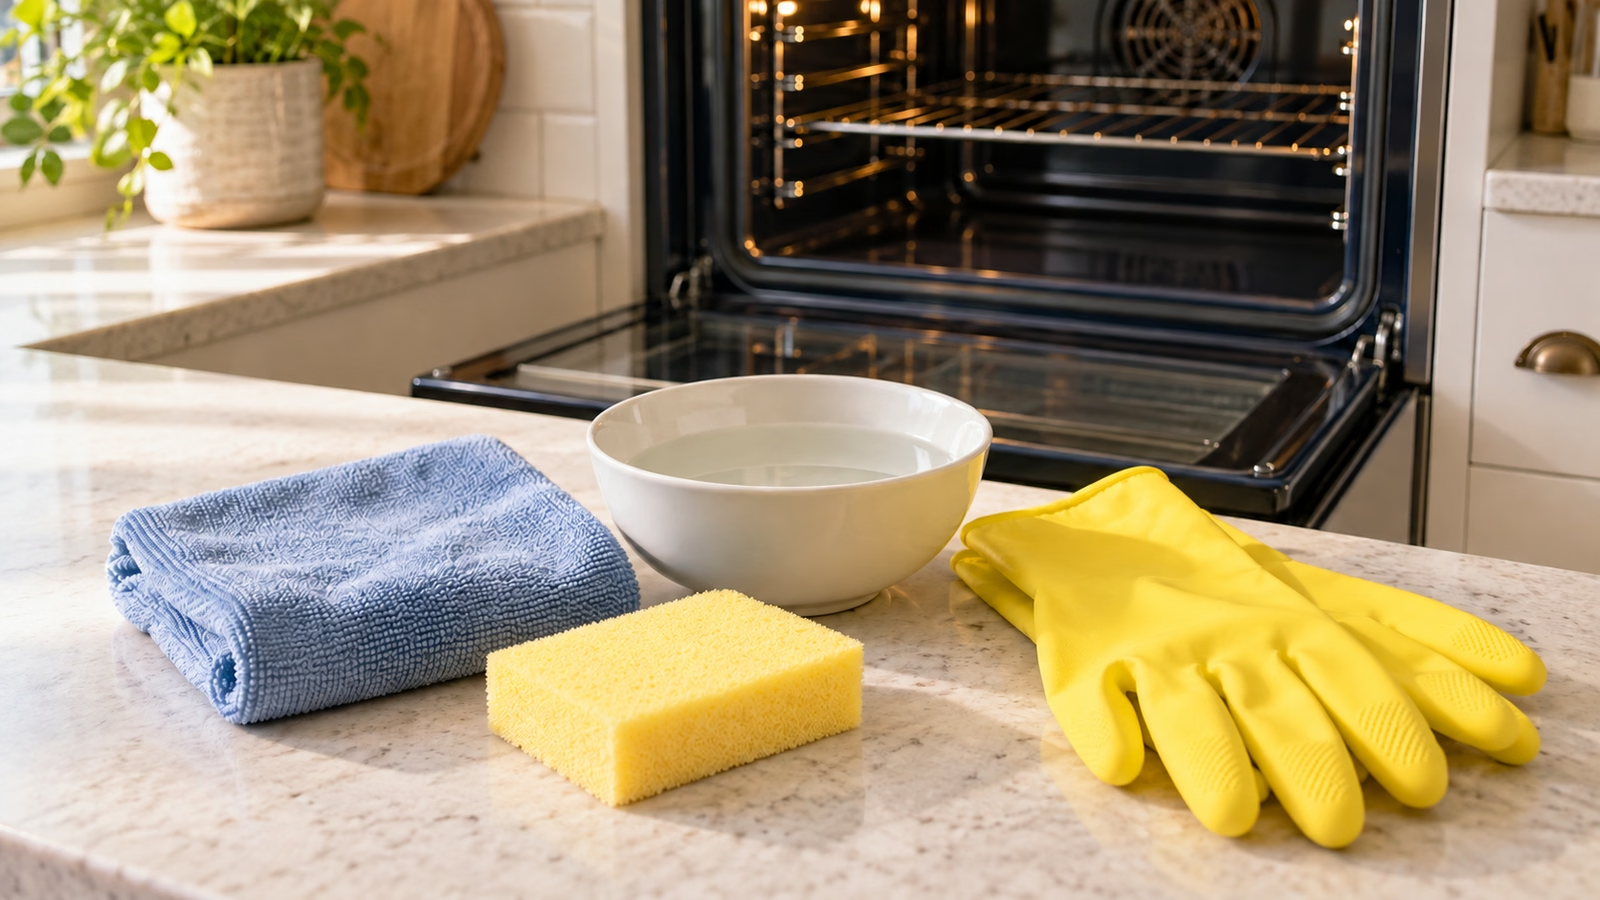
For light soil on a finish whose manual permits it, start with a cool, switched-off oven and mild dish soap mixed with water. GE’s standard-clean oven guidance stresses rinsing away soap afterward; leftover cleaner is not a protective coating. Gather a soft cloth, an approved non-scratch sponge, clean rinse water, and any gloves specified on your cleaner’s label.
- Empty the cavity. Remove cookware, trays, and racks as instructed. Set them somewhere that will not scratch the floor or counter.
- Lift away loose debris. Use a damp cloth on accessible surfaces. Do not push crumbs or liquid into vents, slots, or electrical openings.
- Work on one area. Apply the approved cleaning solution with the cloth or sponge and use gentle pressure. Avoid heating elements and other parts the manual excludes.
- Revisit stubborn marks. Give the manufacturer-approved method its specified contact time. Do not escalate to steel wool, a razor blade, or a harsher chemical without checking compatibility.
- Rinse carefully. Wipe with clean water as directed, changing the cloth or water when dirty. Avoid flooding the cavity or soaking the door seal.
- Finish before reheating. Remove cleaning residue, dry accessible surfaces, and replace parts only as directed. Follow the product and appliance instructions before cooking again.
Keep cleaning products separate. CDC warns against mixing household cleaners; combining products can release dangerous gases. Baking soda, vinegar, bleach, ammonia, and oven cleaner are not a list to experiment through together. “Natural” is not a compatibility test either.
Choose steam clean or self-clean deliberately
Steam cleaning is generally a lighter-soil option, and it still ends with wiping. For example, Whirlpool’s steam-clean instructions prohibit oven cleaners or other additives for that function. Water quantities and cycle lengths vary across models, so use your own manual instead of borrowing another oven’s numbers.
- Before a steam cycle: Let the oven cool, remove the items your manual specifies, and add only the prescribed water in the prescribed place.
- After steam cleaning: Wait until the remaining water and surfaces are cool enough to handle safely. Wipe away the loosened soil and water; the cycle does not carry them out for you.
- Before high-temperature self-clean: Follow the manual’s removal list for racks, cookware, foil, and accessories. Wipe out loose soil first, keep vents clear, and ventilate the kitchen.
- Protect people and pets: Keep children away from hot surfaces. Whirlpool warns that self-cleaning fumes can be deadly to certain birds; move birds to a separate closed, well-ventilated room as its guidance directs.
- Respect the door lock: Never force it open. Let the oven complete its cooling period, then wipe out ash according to the manual.
These precautions follow Whirlpool’s high-temperature cycle guidance and Samsung’s oven-cleaning safety instructions. I would schedule a long cycle away from dinner preparation, with another meal option ready. Tastiva’s microwave meal plan offers ideas that do not quietly require an available oven.
Treat racks, glass, and seals as separate surfaces
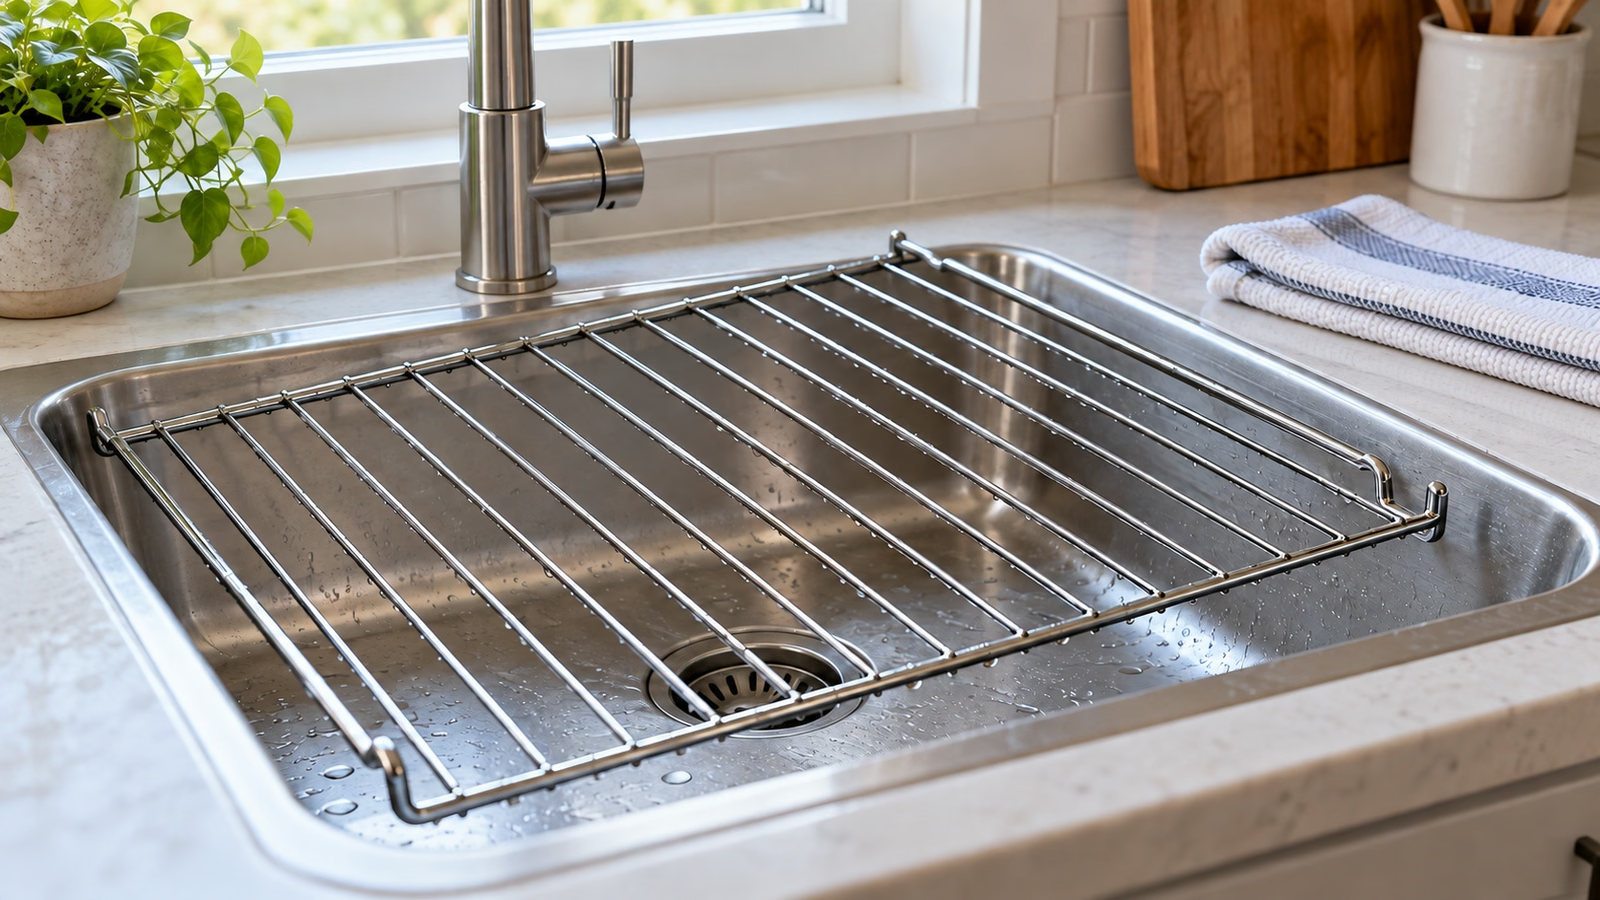
The oven door is not one uniform piece of washable material. GE explains that woven fiberglass door gaskets can be damaged by cleaning or wetting. Follow your model’s directions and leave the seal alone unless those directions explicitly say otherwise; a stubborn mark is not a reason to scrub it.
- Racks: Check their finish and any sliding mechanisms before soaking. For ordinary removable racks whose instructions allow washing, clean and rinse them as directed, then dry thoroughly. Coated or specialty racks may need different care.
- Inner door glass: Use only approved tools and cleaner, keeping liquids off the gasket. GE’s door-interior guidance includes gentle cleaning options but specifically protects the seal.
- Between glass panes: Do not improvise door disassembly. Whirlpool recommends professional assistance when cleaning requires taking the door apart.
- The next spill: Once the oven is safely cool, deal with fresh splatters before they accumulate. Whirlpool’s general care guide also distinguishes ordinary racks from specialty finishes and mechanisms.
I would aim for removed food residue and properly rinsed surfaces, rather than chasing a showroom shine at the expense of the finish. Keeping the manual handy makes the next cleanup a smaller decision, too.
This short explanation from Whirlpool USA shows how a self-cleaning oven works. It illustrates that particular cleaning option, not a substitute for your model’s operating instructions.
Sources
- GE Appliances: oven-cleaning guidance
- GE Appliances: standard-clean ovens
- GE Appliances: oven door gaskets
- Whirlpool: steam-cleaning instructions
- Whirlpool: high-temperature self-cleaning
- Samsung: oven-cleaning safety and methods
- CDC: household-cleaner mixing hazards

Hi, I’m Laura, the voice behind Tastiva. I’ve always believed that eating well should feel enjoyable, comforting, and realistic—not like another complicated rule to follow. I love creating recipes that fit into everyday life, sharing simple nutrition ideas, and finding small ways to make meals feel a little better without losing the pleasure of good food.