
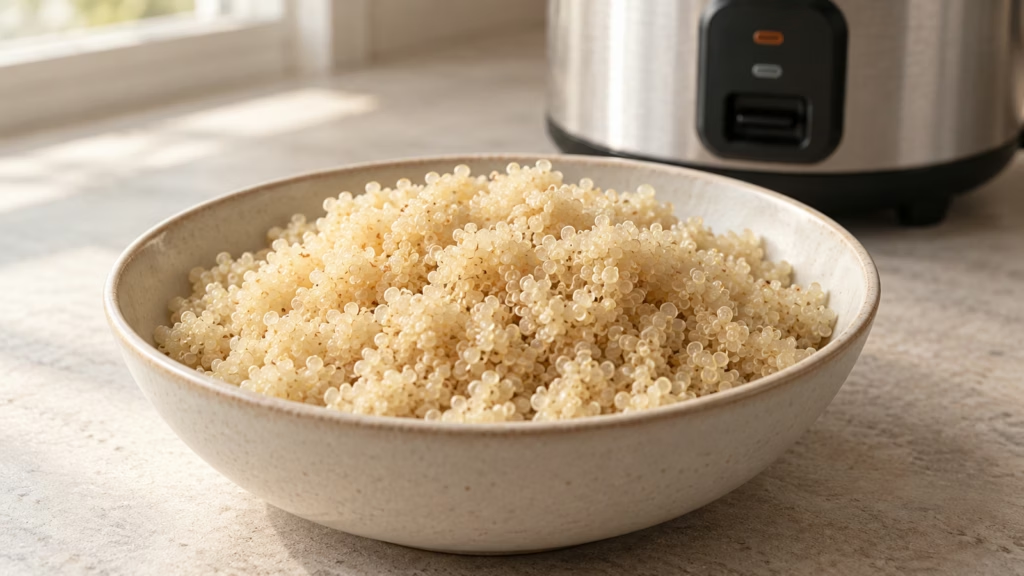
The rice cooker is sitting on the counter, and the bag of quinoa comes with stovetop directions. Can the two work together? Yes: here is how to cook quinoa in a rice cooker, starting with 1 part dry quinoa to 2 parts water and checking your model’s instructions for the correct program and batch size. The useful shortcut is less time watching a saucepan, rather than a promise that every machine finishes on the same schedule.
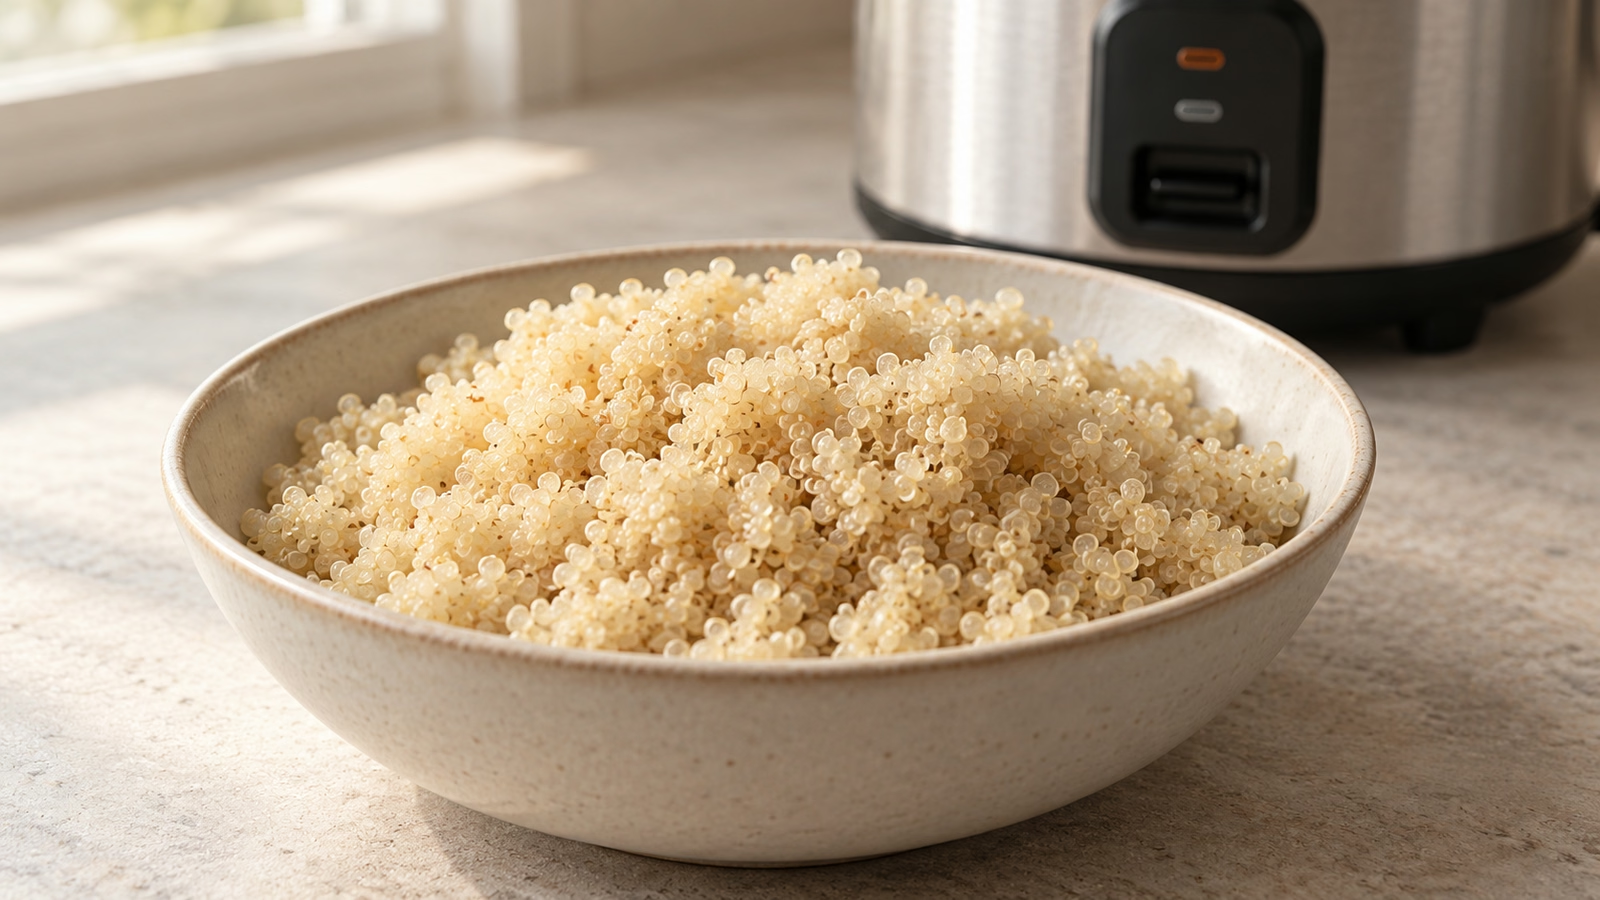
Let the cooker handle the heat; give the measuring cup and the finished texture your attention.
The quinoa-to-water ratio, with one important distinction
Harvard’s Nutrition Source recommends 1 cup quinoa to 2 cups water for rice-cooker preparation and says a cup of dry quinoa yields about 3 cups cooked. Think of that as a starting batch, then give your appliance’s quinoa directions priority when they specify something different.
- Use one measuring system. Measure both ingredients with the same cup. A supplied cooker cup may differ from a standard kitchen cup.
- Measure the water separately. Rice fill lines are calibrated for particular rice amounts and programs; they are not automatically quinoa instructions.
- Check capacity before scaling. Expansion matters. Follow the model’s minimum, maximum, and grain-specific limits rather than filling the insert to its rim.
- Keep the first batch plain. I’d start with quinoa and water so any adjustment is about the grain, rather than broth, seasoning, or added vegetables.
How to cook quinoa in a rice cooker: preparation and settings
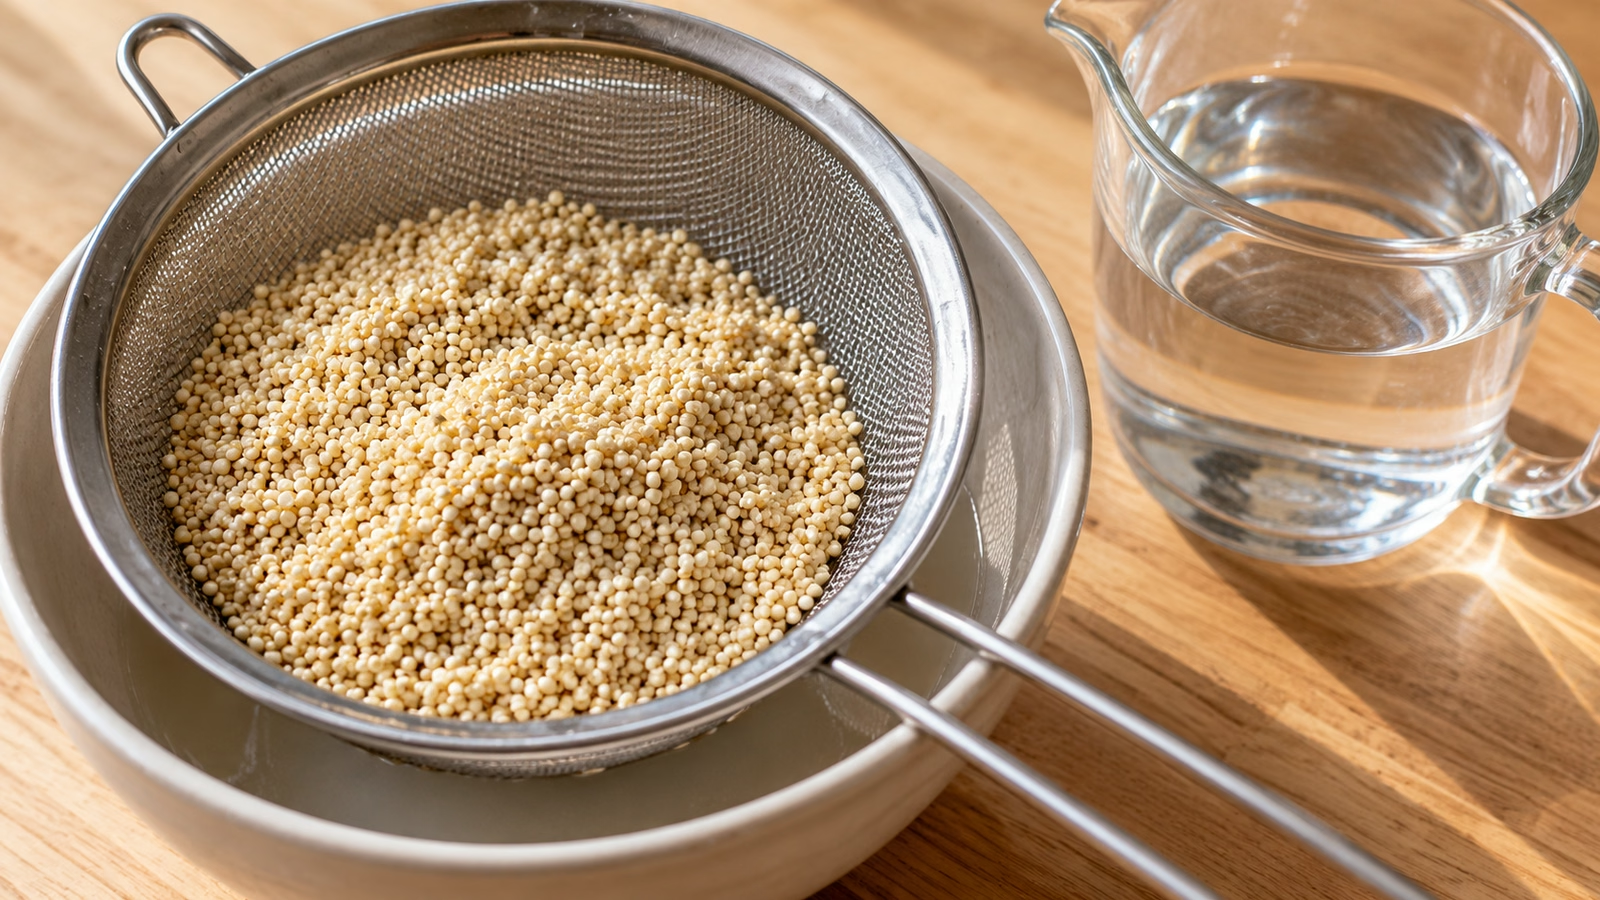
Quinoa’s outer coating contains saponins, which can taste bitter. Some packaged quinoa is already rinsed; check the label. When rinsing is called for, use a fine-mesh sieve so those tiny seeds stay in the kitchen rather than disappearing down the drain, and drain well before measuring the cooking liquid.
- Read the grain instructions. Use a dedicated quinoa program when the manual directs you to it. Do not assume brown-rice, quick-cook, or white-rice programs are interchangeable.
- Check the insert. Seat it correctly, with the exterior clean and dry, following the appliance instructions.
- Let the cycle run. Avoid repeatedly opening the lid unless your model’s method requires it; follow its steam-safety guidance.
- Judge the result. Cooked quinoa should be tender, with the pale germ ring visible around the grain. A hard center or substantial free water means it needs attention, even if the machine has beeped.
I’d trust those texture checks more than a countdown borrowed from a different cooker. A programmed cycle, the batch size, and the quinoa variety can change the wait; the stovetop timing on the bag does not become a rice-cooker timer.
What to change when the texture is off
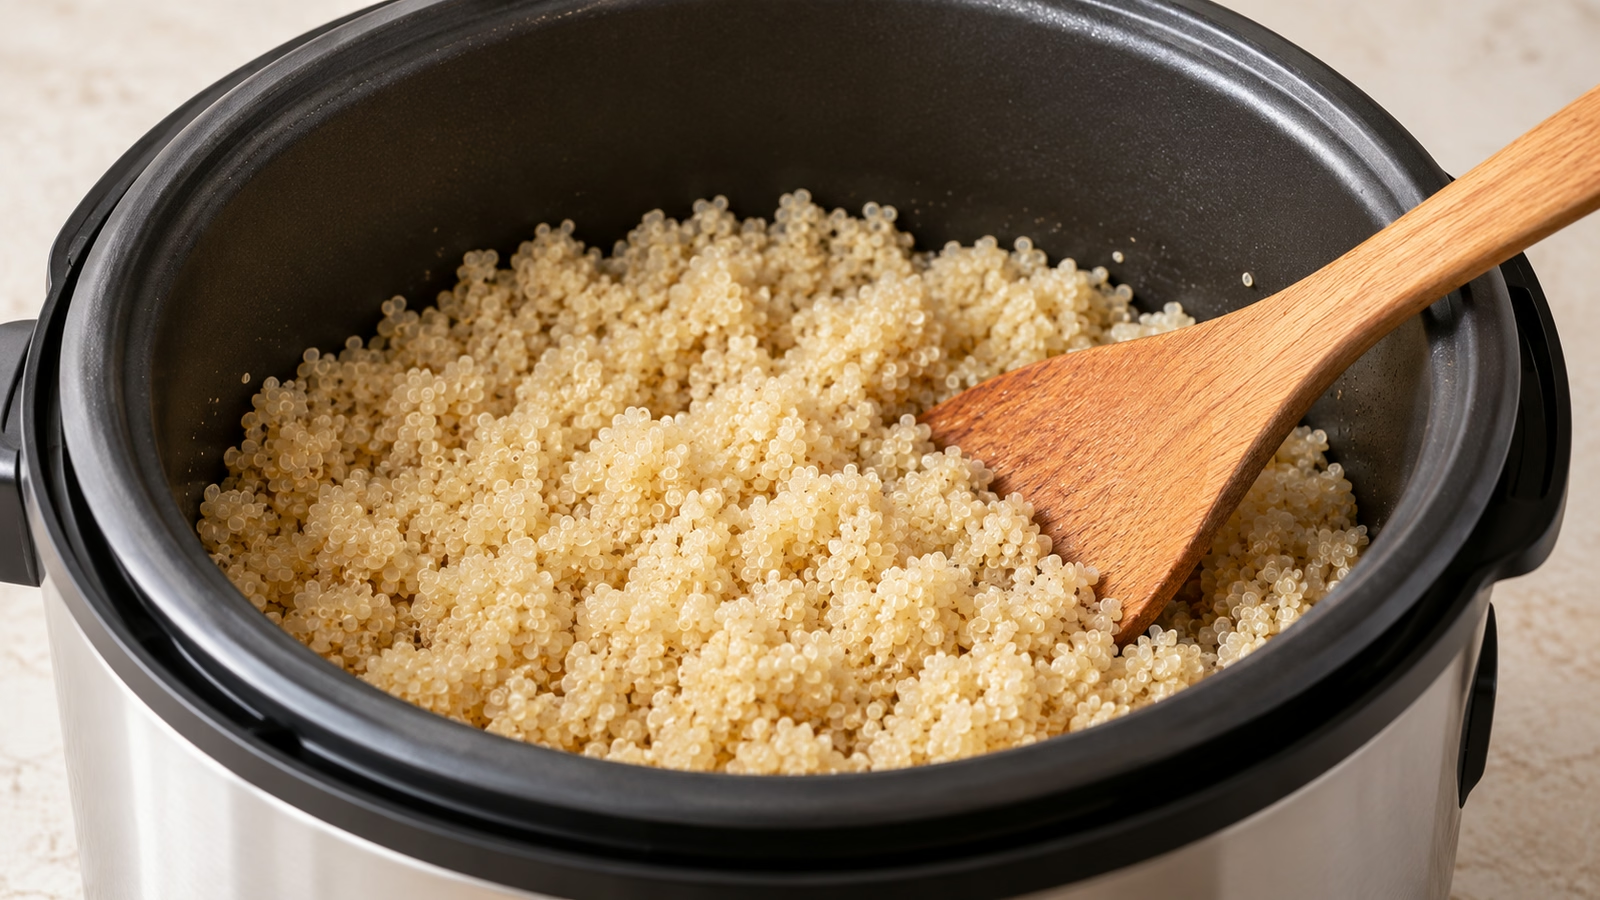
Before changing the ratio, check the measurements and the selected program. If the manual has a quinoa troubleshooting section, use it first. Change one thing in the next batch and note it; otherwise, it is difficult to tell which adjustment helped.
- Wet but tender: let excess steam escape briefly after cooking, then fluff gently with a fork or a utensil safe for the insert. Avoid vigorous stirring, which can turn distinct grains into a compact mound.
- Hard and dry: consult the manual for adding liquid and safely continuing cooking. Do not force a second cycle if the machine does not permit it.
- Bitter: check whether the package required rinsing. Extra dressing can change the flavor, but it does not correct skipped preparation.
- Scorched underneath: check the batch minimum, liquid measurement, and whether prolonged warming is recommended for quinoa.
Serve it now, or cool it safely for later
Plain quinoa leaves room for the rest of the meal: spoon it beneath roasted vegetables, add it to a bowl with beans, or cool it for a salad. I’d add bright dressing after cooking, where it is easier to adjust. If gluten avoidance matters, check the package and additions; our guide to quinoa labels and gluten cross-contact explains the distinction.
- Cool promptly: divide leftovers into shallow containers and refrigerate within 2 hours, or 1 hour above 90°F (32°C). Do not wait for a large batch to cool on the counter.
- Refrigerate: keep at 40°F (4°C) or below and use within 3–4 days.
- Freeze: portion and label; USDA gives 3–4 months as a quality window for leftovers kept frozen.
- Reheat: heat leftovers to 165°F (74°C), checking several places. A little water and a cover can help retain moisture.
Rice Cooker Quinoa Recipe

Ingredients
- 1 cup dry white quinoa 170 g
- 2 cups water approximately 473 mL
Equipment
- Rice cooker with manufacturer-supported quinoa instructions
- Matching measuring cups
- Fine-mesh sieve if rinsing is required
- Fork or nonstick-safe utensil
Instructions
- Check the model’s quinoa instructions and permitted batch range. If its ratio differs, follow those instructions and adjust this batch accordingly; nutrition here covers the stated quinoa quantity only.
- Measure the quinoa. Rinse under cool water in a fine-mesh sieve if the package advises, then drain well.
- Add quinoa and separately measured water to the insert. Seat the insert and close the lid according to the manual. Select the manufacturer’s specified quinoa program or method and let the cycle run.
- Follow the appliance’s steam-safety instructions when opening. Check for tender grains with a visible pale germ ring. Follow its permitted correction method if still hard or wet; do not force an unsupported extra cycle.
- Finish and rest as your model directs, then fluff gently. Serve, or promptly divide into shallow containers and refrigerate within the food-safety limits in the article.
Nutrition
Video
Video: Melanie Cooks demonstrates plain quinoa cooked in a rice cooker with a 1:2 quinoa-to-water ratio, then fluffed. She uses her machine’s white-rice cycle and optional salt. Follow your own model’s quinoa instructions and the recipe above for rinsing, quantities and safe handling.
Notes
Tried this recipe?
Let us know how it turned out!Sources
- Harvard Nutrition Source: quinoa preparation and rice-cooker ratio
- USDA: leftover cooling, storage, and reheating
Hi, I’m Laura, the voice behind Tastiva. I’ve always believed that eating well should feel enjoyable, comforting, and realistic—not like another complicated rule to follow. I love creating recipes that fit into everyday life, sharing simple nutrition ideas, and finding small ways to make meals feel a little better without losing the pleasure of good food.