
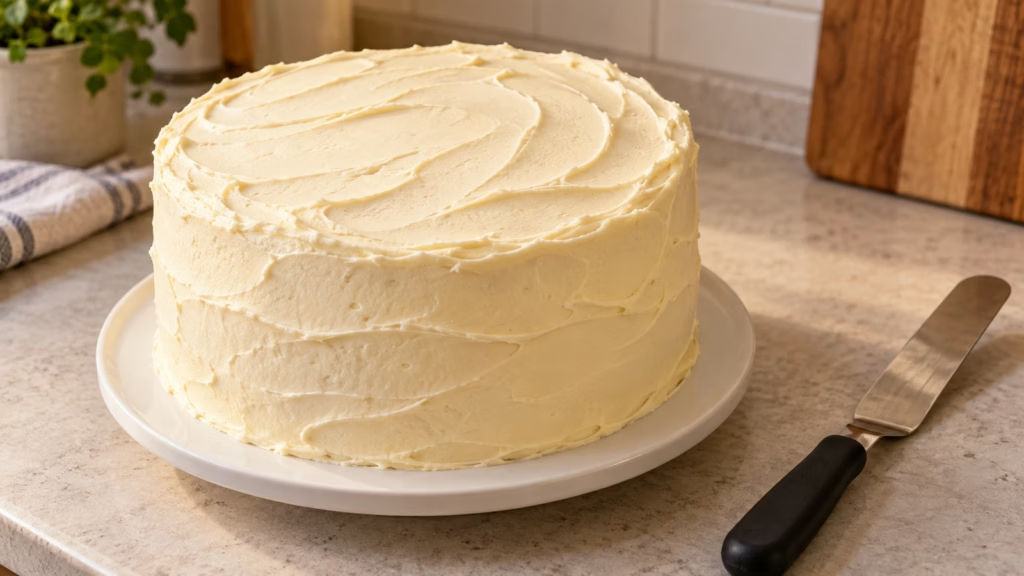
The cake is baked, the frosting is ready, and the first sweep of the spatula picks up a trail of crumbs. If you are learning how to frost a cake, the most useful change is working in two coats: a thin crumb coat on a completely cooled cake, followed by the finishing layer after that first coat has set. Smooth frosting starts before the smoothing.
Give the crumbs their own thin layer first, so the final frosting can stay clean and easy to shape.
Set up a cool cake and spreadable frosting
This method is for a simple cake finished with spreadable buttercream, especially a round layer cake. It is not a method for pouring ganache, applying a glaze, or covering a cake with fondant. I would start with a soft, comfortable swirl finish; perfectly sharp edges can wait until the cake and frosting are cooperating.
- Cool the cake completely: Warm cake can melt buttercream. Follow your cake recipe’s cooling directions before filling or coating.
- Check the layers: If you are stacking domed layers, level them carefully with a serrated knife once cool. Brush away loose crumbs with a clean pastry brush.
- Choose workable frosting: It should spread without pulling at the cake, while still holding in place. Very stiff piping frosting and runny icing are both harder to manage.
- Gather a few tools: An offset spatula, a stable plate or cake board, a bowl for crumb-coat frosting, and a clean cloth for your tools are enough to begin. A turntable and straight scraper are helpful, not essential.
- Protect the serving plate: Slide short strips of parchment under the cake’s edges. They catch stray frosting and can be pulled away gently when you finish.
Temperature matters as much as the recipe. Wilton’s consistency guide notes that overly warm butter can make frosting too soft. Follow the adjustments for your particular frosting instead of pouring in extra liquid or sugar until you accidentally create a different recipe.
Fill and apply a thin crumb coat
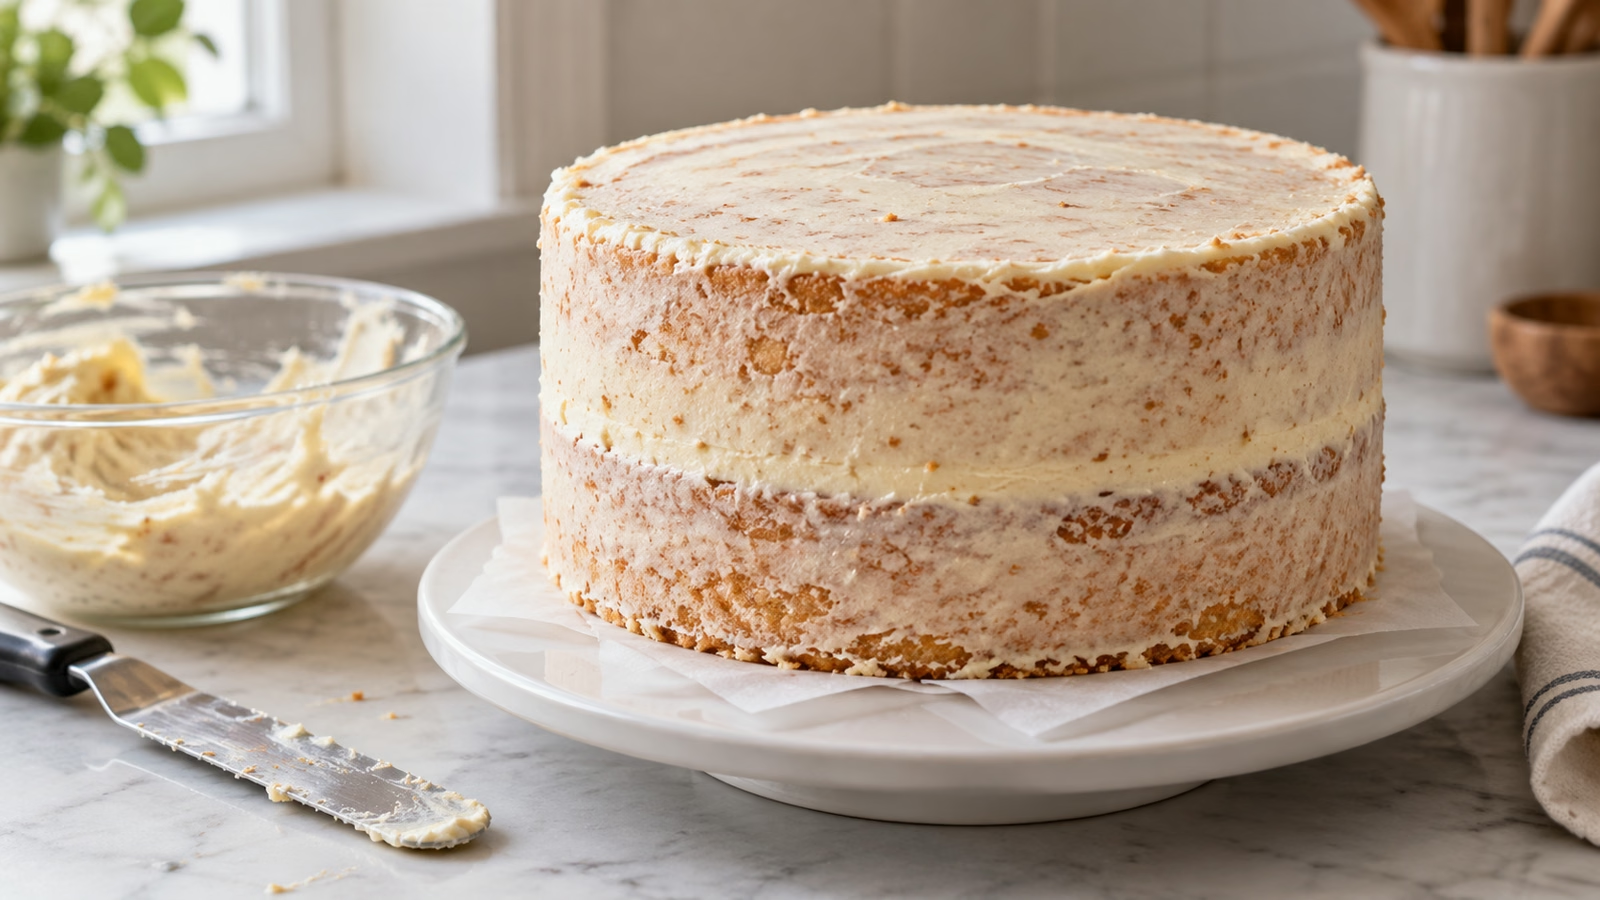
A crumb coat is deliberately thin enough for cake to show through. Its job is to hold loose crumbs in place and even out small irregularities, rather than produce the finished appearance. King Arthur Baking’s guide explains why a cool cake and a set first layer make the next coat easier.
- Stack with care. Put the first layer on your plate or board and spread the filling evenly. Add the next layer and check that it sits level rather than leaning.
- Separate some frosting. Spoon a portion into a smaller bowl for the crumb coat. This keeps any collected crumbs away from the clean frosting reserved for finishing.
- Cover the top thinly. Move a small amount of frosting across the surface with light pressure. Avoid scraping the blade directly against the cake.
- Coat the sides. Work around the cake, filling small gaps and removing obvious excess. Seeing crumbs at this stage is expected.
- Chill until set. King Arthur suggests roughly 20–30 minutes for a crumb coat to firm; use the condition of the frosting as your cue. A light touch should not lift wet frosting onto your finger.
If the layers slide while you work, pause and chill the assembled cake before continuing. More spatula pressure will not make an unstable stack behave. I would rather take that short break than spend the next ten minutes trying to straighten an increasingly adventurous cake.
How to frost a cake with the final coat
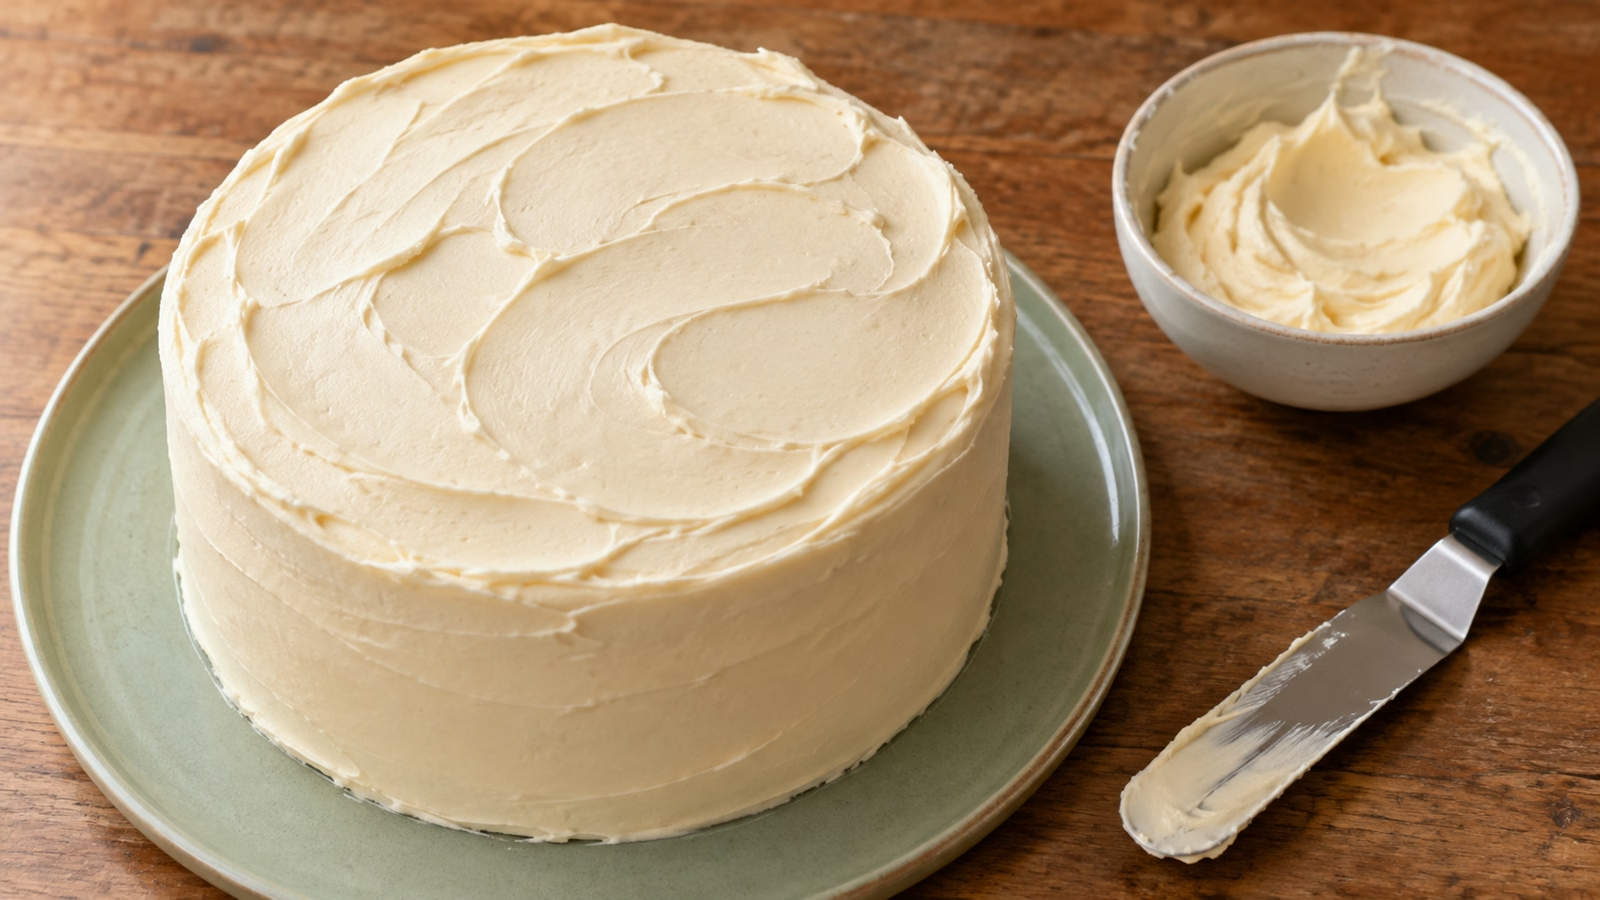
Use your clean finishing frosting over the firm crumb coat. You need enough frosting between the tool and the cake that you are moving the coating, not dragging against the surface. Wilton’s spatula method finishes the top edge by drawing excess frosting inward toward the center.
- Cover the top. Add a generous dollop, then spread it outward with controlled strokes. Aim for reasonably even coverage before worrying about tiny marks.
- Build the sides. Add frosting in sections around the outside. Turn the cake or plate as you go so your hand is not reaching awkwardly around the back.
- Smooth with light pressure. Hold the spatula or scraper near upright against the side, with a slight angle. Remove excess frosting from the tool between passes.
- Tidy the upper edge. Draw small ridges of frosting gently inward across the top. Wipe the spatula and repeat, instead of dragging a large pile around the whole rim.
- Choose the finish. Leave simple soft swoops or smooth the surface a little further. Remove the parchment carefully and tidy the plate.
For a sheet cake left in its pan, the job is simpler: cover the cooled top and make a few broad swirls. You do not need to invent side-frosting work where the pan already has that job covered. Use the frosting quantity recommended for your cake’s size and number of layers.
Fix the problem before adding more frosting
When a surface looks worse after every pass, stop for a moment and check the cause. A few spatula marks are harmless. A warm cake, loose filling, or frosting that cannot spread needs a different response from another layer of decoration.
- Crumbs in the final coat: The first layer may not have set, or the spatula may be digging through it. Stop scraping, chill if needed, and cover the affected area gently with clean frosting.
- Frosting tearing the cake: Check that the cake is fully cool and the frosting is spreadable. Adjust according to the frosting recipe rather than forcing it across a fragile surface.
- Frosting sagging: If the buttercream is becoming too warm, pause and cool it as the recipe directs. Keep the cake out of direct sun and away from a hot oven.
- Uneven finish: Use deliberate swoops instead of endlessly chasing a flawless flat surface. I prefer a tidy, softly textured cake to one that has been scraped almost bare.
- Storage uncertainty: Follow the directions for the cake, frosting, and filling together. Refrigerate cakes with perishable fillings or frostings unless the exact formulation has reliable shelf-stability guidance. A firm-looking coating is not proof of safe room-temperature storage.
Food safety depends on the whole dessert, as University of Minnesota Extension explains; sweetness alone does not establish that a frosting or filling is shelf-stable. Wilton’s demonstration below shows the crumb-coat and final-coat movements for a simple buttercream finish.
Sources
- King Arthur Baking: assembling and frosting a layer cake
- King Arthur Baking: how to crumb coat a cake
- Wilton: icing a cake with a spatula
- Wilton: buttercream consistency
- University of Minnesota Extension: frosting and dessert filling safety

Hi, I’m Laura, the voice behind Tastiva. I’ve always believed that eating well should feel enjoyable, comforting, and realistic—not like another complicated rule to follow. I love creating recipes that fit into everyday life, sharing simple nutrition ideas, and finding small ways to make meals feel a little better without losing the pleasure of good food.