
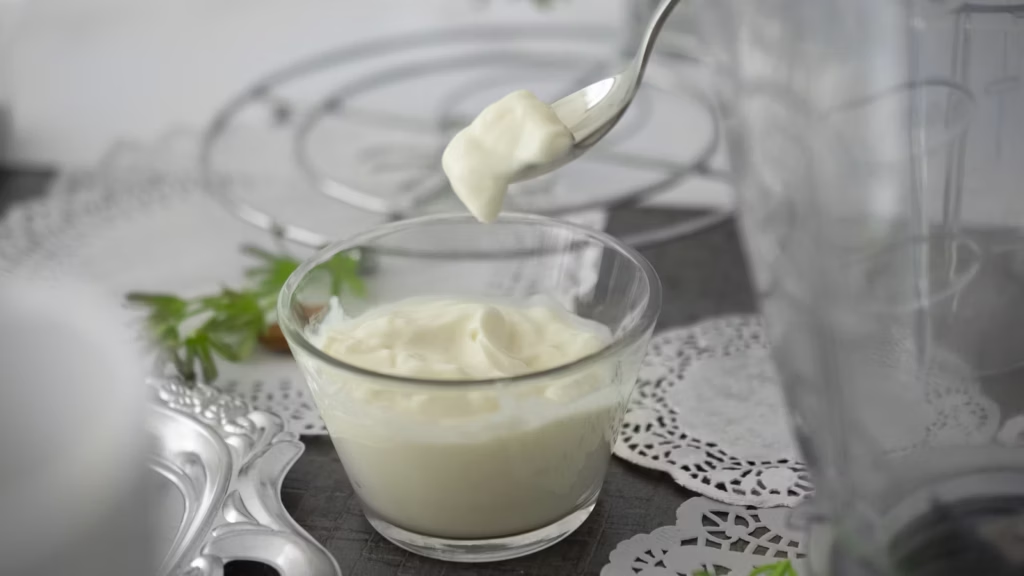
Learning how to make yogurt at home is less about owning a special appliance and more about respecting two temperatures. First, heat the milk enough to reshape its proteins and discourage competing microbes. Then cool it to a gentle range where the yogurt cultures can work. A thermometer turns the whole project from hopeful guesswork into a repeatable kitchen skill.
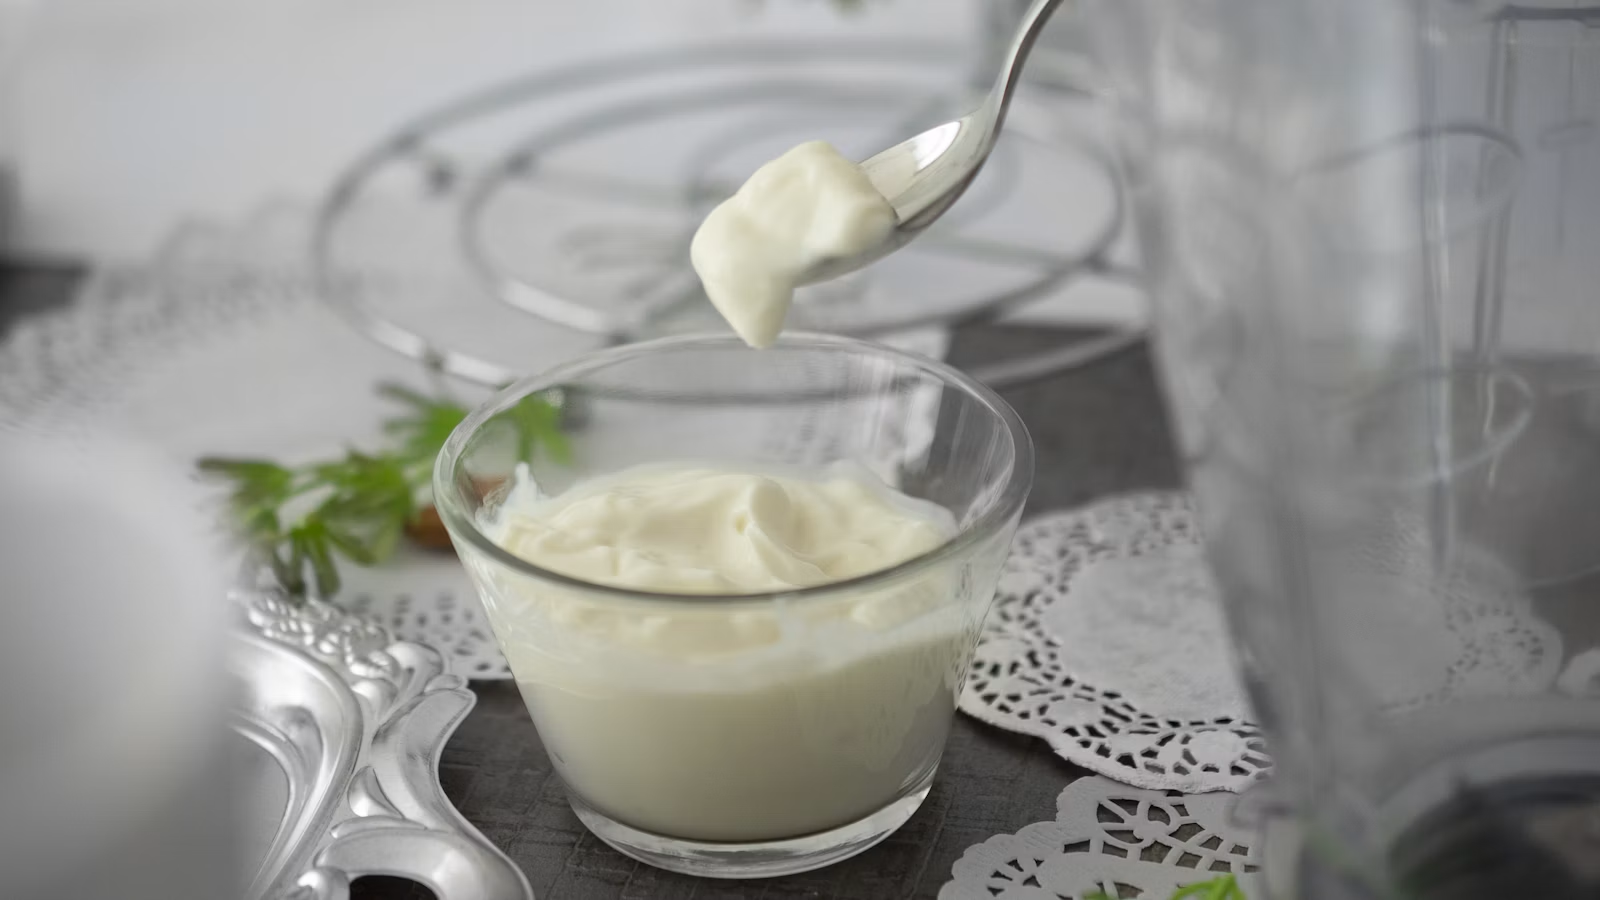
“Homemade yogurt rewards patience, but it does not reward mystery—measure the temperature and let the cultures do their quiet work.”
What turns milk into yogurt
Live yogurt bacteria ferment lactose into lactic acid. As the milk becomes more acidic, its proteins join into a soft gel and the flavor turns pleasantly tart. Longer incubation usually means more tang, but time is only part of the story; starter freshness, milk composition, and a steady warm environment all affect the set.
Use fresh pasteurized milk and plain yogurt labeled with live active cultures. I like whole milk for the roundest texture, although 2% works. Optional nonfat dry milk adds protein solids and creates a firmer result without gelatin or starch. Do not use a flavored or sweetened starter.
More starter is not better. Washington State University Extension recommends roughly 2 to 3 teaspoons per cup of milk; too much culture can crowd the bacteria and produce a sour result before the yogurt sets properly. For one quart, three tablespoons is a tidy middle ground. After several homemade batches, refresh your starter with a new container of commercial yogurt if the set begins to weaken.
Temperature control makes the texture
Heat the milk to 180°F and hold it there for 10 minutes; extend that hold to 20 minutes if you want a firmer yogurt. This is not busywork. The heat changes whey proteins so they support a smoother gel and release less liquid later.
Cool the milk to 108°F to 112°F before adding the starter. Above 115°F, you risk inactivating the culture; much cooler milk can take a very long time to set. I use a cool-water bath around the saucepan when I am impatient, but I watch the thermometer closely because the last few degrees disappear fast.
How to incubate yogurt without special equipment
A yogurt maker is convenient, not essential. A pre-warmed, turned-off oven; a small cooler with warm water; or an insulated container can all hold the target range. Check the setup with a thermometer before trusting it with the milk. Keep the jar covered and avoid moving it during the final hours, when the delicate gel is forming.
Begin checking at six hours. The yogurt should look set like soft custard and pull slightly from the side when the jar tilts. If you prefer sharper yogurt, give it another hour or two. Once it is ready, refrigerate it immediately; chilling slows acid development and firms the texture.
How to make yogurt at home
This method makes one quart, or eight half-cup servings. The hands-on work is brief, but the full timeline includes incubation and chilling. Start in the morning for yogurt that is ready the next day, or begin after dinner and move it to the refrigerator when you wake.
Yogurt at Home Recipe

Ingredients
- 1 quart pasteurized whole milk fresh; 2% also works
- 3 tablespoons plain yogurt with live active cultures fresh and unflavored
- 1/4 cup nonfat dry milk powder optional, for a firmer set
Equipment
- 1 heavy saucepan or double boiler
- 1 Instant-read thermometer
- 1 clean 1-quart jar with lid sanitized and warmed
- 1 incubator setup yogurt maker, warm cooler, or turned-off oven
Instructions
- Wash the saucepan, thermometer, spoon, and jar with hot soapy water. Rinse well and let them air-dry. Keep the starter refrigerated until needed.
- Whisk the optional milk powder into the cold milk. Heat gradually to 180°F, stirring to prevent scorching. Hold at 180°F for 10 minutes for standard yogurt or up to 20 minutes for a firmer set.
- Remove the milk from the heat and cool it to 108°F to 112°F. A cool-water bath around the pan speeds this up, but do not let water enter the milk.
- Scoop 1 cup warm milk into a small bowl and whisk in the yogurt starter gently. Stir this mixture back into the remaining milk without beating in excess air.
- Pour into the warm clean jar, cover, and hold at 108°F to 112°F for 6 to 8 hours without disturbing it. Begin checking at 6 hours; it is ready when set like soft custard and pleasantly tart.
- Refrigerate immediately once set. Chill at least 4 hours before stirring or serving so the texture can firm and acid development slows.
Nutrition
Video
Notes
- Do not add starter above 115°F; excess heat can inactivate the culture.
- Use pasteurized milk and a starter labeled with live active cultures.
- For Greek-style yogurt, strain the chilled yogurt in the refrigerator through cheesecloth for 2 to 8 hours.
- Properly made yogurt generally keeps 10 to 21 days below 40°F, but discard it sooner if mold, off odor, or unusual color appears.
- Nutrition is estimated for whole-milk yogurt without optional milk powder.
Tried this recipe?
Let us know how it turned out!Troubleshooting, straining, and serving
Thin yogurt usually traces back to inactive starter, low incubation temperature, or milk that was not held hot long enough. Whey pooling on top often means the yogurt incubated too long or was jostled while setting. It is safe to stir a little clear whey back in; pink, orange, fuzzy, or foul-smelling growth is a reason to discard the batch.
For Greek-style yogurt, strain the chilled batch in the refrigerator through clean cheesecloth for two to eight hours. Never strain it on the counter. The longer it drains, the thicker and more concentrated it becomes. Save the whey for bread dough, smoothies, or soups if it smells clean and fresh.
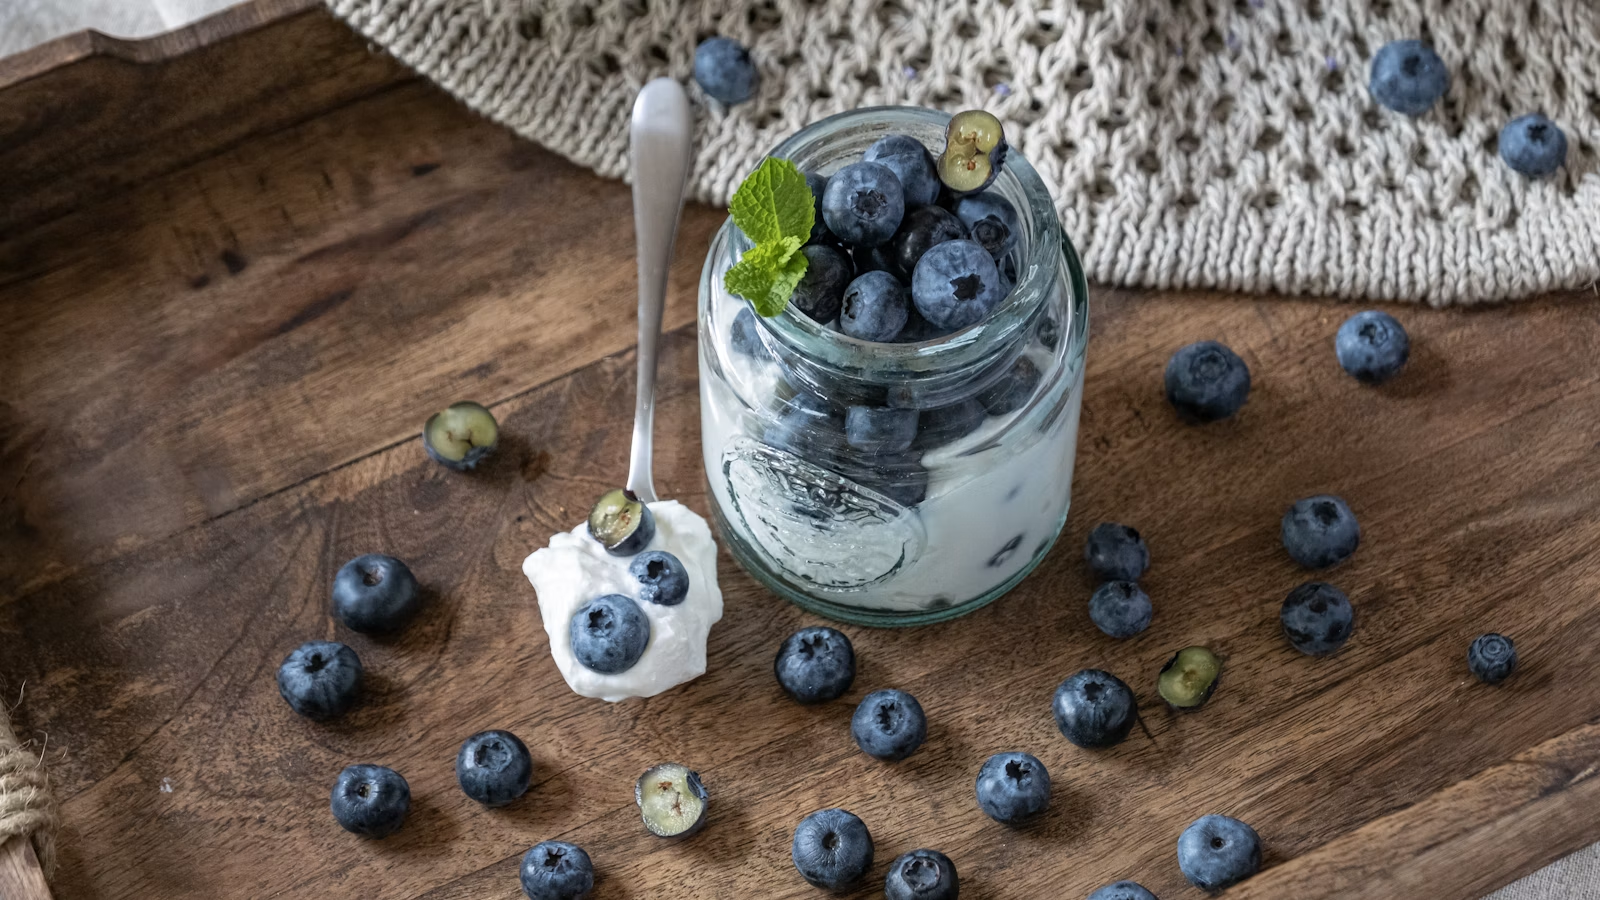
I keep homemade yogurt plain and add flavor at serving time. Try berries, cinnamon, toasted nuts, or a small spoonful of honey. It also works in dips, dressings, and the fruit-and-yogurt pairings in our easy snacks for kids guide.
Sources
- Washington State University Extension: Yogurt Made Simple — heating, cooling, incubation, starter quantity, troubleshooting, and storage guidance.
- Oregon State University Extension: Owning a Dairy Cow or Goat — home-yogurt incubation and sanitation guidance.
- Oregon State University Extension: Guidelines for Refrigeration of Foods — refrigeration guidance for dairy foods.
Hi, I’m Laura, the voice behind Tastiva. I’ve always believed that eating well should feel enjoyable, comforting, and realistic—not like another complicated rule to follow. I love creating recipes that fit into everyday life, sharing simple nutrition ideas, and finding small ways to make meals feel a little better without losing the pleasure of good food.