
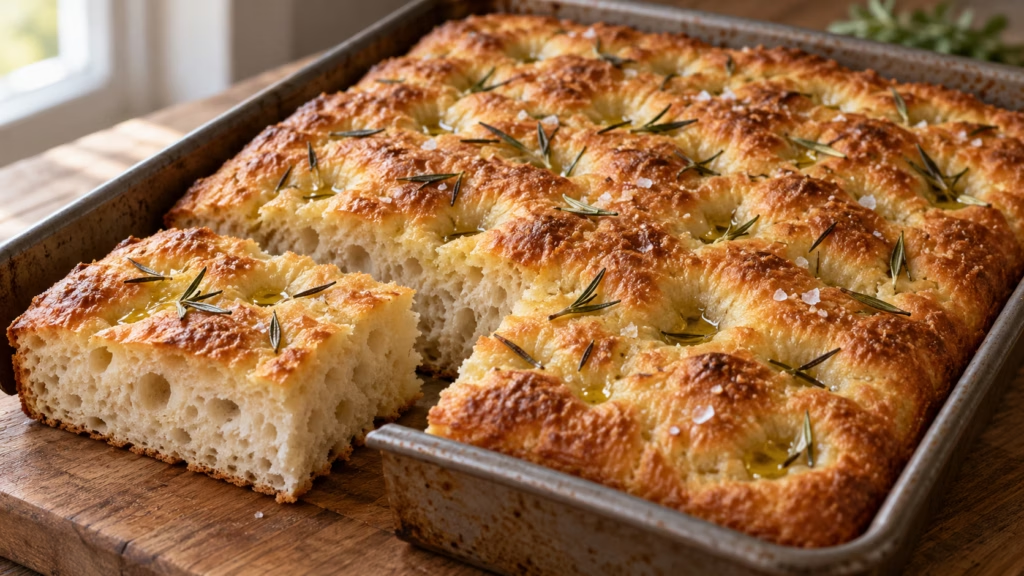
A bowl of focaccia dough can look alarmingly sticky when you expect bread dough to behave like a tidy ball. With no-knead focaccia, that loose texture is part of the plan. Stir it together, let it rest overnight, and bake it in an oiled metal pan for a dimpled, rosemary-scented loaf. The hands-on work is short; the waiting deserves a place on your calendar.
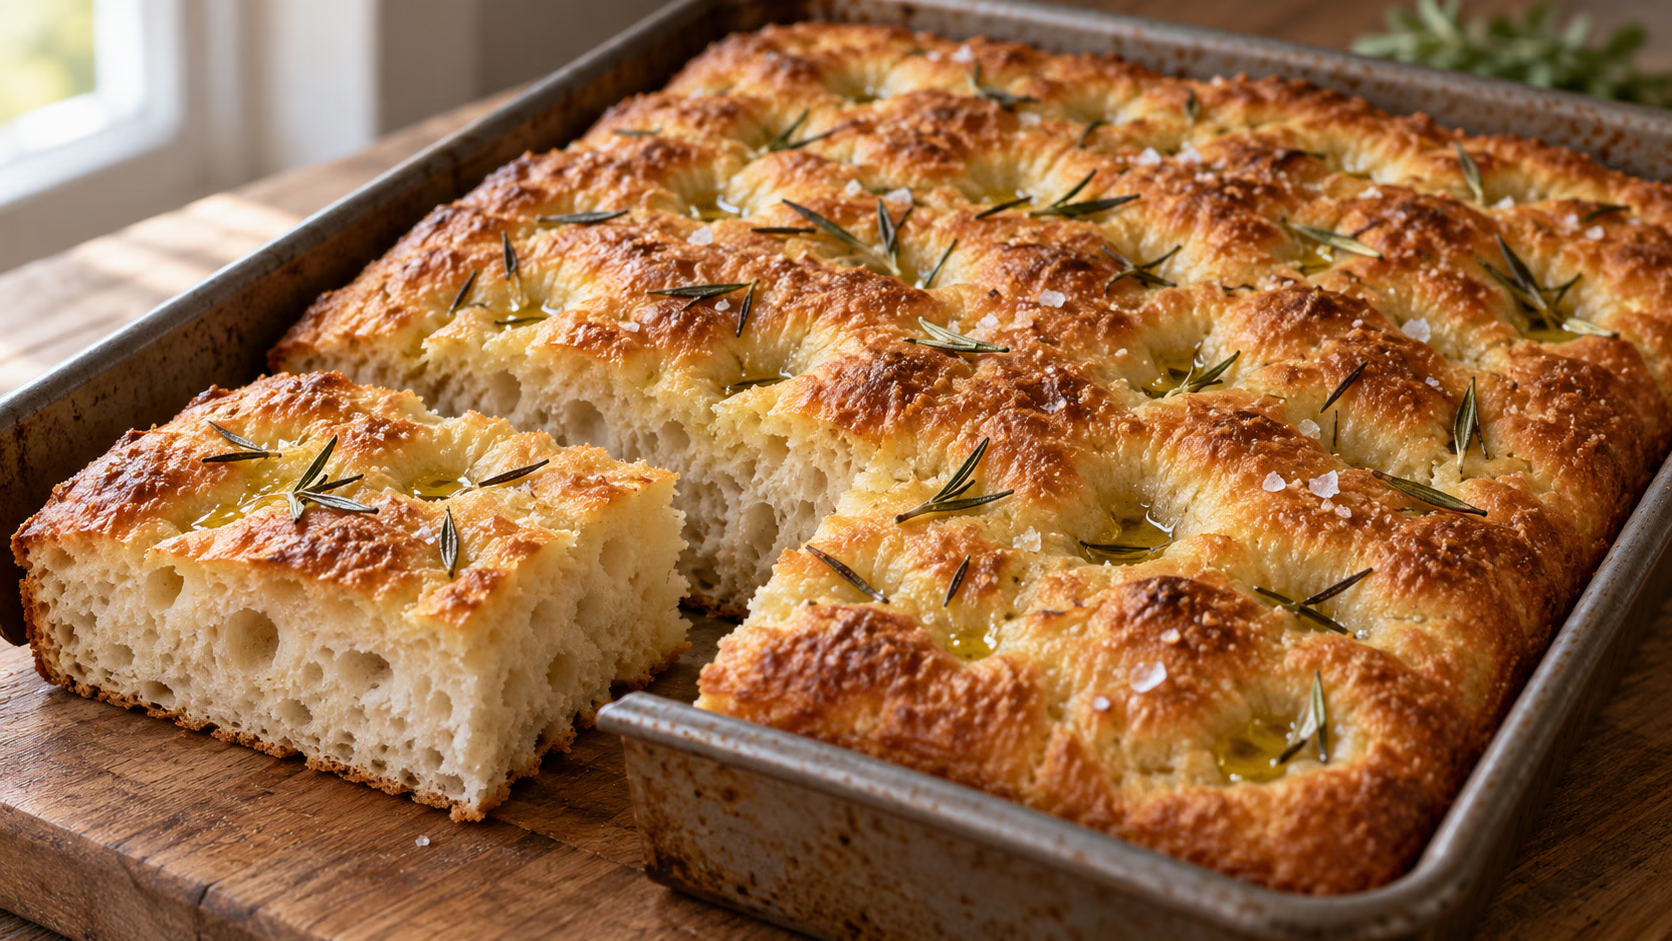
Give this dough room in the fridge and room in your schedule. The reward is a golden pan of bread without a wrestling match at the counter.
No-knead focaccia starts with a workable plan
I would make this bread for tomorrow’s meal, not for guests arriving in an hour. That is the most useful distinction between “easy” and “quick.” You can mix it with a sturdy spoon, but you cannot stir your way around the time needed for the dough to rise.
The formula below draws on Alexandra Stafford’s refrigerator focaccia, with a measured oil allowance and a rosemary finish. You get one rectangular loaf to cut into twelve side portions. Decide where it belongs in the meal before cutting: small squares for a bread basket, larger pieces for sandwiches, or strips to tuck beside soup.
- Clear a shelf first. Use a bowl with enough space for expansion and a lid that actually fits. Balancing a plate over an overfilled bowl is an avoidable complication.
- Choose the pan now. A 9-by-13-inch metal pan gives the dough a defined home. Changing to a much larger tray changes the bread’s height and how soon it bakes.
- Keep the scale nearby. Flour packed firmly into a measuring cup is not the same amount as flour lightly spooned in. Gram weights remove that particular guessing game.
Keep the ingredient choices simple
For a first batch, I prefer plain rosemary focaccia over a crowded topping arrangement. You can judge the bread itself, and every square still works with a different dinner. Olive oil and salt carry much of the flavor; neither needs competition from a whole produce drawer.
- Flour: Use the specified all-purpose flour weight. Bread flour is an option, but expect a chewier result; a different brand can also absorb water differently. Do not substitute almond flour or a generic gluten-free blend gram for gram.
- Yeast: The card uses instant yeast, which goes into the dry mixture. Check the package rather than assuming a jar of baking powder is an equivalent leavener.
- Oil: Measure it into the bowl, pan, and topping as directed. These are three separate jobs, not an invitation to pour without looking.
- Rosemary: Strip the leaves from the woody stems. A modest scattering is easier to bite through than whole branches, however photogenic they look.
- Salt: Weigh the dough salt. Fine salt and large kosher crystals fill a teaspoon differently; the small topping allowance is separate.
Read the dough before reaching for more flour
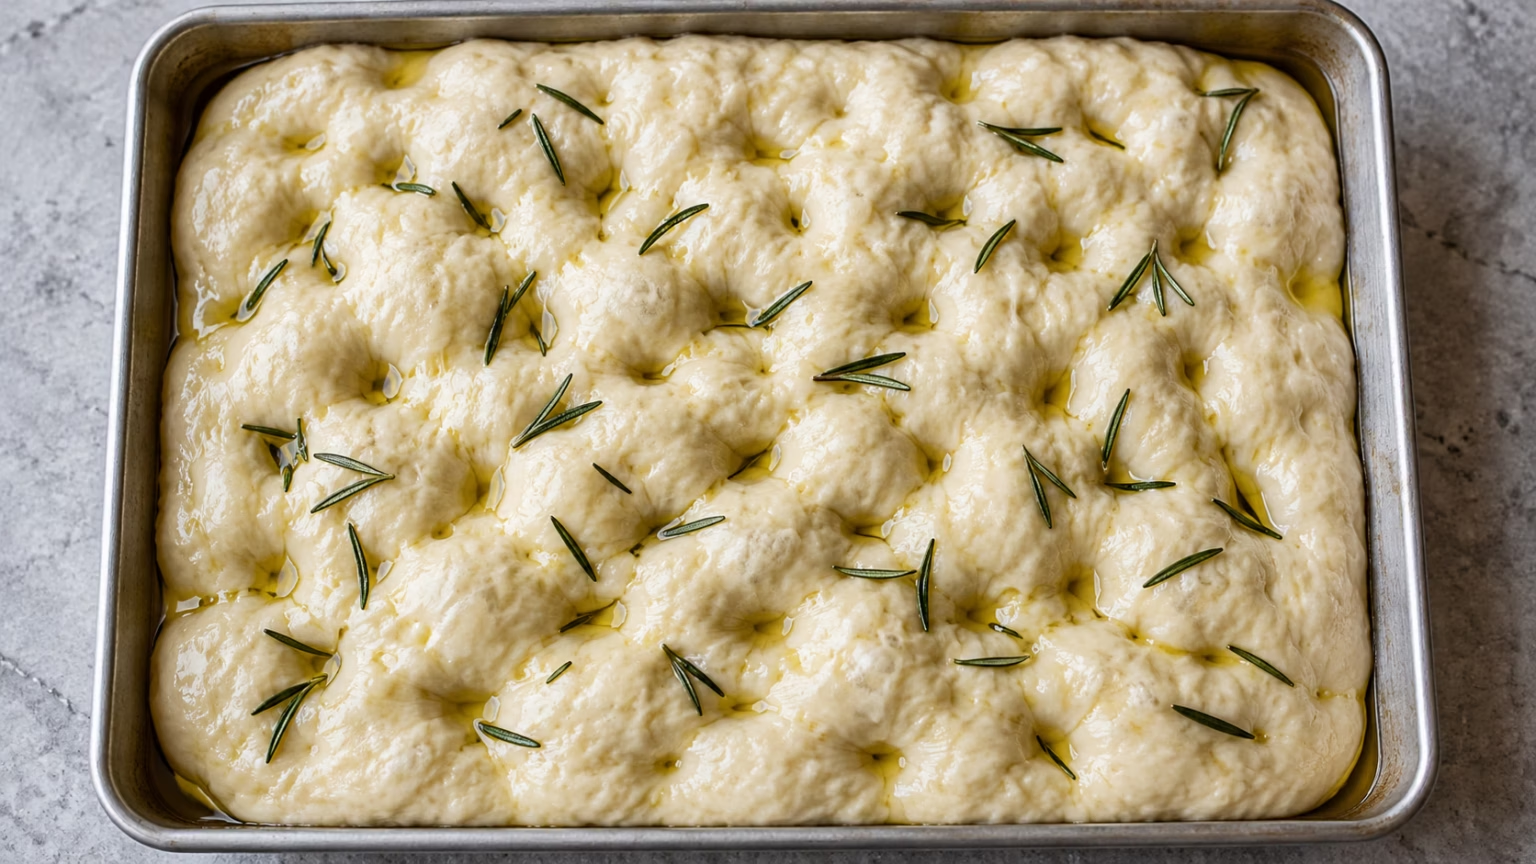
The useful question is not whether the dough sticks to your fingers. It is whether it has had time to become airy and relaxed. Wet or lightly oiled hands are better tools here than another handful of flour. Keep the surface covered during the long rest so you are not trying to stretch a dry skin.
The kitchen temperature changes the final rise. Treat the timing as a planning range, then look at the dough. A cold, compact lump needs more patience; a visibly puffed, gently wobbling mass is much closer. I would rather delay the oven than hurry that stage just to match a clock.
| What you notice | Useful next step |
|---|---|
| Dough pulls back from a corner | Rest briefly, then ease it outward again. |
| Surface feels dry | Check the cover and oil coating next time. |
| Little expansion after chilling | Allow the full warm rise; check yeast freshness. |
| Golden top, pale underside | Check the bottom before removing the loaf. |
Let the crust stay crisp after baking
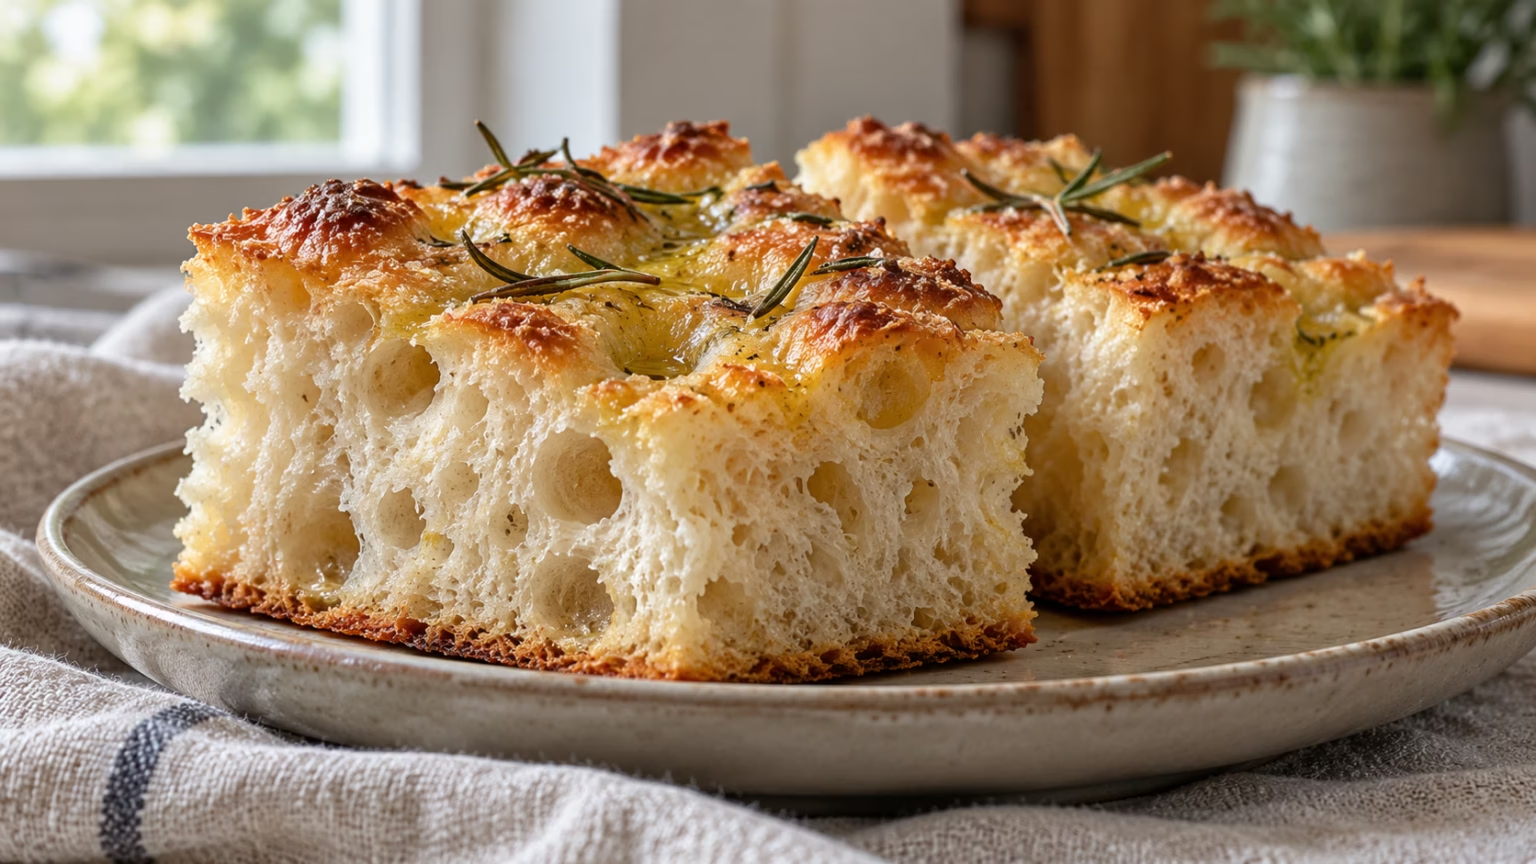
A cooling rack is not just somewhere to park the bread. Leaving a hot loaf sitting in its pan traps moisture underneath, exactly where you wanted a crisp crust. Lift it out carefully once you can handle it, and give the crumb a little time to settle before cutting.
- For dinner: Put the bread on a board and cut only what you need. A serrated knife is more useful than pressing straight down with a blunt blade.
- For sandwiches: Let it cool fully before slicing horizontally. Warm bread is tempting, but a clean, even cut makes filling it much less awkward.
- For tomorrow: Cool completely before sealing airtight. Plan to eat the plain rosemary bread within a day for its best texture.
- For later: Freeze individual portions, then rewarm on a tray at 300°F (150°C) until heated through. Keep toppings simple if you want the same bread to suit several meals.
No-Knead Focaccia Recipe

Ingredients
- 512 g all-purpose flour weighed; approximately 4 1/4 cups at 120 g per cup
- 8 g instant yeast use weight for accuracy
- 10 g fine salt about 1 2/3 teaspoons
- 455 g water room temperature; about 1 7/8 cups
- 5 tablespoons extra-virgin olive oil divided: 1 for bowl, 2 for pan, 2 for topping
- 2 teaspoons fresh rosemary leaves stems removed
- 2 g flaky salt for topping
Equipment
- 1 9-by-13-inch metal baking pan
- 1 Large mixing bowl with lid
- 1 Kitchen scale
- 1 Sturdy spoon
- 1 cooling rack
Instructions
- Stir flour, yeast, and fine salt together. Add water; mix until no dry flour remains. Coat the dough with 1 tablespoon oil, cover, and refrigerate 12–24 hours.
- Line the bottom of a 9-by-13-inch metal pan with parchment. Add 2 tablespoons oil. Release dough from the bowl with a spatula and transfer to the pan, turning to coat.
- Cover loosely and let rise at room temperature 3–4 hours, until puffy and relaxed. Gently ease toward corners; pause if it resists.
- Heat oven to 425°F (220°C). Scatter rosemary and remaining 2 tablespoons oil over dough. With oiled fingertips, press deep dimples without tearing. Sprinkle with flaky salt.
- Bake 25–30 minutes, until deeply golden with a crisp, browned underside. Carefully transfer to a rack; cool at least 10 minutes before cutting into 12 pieces.
Nutrition
Video
Notes
Tried this recipe?
Let us know how it turned out!Sources
- Alexandra’s Kitchen: refrigerator focaccia formula
- King Arthur Baking: pan preparation and cooling
- King Arthur Baking: pan choice and proofing cues
- Bon Appétit: overnight focaccia and reheating
- King Arthur Baking: flour nutrition label
- Bertolli: olive oil nutrition label
Hi, I’m Laura, the voice behind Tastiva. I’ve always believed that eating well should feel enjoyable, comforting, and realistic—not like another complicated rule to follow. I love creating recipes that fit into everyday life, sharing simple nutrition ideas, and finding small ways to make meals feel a little better without losing the pleasure of good food.