
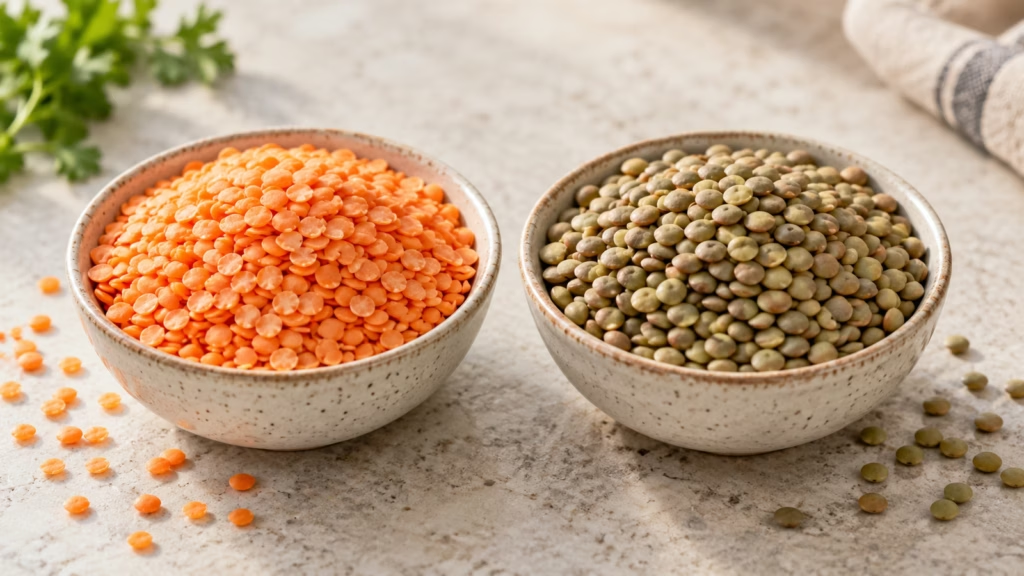
A soup recipe asks for red lentils, but the bag in the cupboard is green. Can dinner continue? For red vs green lentils, the useful first question is whether the lentils are whole or split. Whole lentils are usually the better choice when you need separate pieces; split red lentils fit dishes meant to soften and thicken. A swap can work, but the original timing and texture may change.
Choose the lentil for the texture you want on the spoon, not just the color in the bag.
Red vs green lentils: check whole or split first
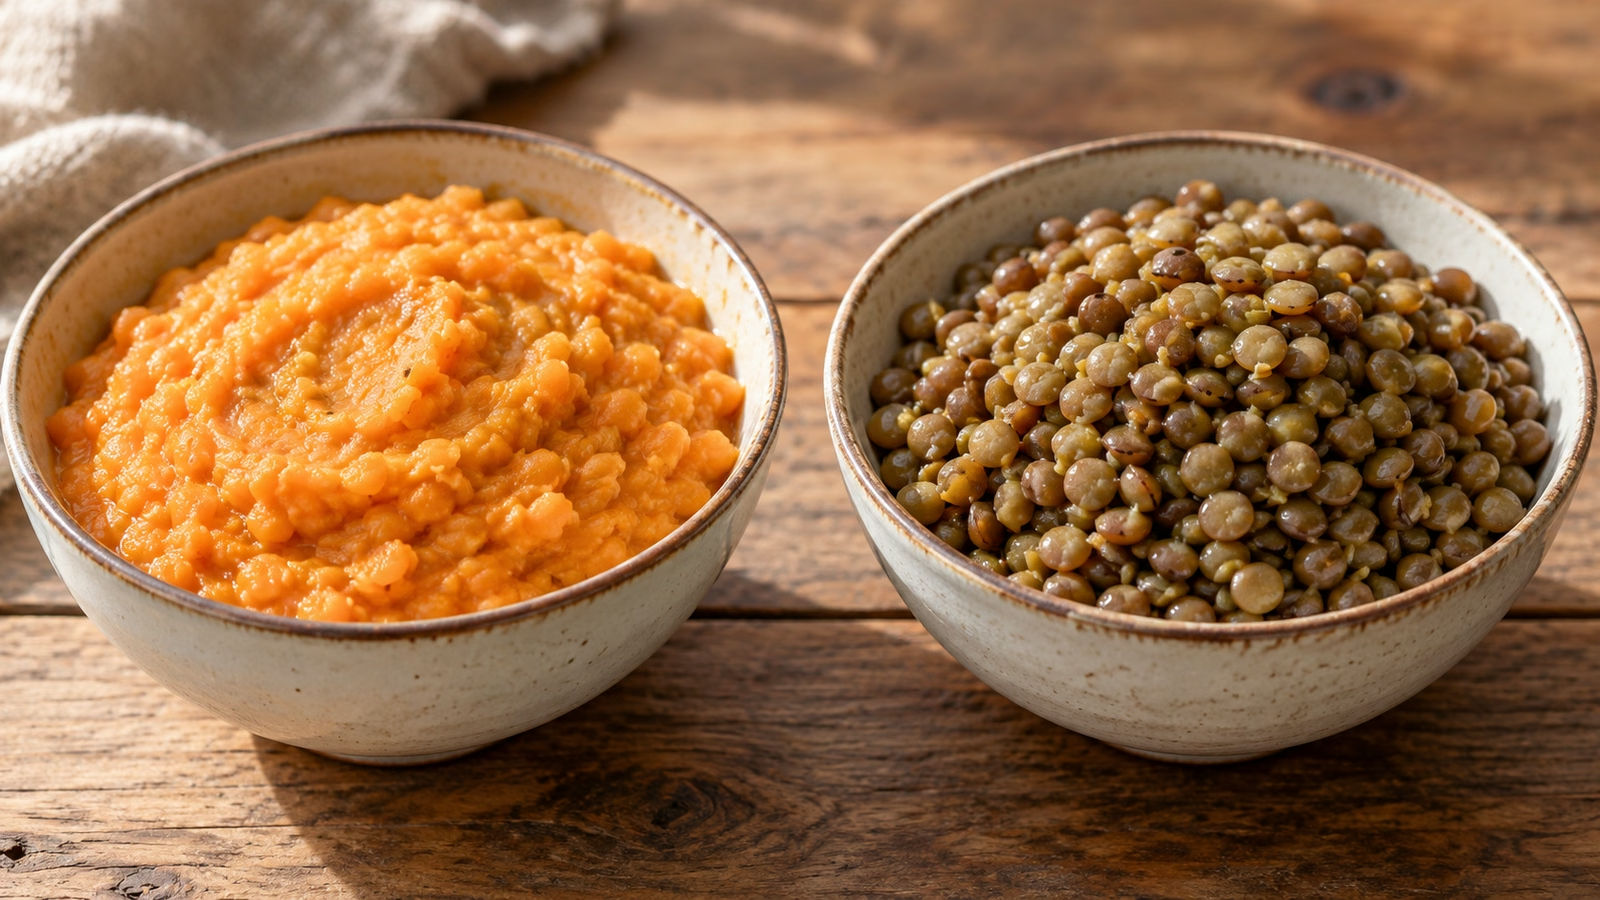
Lentils.org identifies split red and whole green as common grocery-store forms. Split lentils have had the seed coat removed and are divided into halves, so they cook differently from intact lentils. Color is a handy shopping clue, but the words on the package give you the more useful instruction.
| Form | Cooking role | Good starting choice |
|---|---|---|
| Split red lentils | Soften readily and blend into the dish | Creamy soups, sauces, and purées |
| Whole green lentils | Keep more individual shape when cooked appropriately | Salads, grain bowls, and textured fillings |
| Other whole or split forms | Check the actual package form and directions | Match the dish’s intended texture before substituting |
I’d check the lentils themselves as well as the front of the bag. Small flattened halves and intact round seeds will not behave identically in a pot. Neither form is inherently the better dinner ingredient; each solves a different job. The same principle matters when a recipe specifies a particular variety rather than simply “lentils.”
Decide whether your dish needs pieces or thickness
A substitution is easiest when the dish welcomes a texture change. Before reaching for the measuring cup, ask what the original lentils contribute: separate bites, a soft base, or a filling that must hold together. The following suggestions are practical adaptations, not a promise that every recipe will work unchanged.
| Dish | Whole green in place of split red | Split red in place of whole green |
|---|---|---|
| Blended soup | Cook until tender before blending; expect a different color | Usually compatible with a creamy result |
| Chunky stew | Useful if you want visible lentils; revise timing | Makes a softer, thicker stew |
| Lentil salad | Whole lentils are the useful form | Poor swap when distinct lentils are essential |
| Sauce or soft dal-style dish | Expect more texture unless puréed | A fitting form when softness is the aim |
| Burgers or firm patties | Follow the recipe’s binding and moisture needs | Choose a recipe designed for split lentils rather than guessing |
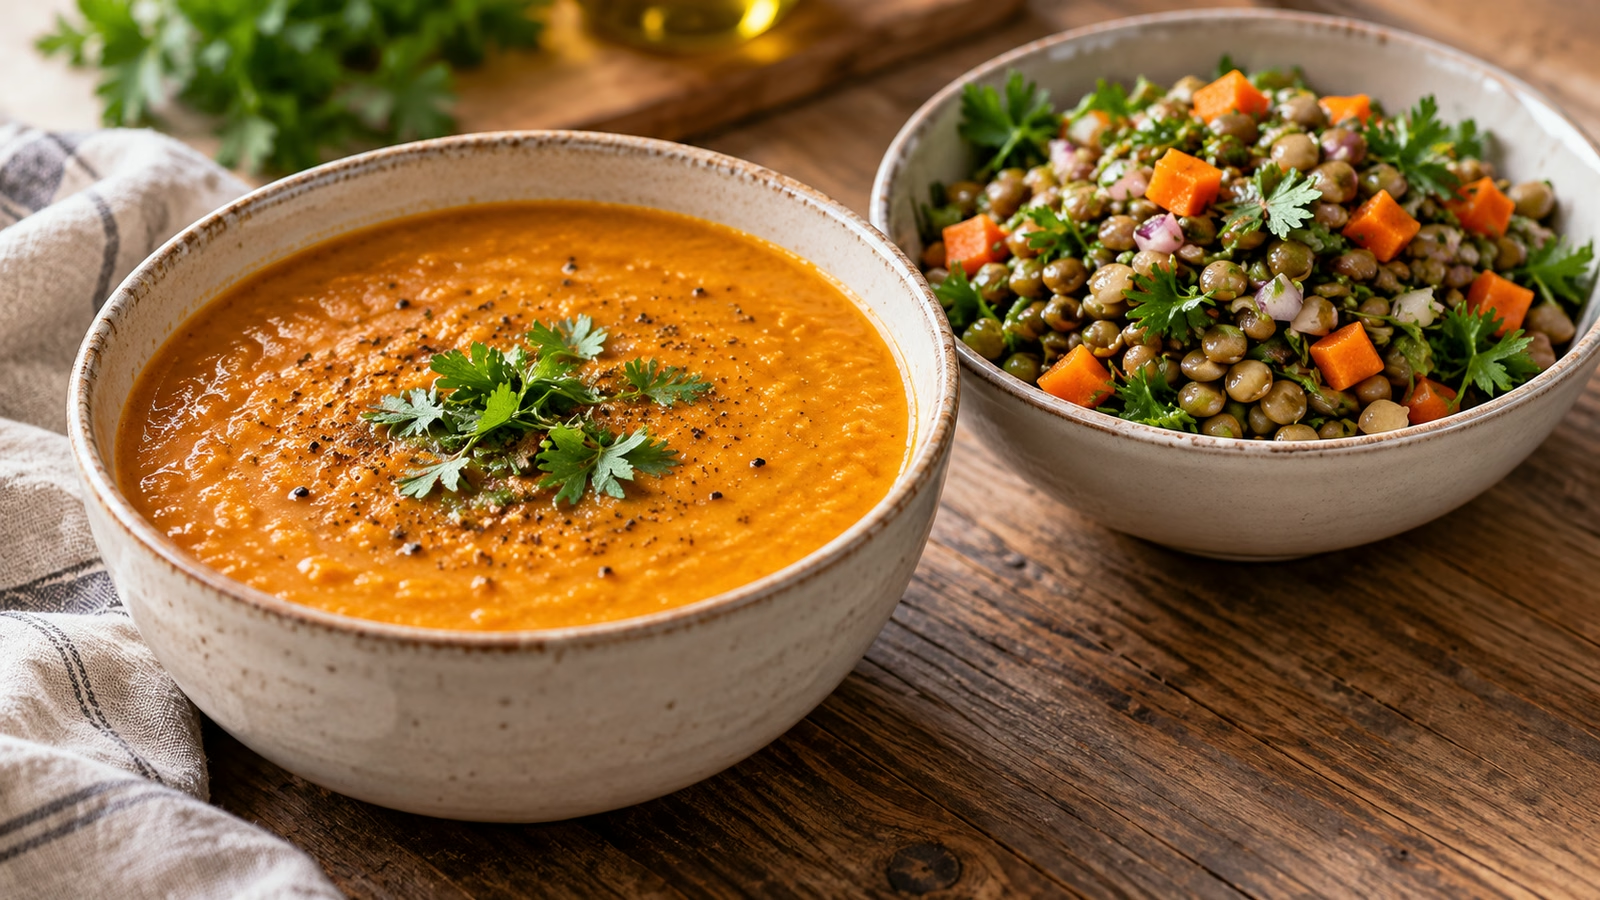
For a crisp vegetable salad, I’d keep whole lentils or choose a recipe built for them, such as this make-ahead lentil salad. Trying to rescue split lentils as separate little beads asks them to do the wrong job. In a blended soup, the choice is more flexible because you have already decided that individual shape does not matter. Tastiva’s carrot and red lentil soup shows how split red lentils help build a creamy base.
Adjust the cooking sequence, not only the timer
Lentils.org’s stovetop guidance lists typical cooking times of 15–20 minutes for whole lentils and 5–7 minutes for split red, using three cups of liquid per cup of dry lentils. Treat those as that method’s starting guidance; your package and recipe can differ. Judge doneness rather than assuming a universal red-lentil or green-lentil minute.
- Read both instructions. Compare the original recipe with the substitute’s package directions. Check dry versus cooked amounts before you measure anything.
- Rinse and inspect. Use a fine-mesh strainer suitable for the small lentils. Lentils do not need the overnight soaking commonly associated with dried beans.
- Give whole lentils their own time when needed. For a short-cooking soup originally using split red, consider cooking the whole lentils separately until tender, then adding them.
- Add split lentils with their shorter cooking needs in mind. If other ingredients need a long simmer, do not assume split red lentils must go in at the original whole-lentil stage.
- Check several lentils. They should be tender for the intended dish. A single soft one does not establish that the pot is evenly ready.
Keep additional liquid available when adapting a one-pot dish and add it gradually if needed. There is no universal correction factor for every stew. If the recipe specifies already-cooked lentils, use cooked lentils for the substitution discussion; a cup of dry lentils is not an equivalent cup of cooked ones.
Fix the texture you have and buy for the next meal
When split red lentils have softened into a thick base, I’d change the serving plan before fighting the pot. Spoon that mixture into a bowl with vegetables or treat it as a soup base, provided the rest of the recipe suits that use. You can adjust a dish’s direction without claiming the substitution preserved its original result.
- Too thick: Stir in a little suitable liquid, then reassess seasoning. Do this in small additions so dinner does not swing from paste to broth.
- Too loose: If everything is already tender, gentle uncovered cooking may reduce liquid. For delicate vegetables, separate them first rather than overcooking them.
- Still firm: Continue cooking the lentils with sufficient liquid. Do not use extra sauce to disguise an undercooked center.
- For the pantry: Keep one whole variety and one split variety if you cook both salads and creamy soups. That small distinction covers more uses than buying by color alone.
Canned lentils offer another option for dishes needing cooked whole lentils: Lentils.org’s FAQ notes that they are already cooked. Drain and rinse as appropriate, then add with that head start in mind. Compare the recipe’s cooked quantity with what the can actually supplies, and expect a different result if you replace dry lentils that were meant to thicken a sauce while cooking.
Chef Michael Smith introduces lentil types and cooking methods in this Lentils.org video. His rice-and-lentil example uses whole green lentils; it is a useful reminder to match the lentil’s form to the result you want.
Sources

Hi, I’m Laura, the voice behind Tastiva. I’ve always believed that eating well should feel enjoyable, comforting, and realistic—not like another complicated rule to follow. I love creating recipes that fit into everyday life, sharing simple nutrition ideas, and finding small ways to make meals feel a little better without losing the pleasure of good food.