
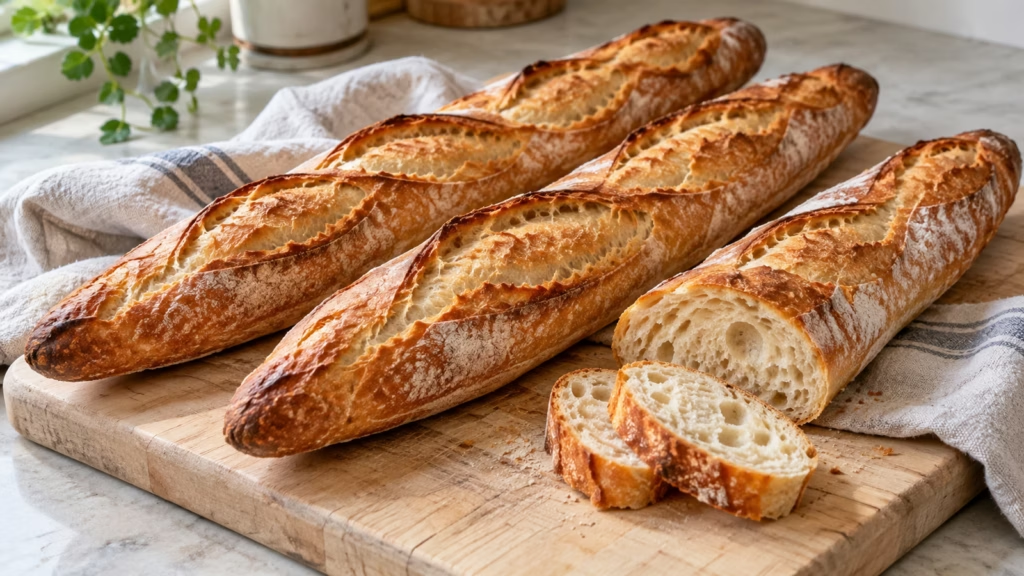
A baguette earns its place at the table with a crackly crust and a soft middle that catches every last spoonful of soup. This home-oven version makes three shorter loaves, sized for an ordinary baking sheet. An overnight poolish gives the dough a head start, while a few folds and a patient shaping rest help turn four basic ingredients into bread worth slowing down for.
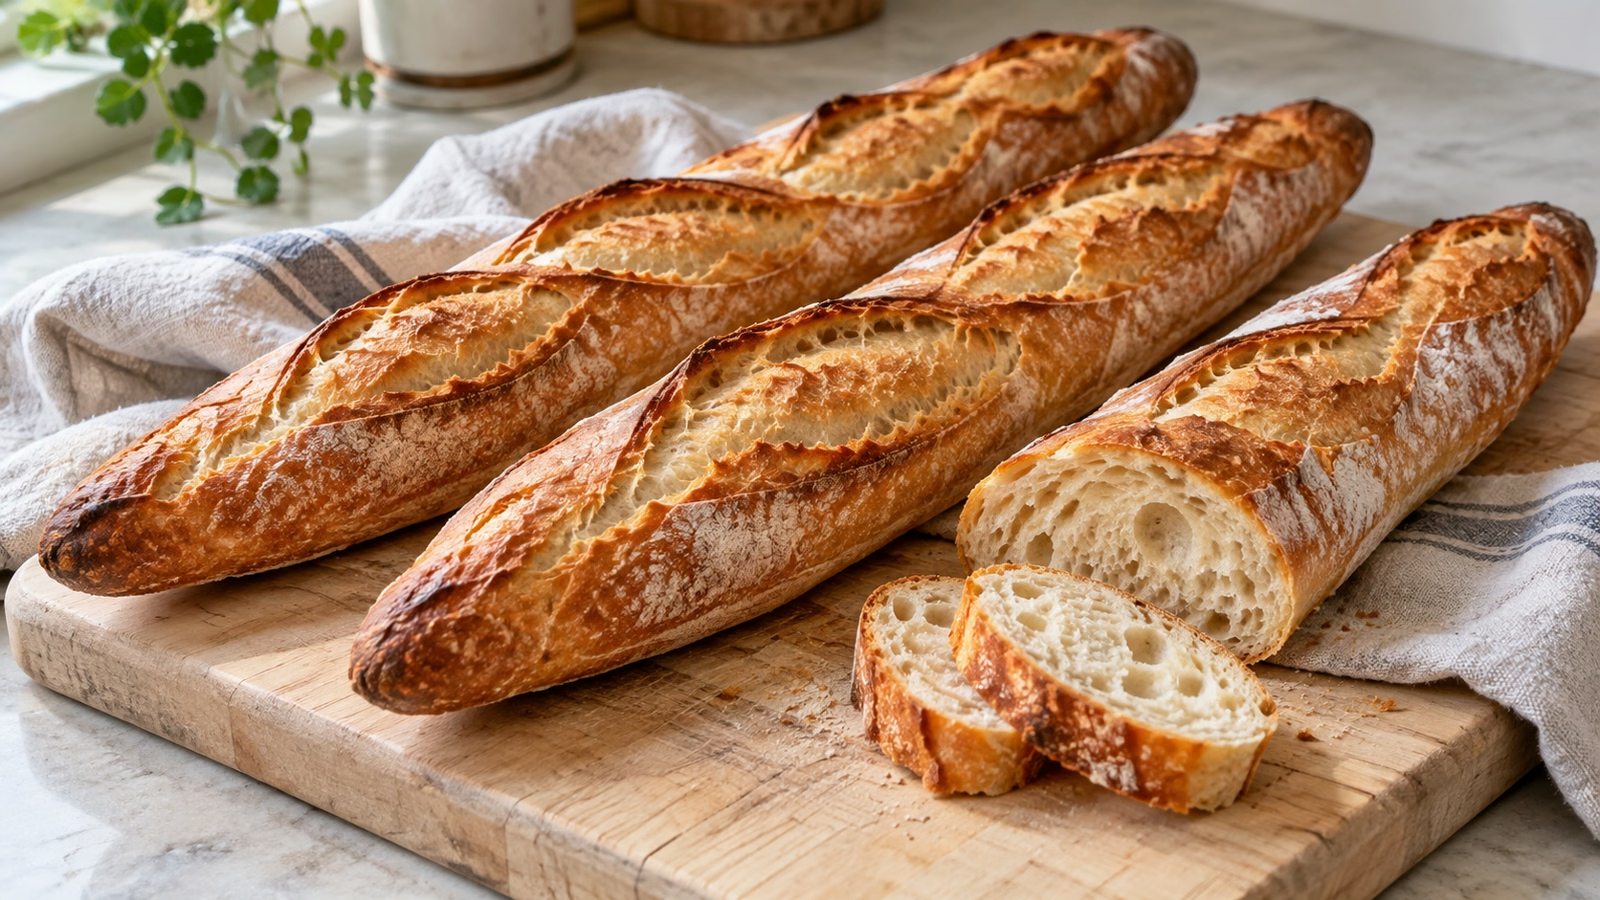
Give the dough room to relax, and let its bubbles tell you when it is ready.
Start the night before, without a sourdough routine
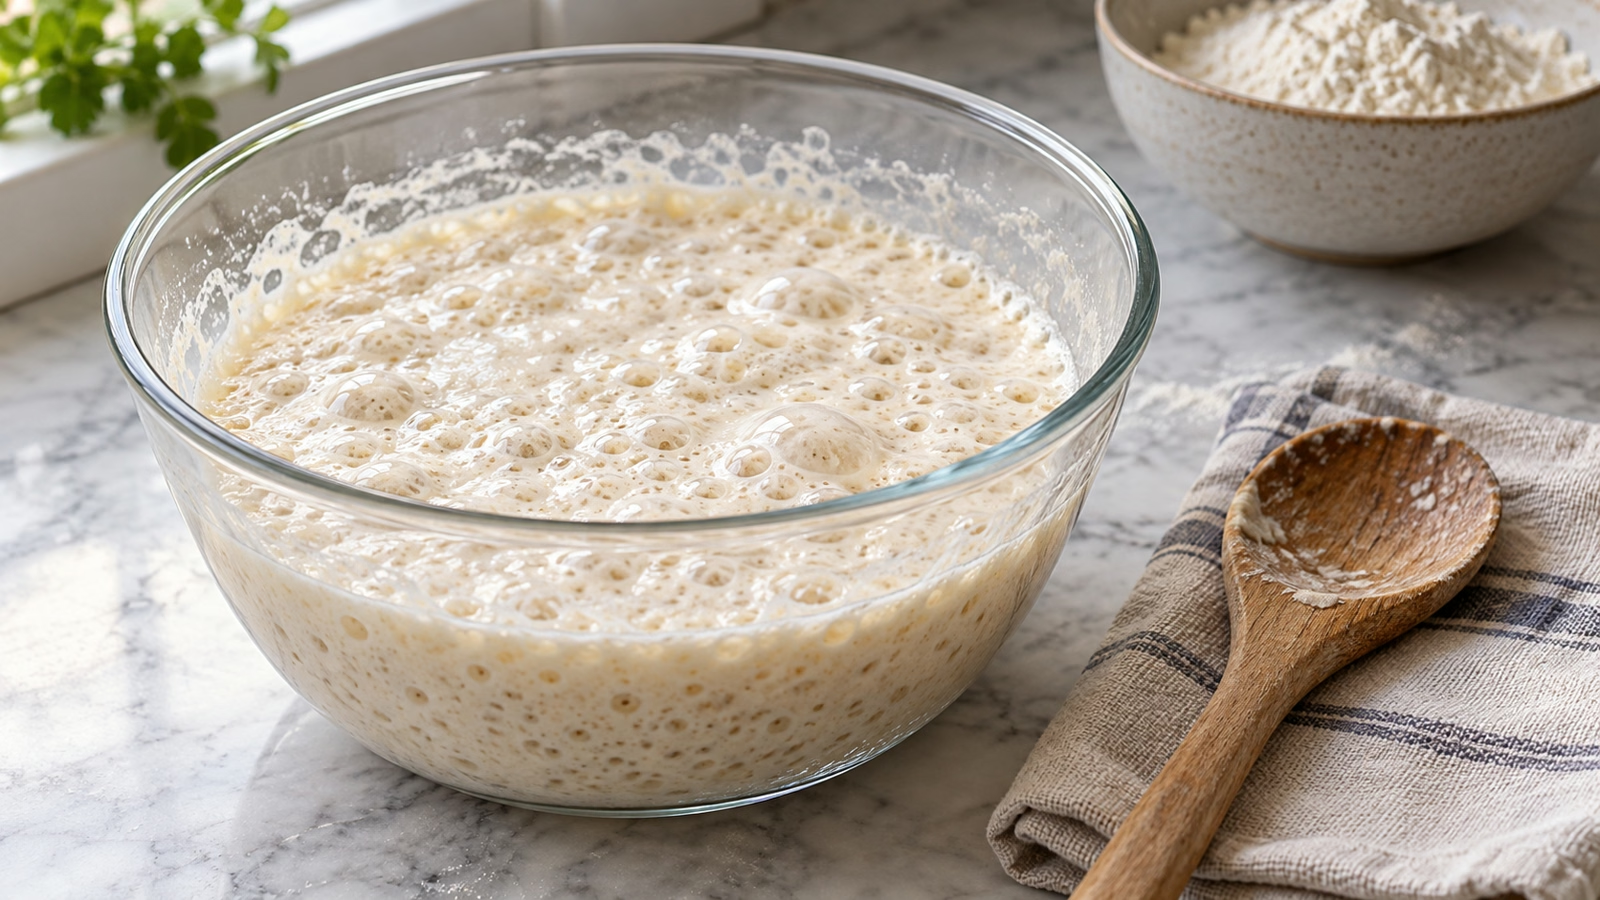
Poolish sounds more demanding than it is: flour, water, and a tiny amount of yeast stirred together in a bowl. You do not need an established starter or a feeding schedule. After an overnight rest, the mixture should look lively and aerated, with a gently domed surface that is just beginning to settle.
The card uses a separate, larger yeast addition in the final dough. Keep those two amounts distinct. A small precision scale is helpful for the starter; otherwise, use a scant sixteenth of a teaspoon. Ordinary kitchen scales often cannot register a fraction of a gram reliably.
- Plan ahead: Allow 10–14 hours for the poolish, then roughly four more hours for mixing, rising, baking, and cooling.
- Choose a moderate spot: Around 68–72°F is a useful starting point. A warmer room speeds fermentation; a cool room slows it.
- Read the bowl: If the starter is still flat and quiet, give it more time. A thoroughly collapsed mixture has passed its most active stage.
Keep the dough soft, then build its strength
This formula uses 350 grams of water for 500 grams of flour, including the starter. That makes a soft, tacky dough. It should not feel like a dry dinner-roll dough, and adding flour until it stops sticking can make the finished bread heavier. Lightly wet hands are useful for the folds.
During the first rise, lift one side of the dough and fold it over the center, then work around the bowl. Those short visits strengthen the dough without a long kneading session. Keep it covered between folds so the surface does not develop a dry skin.
- Flour choice: Start with all-purpose flour as written. Whole-wheat flour absorbs water differently and is not an equal substitution here.
- Before shaping: Look for a puffier mass with some visible bubbles, rather than insisting on an exact doubling.
- If it fights back: Cover the dough and wait a few minutes. Rest is more helpful than pulling harder.
Shape short loaves and handle steam carefully
Divide the dough evenly and give the pieces a short rest before their final shaping. I would rather serve three slightly uneven loaves with a tender interior than force perfect-looking sticks by flattening out every bubble. Seal each seam with purposeful pressure, then roll gently from the middle toward the ends.
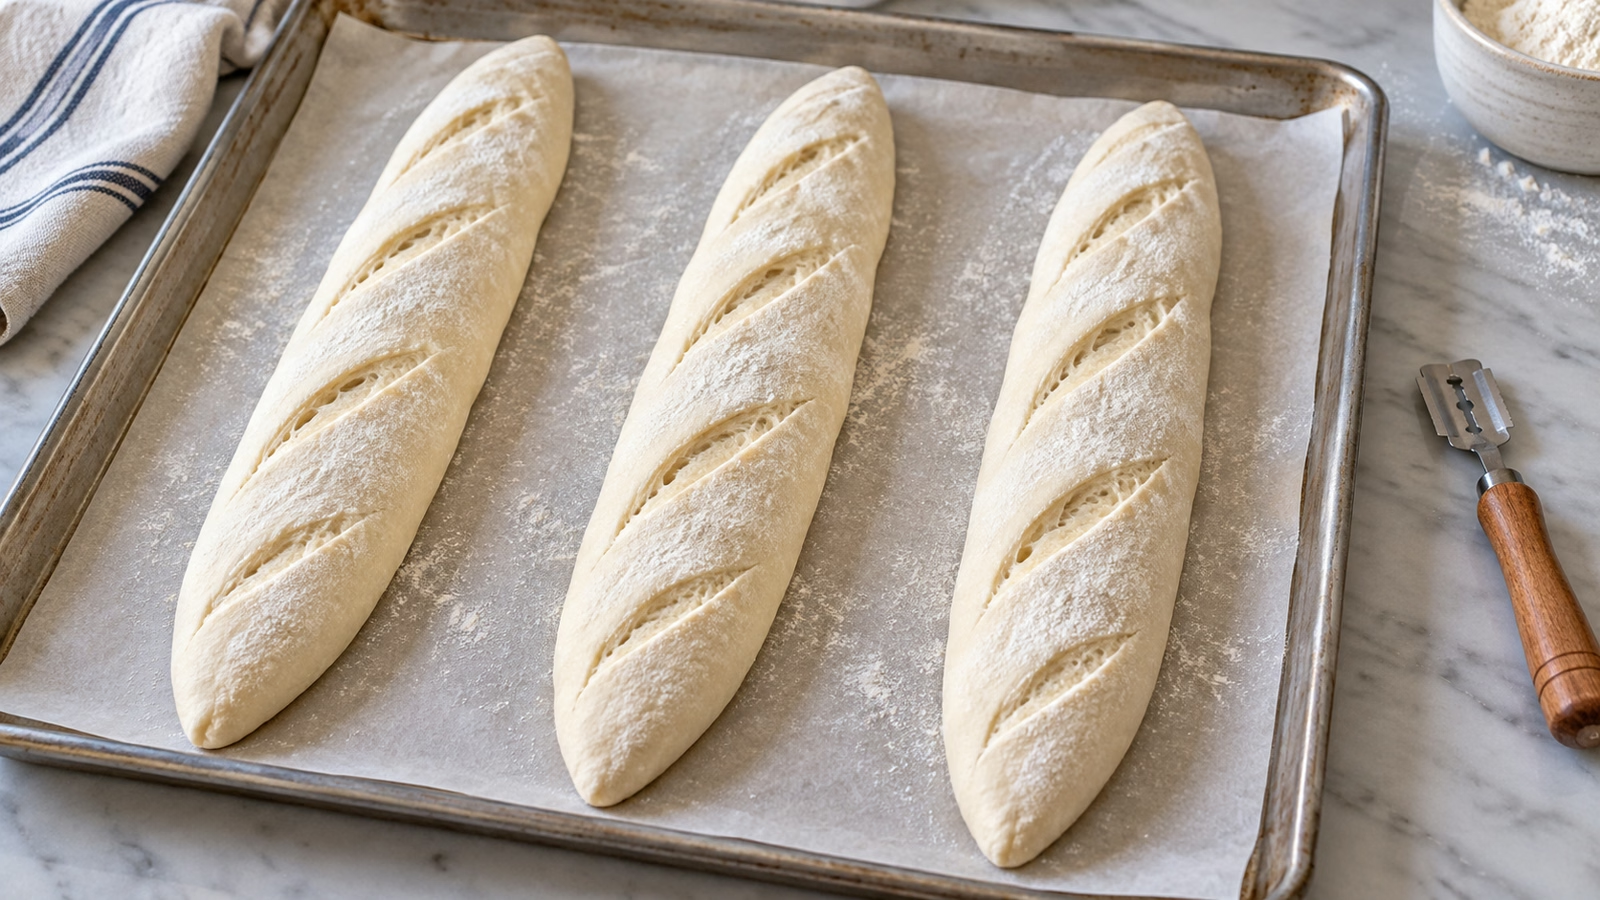
Leave space between the loaves on parchment. Once they are puffy and a light finger press returns slowly, make shallow, overlapping slashes with a sharp bread lame. The cuts should run mostly along the loaf, at a slant, instead of crossing it like ladder rungs.
Steam can help the surface stay flexible during the first part of baking, but oven safety comes first. Use the small quantity of boiling water in the card only if your oven manufacturer permits this method. Keep your face back, use dry mitts, and avoid splashing the door or light. If steam is prohibited, bake without it; expect a somewhat different crust.
Let the crust settle before you slice
Look for a rich golden-brown color rather than stopping as soon as the bread looks lightly toasted. Transfer the loaves to a rack and allow at least 30 minutes before cutting. The inside is still settling when bread first leaves the oven, and an early slice can feel damp even when the loaf is baked.
For dinner, put a loaf beside sausage, white bean, and kale soup. Day-old slices also make a useful starting point for the toasted topping in French onion soup. Toast them according to that recipe before adding the cheese.
- For today: Keep cooled bread in a paper bag at room temperature and enjoy within a day for the best crust.
- For later: Freeze cooled, well-wrapped loaves or portions for up to a month for best quality. Thaw, then warm briefly in the oven.
- Before storing: Let all warmth escape. Sealing warm bread traps moisture and softens the crust.
Sources
- King Arthur Baking: baguette tools and techniques
- King Arthur Baking: classic baguette method reference
- USDA FoodData Central: ingredient-based nutrition data
Baguette Recipe

Ingredients
- 150 g all-purpose flour
- 150 g water room temperature
- 0.2 g instant yeast about a scant 1/16 teaspoon
- 350 g all-purpose flour plus a little for dusting as needed
- 200 g water room temperature
- 3 g instant yeast about 1 teaspoon
- 10 g fine salt about 1 2/3 teaspoons; weighing is more reliable
- 120 ml boiling water not part of the dough; use only with an oven-approved steam method
Equipment
- 1 Kitchen scale A precision scale is helpful for the tiny starter yeast amount.
- 1 Large mixing bowl and cover
- 1 18 × 13-inch rimmed baking sheet and oven-safe parchment
- 1 Bench scraper
- 1 Bread lame or very sharp knife
- 1 cooling rack
- 1 Heavy uncoated metal or cast-iron steam pan Optional; only if your oven permits this steam method. Never use glass or ceramic.
- 1 Long-spouted heatproof pouring vessel and dry oven mitts For optional steam water.
Instructions
- The evening before baking, stir the 150 g flour, 150 g water and 0.2 g yeast together until no dry flour remains. Cover with room for expansion. Leave 10–14 hours around 68–72°F (20–22°C), until bubbly and aerated, with the domed top just beginning to flatten. Temperature changes the timing.
- Stir the poolish with the remaining 200 g water. Add 350 g flour, 3 g yeast and 10 g salt. Mix until all flour is moistened. Cover and rest 20 minutes, then knead gently for 3–5 minutes until more cohesive. The dough should remain soft and tacky; do not add flour just to make it dry.
- Cover and let rise about 2 hours. After 30 minutes and again after 60 minutes, use damp hands to lift and fold each of four sides toward the center. Keep covered between folds. At the end, look for a puffier, aerated dough about 50–75% larger; allow more time in a cool kitchen.
- Turn onto a lightly floured counter. Divide into 3 equal pieces, about 288 g each before dusting flour. Gently form short logs, cover and rest 20 minutes.
- Gently pat one piece into a rectangle without pressing out all the gas. Fold the upper third toward the middle and seal; fold the lower third toward the middle and seal. Fold lengthwise in half and pinch the seam closed. Roll gently from the center outward to a roughly 14-inch loaf. If the dough springs back, cover and rest 5–10 minutes before continuing. Repeat.
- Set seam-side down on an 18 × 13-inch parchment-lined baking sheet, leaving about 2 inches between loaves. Cover loosely and proof 45–60 minutes, until puffy and a gentle fingertip indentation returns slowly. During proofing, preheat a conventional oven to 450°F (230°C), with the bread rack in the center. For optional steam, put a heavy uncoated metal or cast-iron pan on a lower rack only if your oven manual permits it. Do not put it on the oven floor or use glass or ceramic.
- Uncover. With a sharp lame angled about 30–45 degrees to the surface, make four shallow, slightly overlapping diagonal cuts along each loaf, about 1/4 inch deep. Put the bread tray on the center rack. If using steam, wear dry mitts and carefully pour 120 ml boiling water into the lower hot metal pan using a long-spouted heatproof vessel. Stand back, keep your face clear, avoid splashing the oven glass or light, and close the door. Omit steam if the oven manufacturer prohibits it.
- Bake 25–30 minutes, until richly golden brown. After about 15 minutes, briefly open the door while standing back to release steam, then close it and finish baking. Leave the steam pan in place until completely cool; do not carry it out hot. Move the loaves to a wire rack and cool at least 30 minutes before slicing.
Nutrition
Video
Notes
Tried this recipe?
Let us know how it turned out!Hi, I’m Laura, the voice behind Tastiva. I’ve always believed that eating well should feel enjoyable, comforting, and realistic—not like another complicated rule to follow. I love creating recipes that fit into everyday life, sharing simple nutrition ideas, and finding small ways to make meals feel a little better without losing the pleasure of good food.