
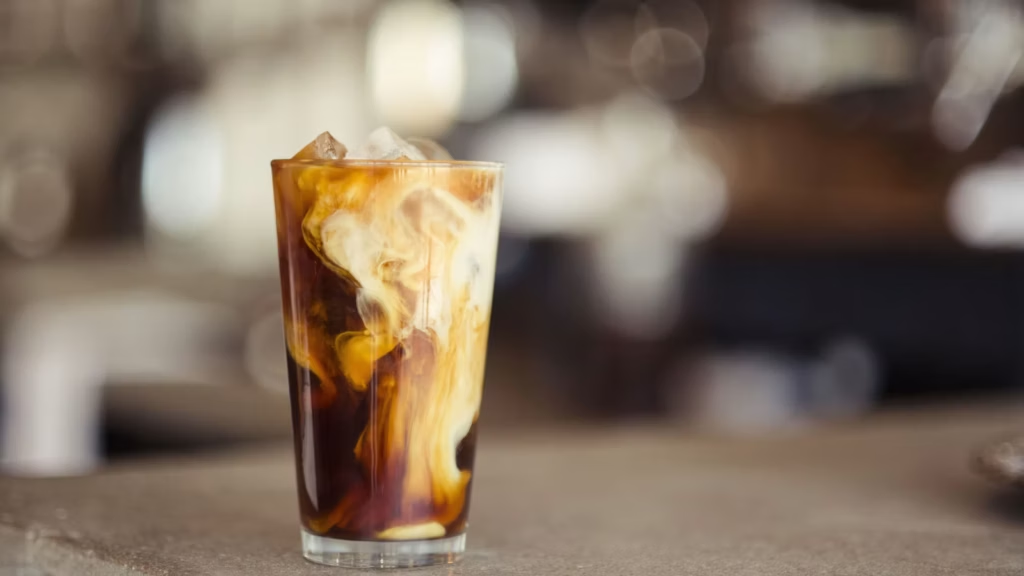
Cold foam should sit on iced coffee like a soft cap, then slowly mingle with the drink instead of dropping in one heavy layer. This cold foam recipe uses cold nonfat milk, vanilla, and a little maple syrup for fine bubbles that stay light and pourable.
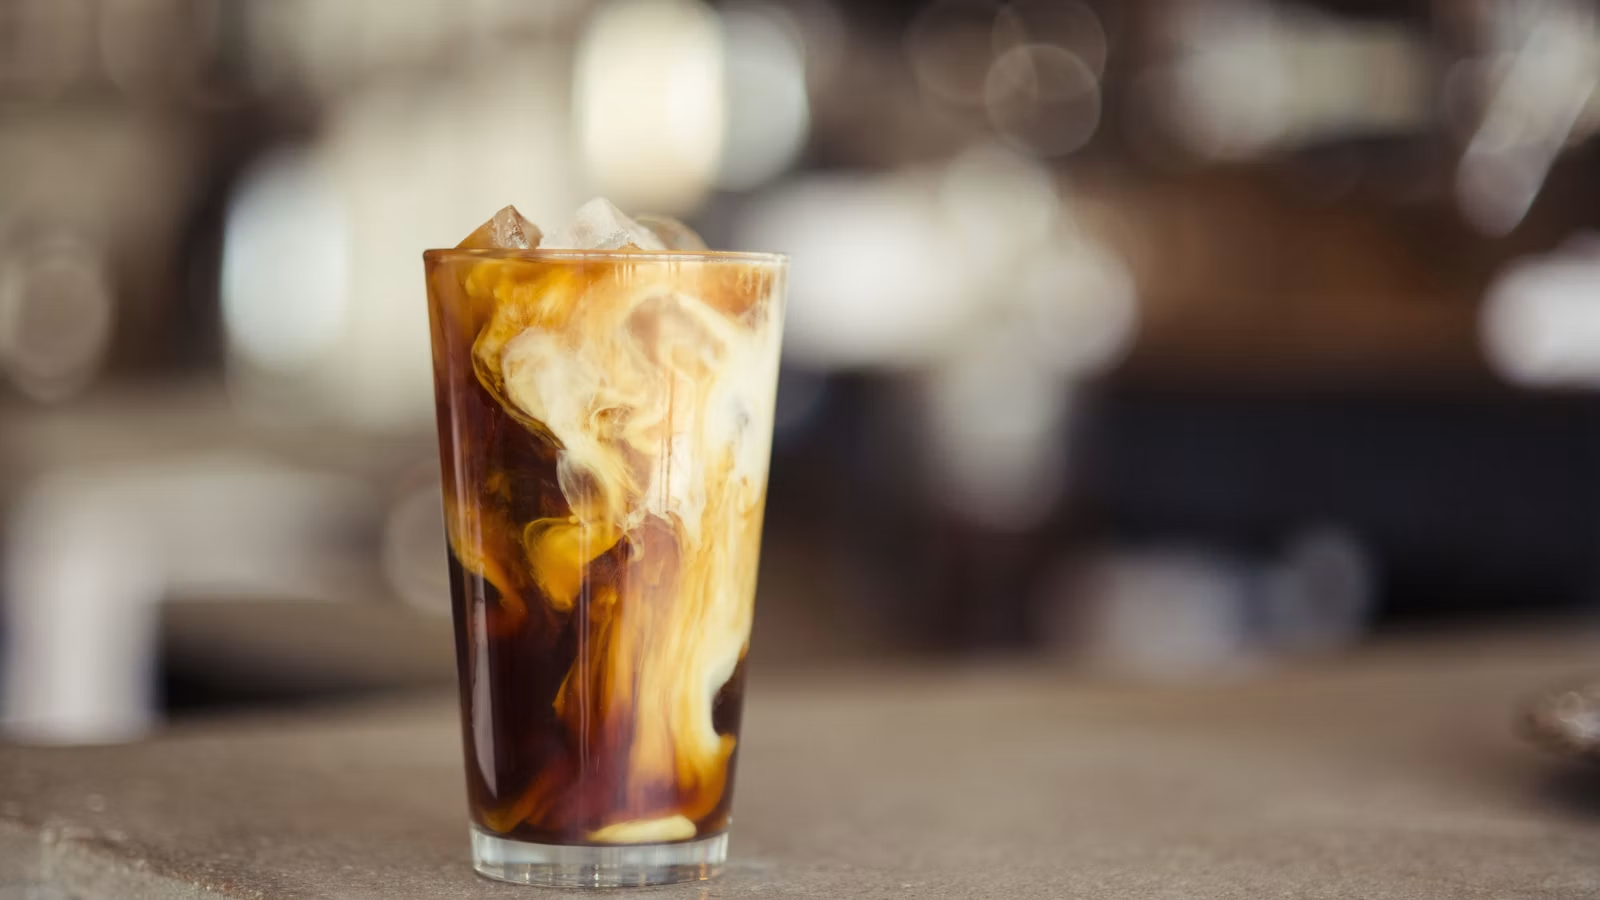
Cold milk and small bubbles matter more than an expensive frother.
What makes cold foam work
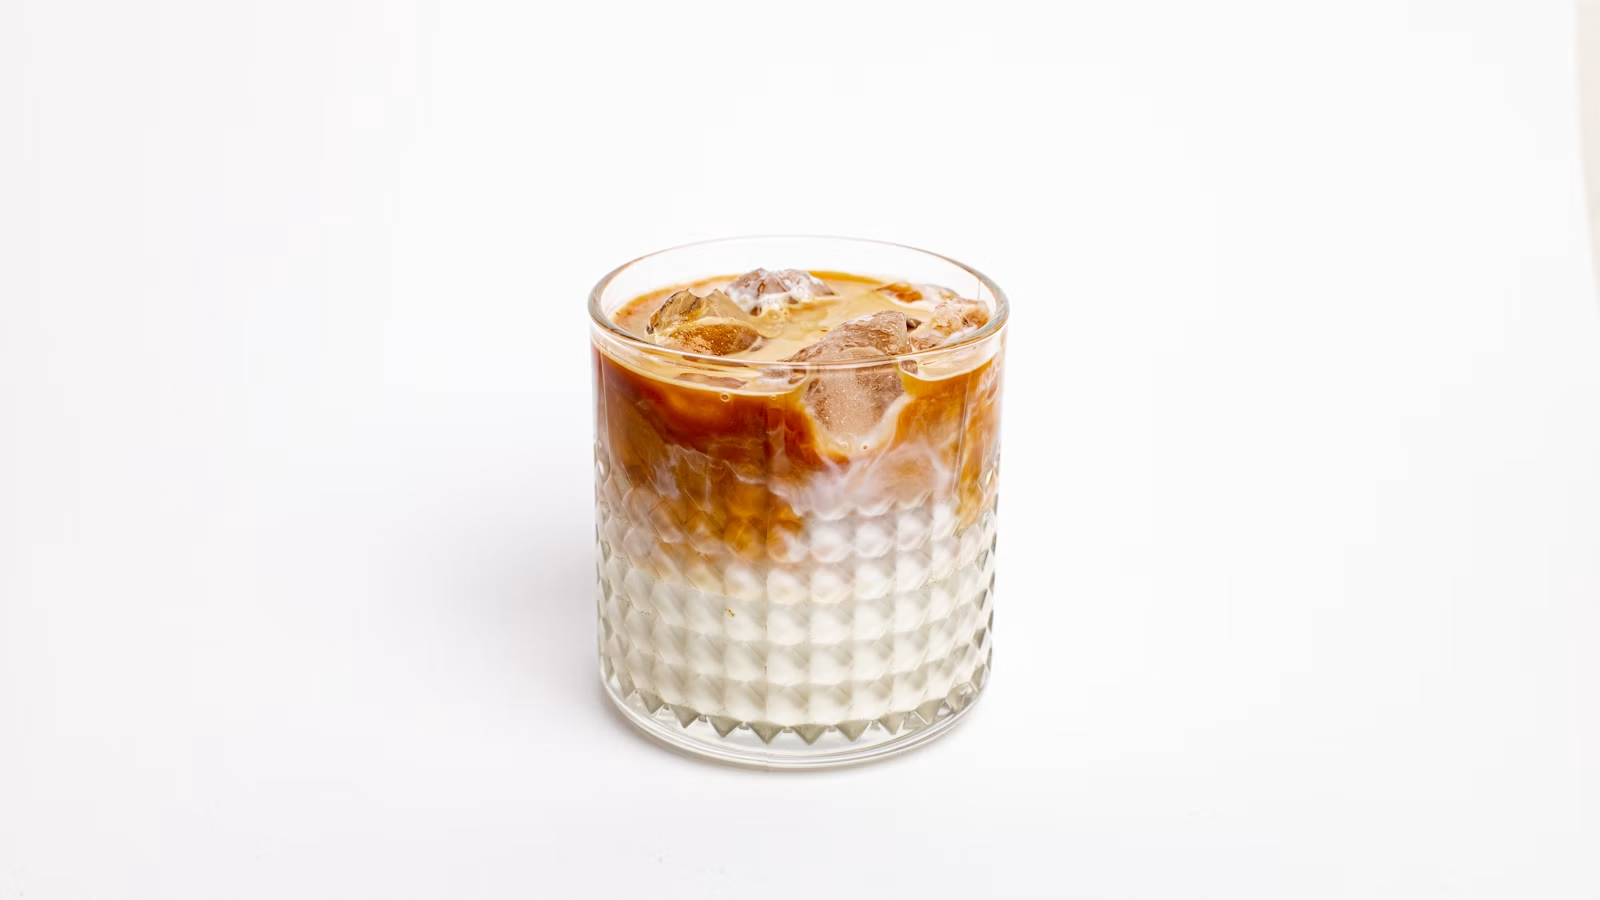
Cold foam is milk aerated without steam. Dairy proteins help hold bubbles, while too much fat can make a light foam collapse more quickly. Nonfat milk usually produces the greatest volume; 2% milk tastes rounder but can settle a little sooner.
Use milk straight from the refrigerator and a narrow container deep enough to keep the whisk submerged at first. A handheld frother is quick, but a French press, blender, or tightly sealed jar can also add air. The texture should be glossy and spoonable, not as stiff as whipped cream.
- Handheld frother: move from below the surface toward the top as the foam grows.
- French press: pump the plunger briskly for 20 to 30 seconds.
- Jar: fill no more than halfway, seal tightly, and shake hard.
- Blender: use a small jar and short pulses to avoid warming the milk.
Milk choices and flavor variations
Nonfat dairy milk is the most dependable for airy foam. Oat or soy barista blends can work because they are formulated for frothing, though the result varies by brand. Almond milk often makes larger bubbles that fade faster.
Maple syrup dissolves easily in cold milk. Simple syrup, honey syrup, or a sugar-free syrup can replace it, but thick granulated sugar may stay gritty. For vanilla foam, use a small amount of extract; too much alcohol-based extract can make the flavor sharp.
How to fix thin or stiff cold foam
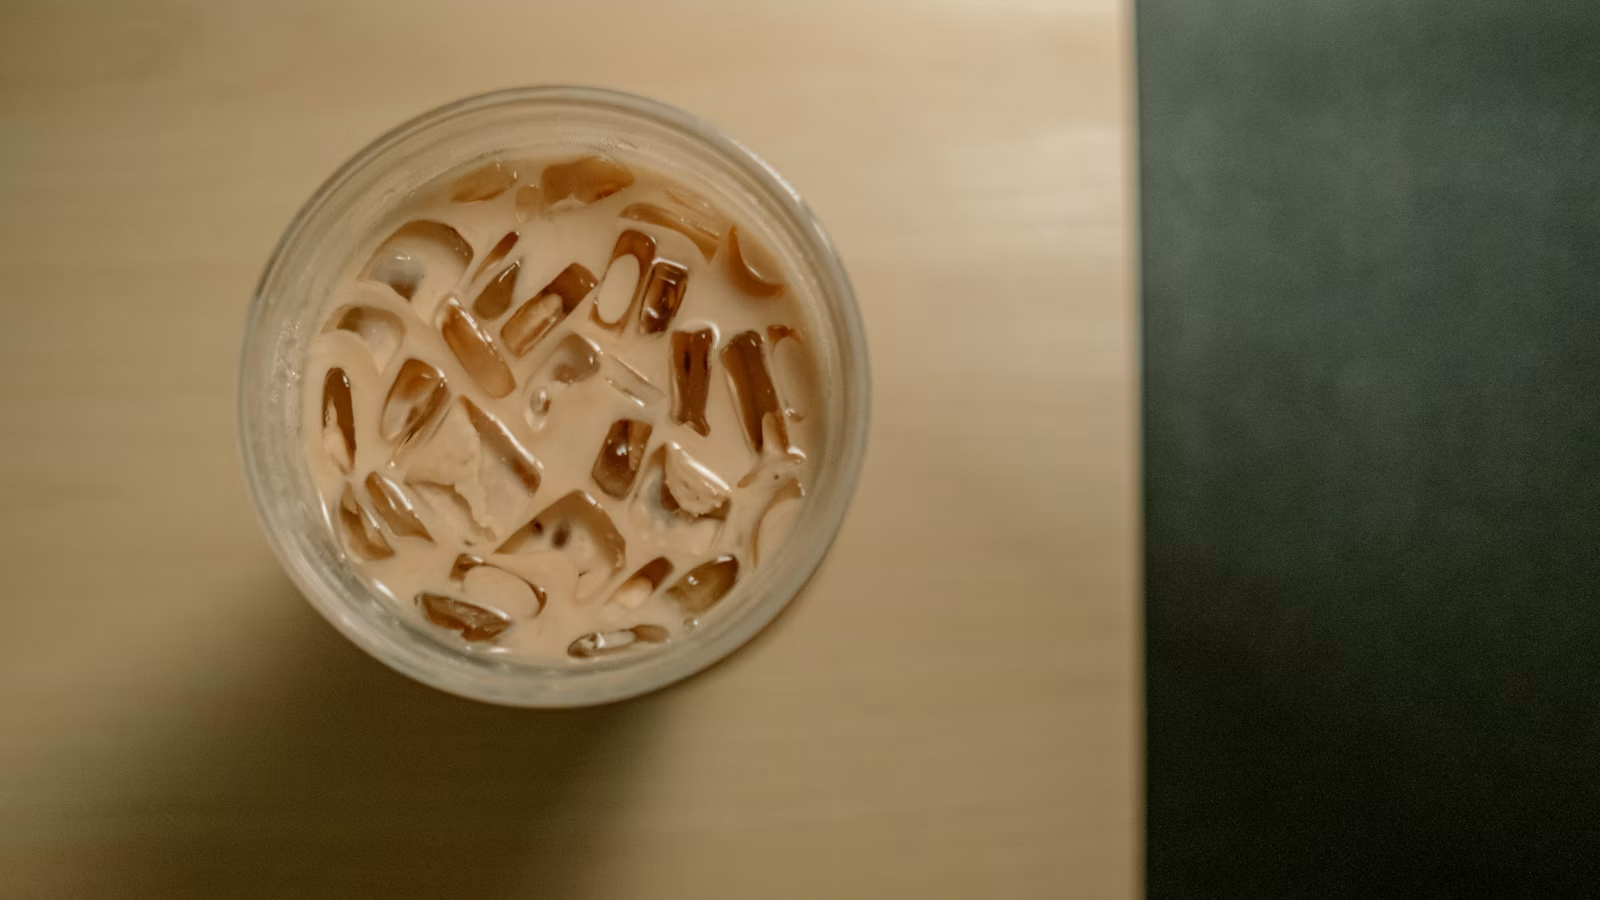
If the foam remains thin, chill the milk and container, use a narrower vessel, and make sure the frother is actually pulling air near the surface. If it becomes stiff and dry, stop sooner or stir in a teaspoon of cold milk. Large soap-like bubbles mean the whisk stayed too high for too long.
Pour the foam over a cold drink immediately. It is especially good on nitro cold brew, iced espresso, or chicory coffee. A slow pour over the back of a spoon can keep a clearer layer for the first few sips.
Make-ahead and serving ideas
Cold foam is best fresh because the bubbles gradually merge and collapse. You can refrigerate the liquid mixture for a day, then froth only what you need. If finished foam waits in the refrigerator, re-froth it briefly before serving rather than expecting the original volume to hold.
The recipe makes enough for two drinks. Adjust sweetness in the coffee as well as the foam; a sweet topping over a heavily sweetened drink can flatten the coffee flavor. I would begin with the stated teaspoon and add more only after the first sip.
Cold foam recipe
The card below gives one base formula and four tool options. Nutrition is estimated for one of two servings and does not include the coffee underneath.
Vanilla Cold Foam for Iced Coffee

Ingredients
- 1 cup cold nonfat milk straight from the refrigerator
- 1 tablespoon maple syrup or simple syrup
- 1/4 teaspoon vanilla extract
Instructions
- Pour the cold milk, maple syrup, and vanilla into a tall narrow container. Fill it no more than halfway to leave room for the foam.
- Keep the frother just below the surface at first, then lift it gradually as the volume grows. Froth for 20 to 30 seconds, until glossy and spoonable.
- Divide over two iced coffees and serve immediately.
- Pump the plunger briskly for 20 to 30 seconds.
- Seal the ingredients in a jar no more than half full and shake hard for 30 to 45 seconds.
Nutrition
Video
Notes
- Nonfat dairy milk usually produces the greatest volume; 2% milk tastes richer but may settle sooner.
- Barista-style oat or soy drinks can work, though performance varies by brand.
- Nutrition is estimated for one of two servings and excludes the coffee.
Tried this recipe?
Let us know how it turned out!Sources
Hi, I’m Laura, the voice behind Tastiva. I’ve always believed that eating well should feel enjoyable, comforting, and realistic—not like another complicated rule to follow. I love creating recipes that fit into everyday life, sharing simple nutrition ideas, and finding small ways to make meals feel a little better without losing the pleasure of good food.