
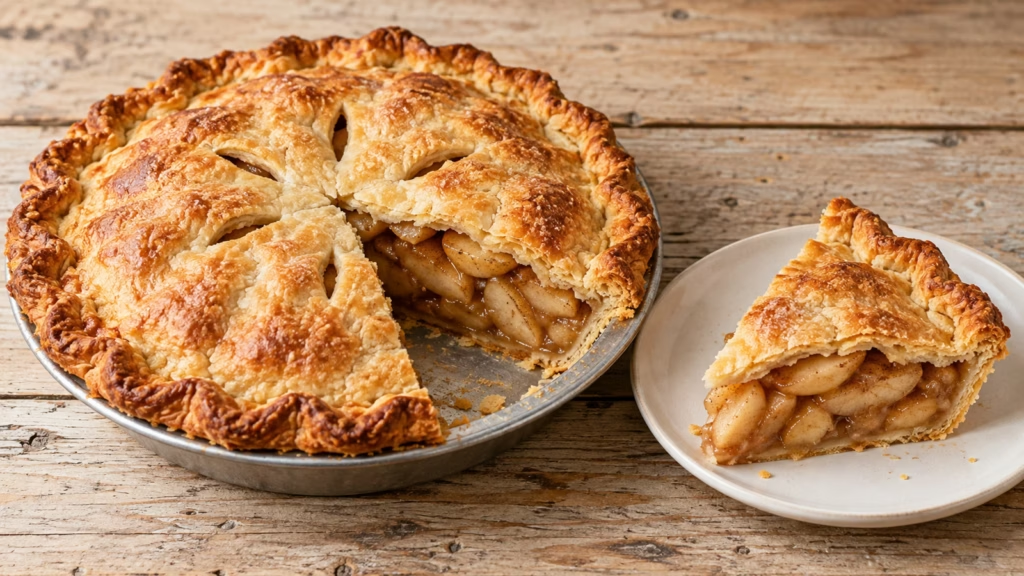
The top crust can look beautifully golden while the apples underneath still need time. If you are learning how to make apple pie, that is the detail worth catching early: bake for both tender fruit and thick bubbling juices, then let the pie cool before cutting. This double-crust version uses a raw apple filling, an all-butter pastry, and a plain vented lid, so there is no lattice to wrestle with.
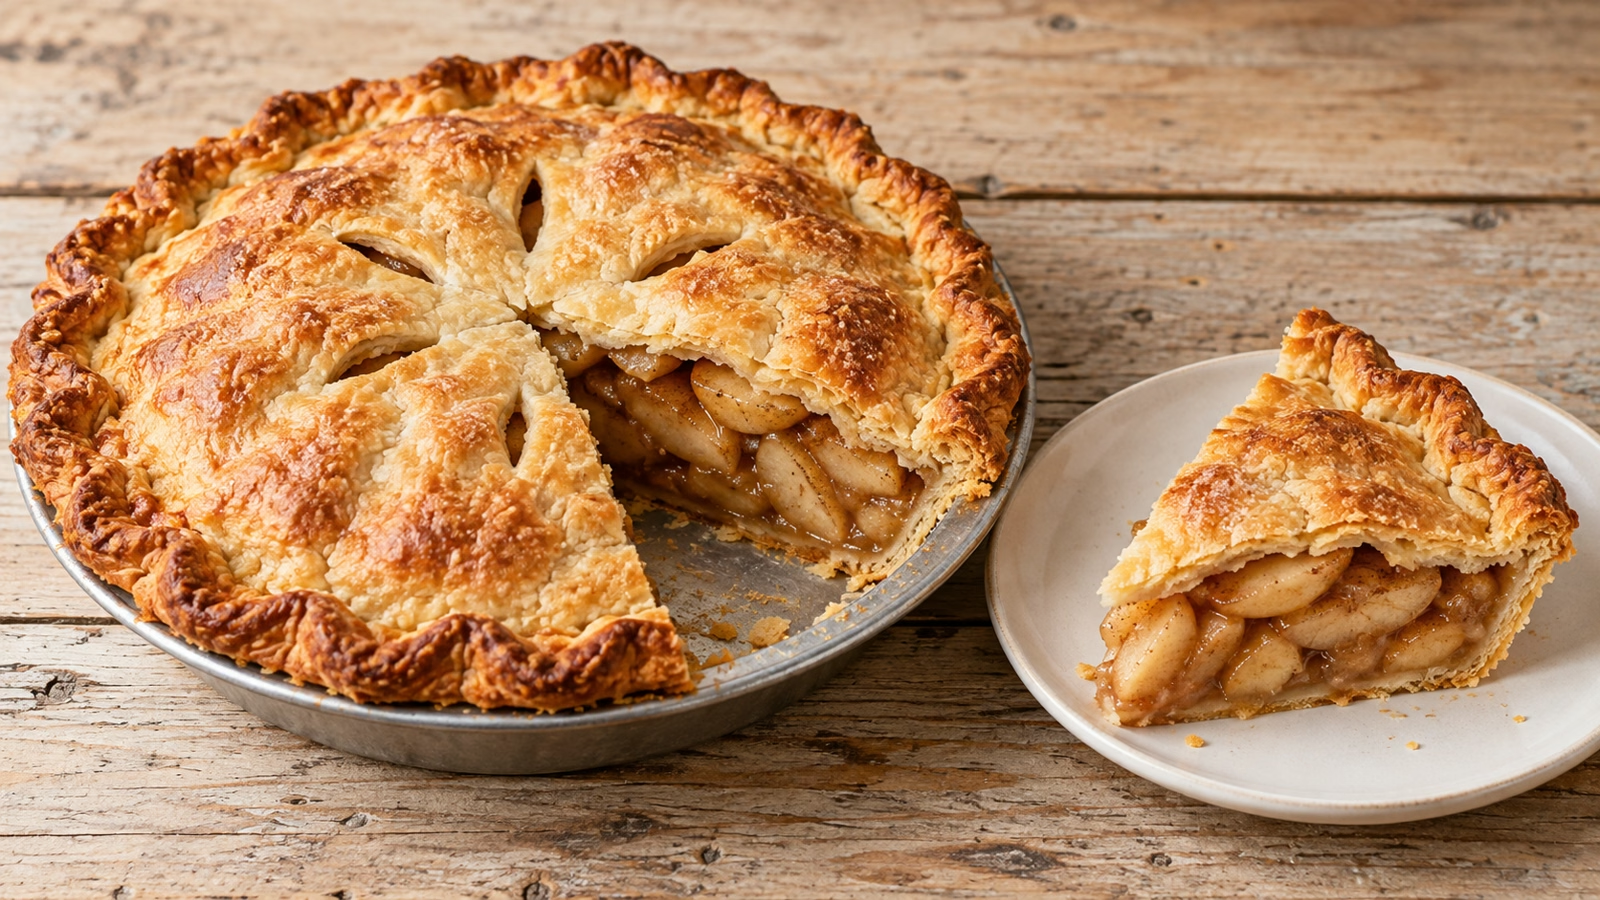
A golden crust is only half the answer; the filling needs to bubble, and the pie needs time to settle.
How to make apple pie starts with the fruit
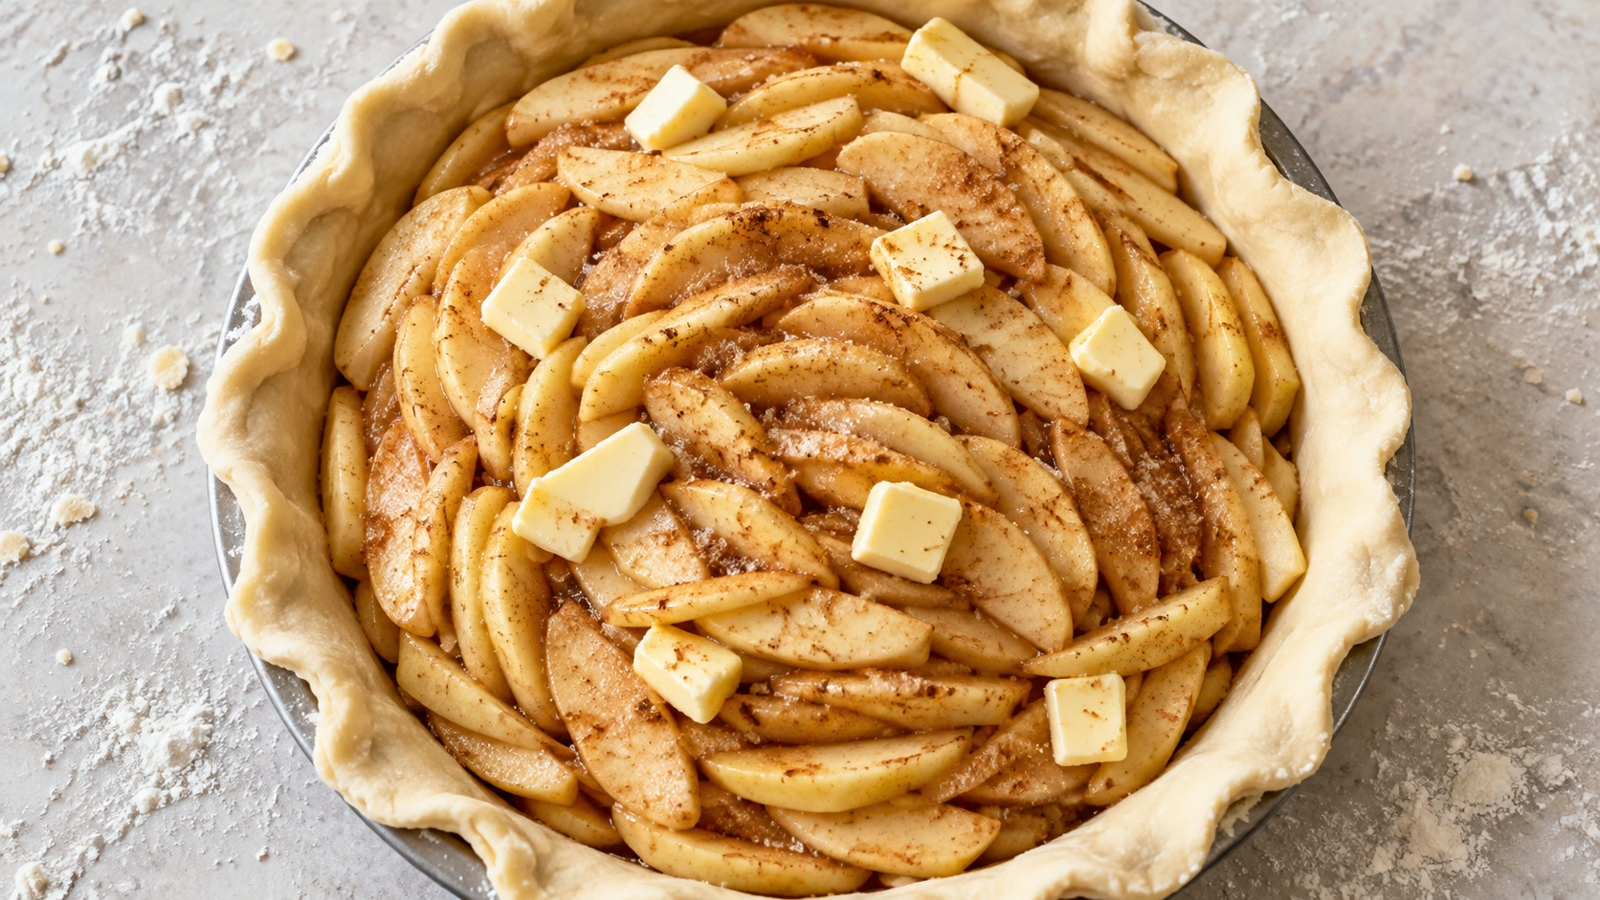
Use 1.2 kg of apples after peeling and coring, rather than counting a fixed number of fruit. A mix of Granny Smith and Honeycrisp gives a practical tart-sweet starting point. Tastiva’s guide to baking apples explains how variety and intended texture belong together.
I would spend more care on even slicing than on a decorative rim. Aim for slices around ⅛ inch (3 mm) thick so the fruit can soften at a similar pace. Uneven pieces ask the oven to solve two different problems.
- Keep the prepared weight: Replacing one baking apple variety with another is reasonable; doubling the mound without changing the rest is a different recipe.
- Spread the thickener: Mix the filling’s flour with the sugar and spices before coating the fruit. Dry flour pockets do not improve anyone’s dessert.
- Keep the lemon measured: A small amount adds brightness. Extra juice also changes the filling’s liquid balance.
- Pack gently: Settle the slices together instead of dropping them in a loose pile. The apples shrink as they bake; big air pockets encourage a hollow top.
Cold butter and a relaxed dough make rolling easier
The pastry should hold together when squeezed while still showing small butter pieces. Add cold water gradually, stopping when the dough gathers without loose flour.
Chilling gives the dough a chance to firm up before rolling. I prefer two roughly even discs, with the bottom one a little larger. If a disc is so cold that it splits immediately, give it a few minutes on the counter. If it becomes shiny or sticky, return it to the refrigerator.
- Dust lightly: Use enough flour to prevent sticking, lifting and turning the dough as you roll. A thick flour coating makes the pastry harder to judge.
- Lower it into the pan: Ease the dough into the corners rather than stretching it. Patch a small tear with a scrap of pastry.
- Use the specified pan: A 9-inch metal pie pan gives this recipe a defined size. A very deep dish or a much wider plate changes the filling depth and bake.
- Keep substitutions bounded: Purchased double-crust dough is a shortcut, with different weight and nutrition. Gluten-free flour requires a pastry formula designed for it.
Vent the top and watch more than the timer
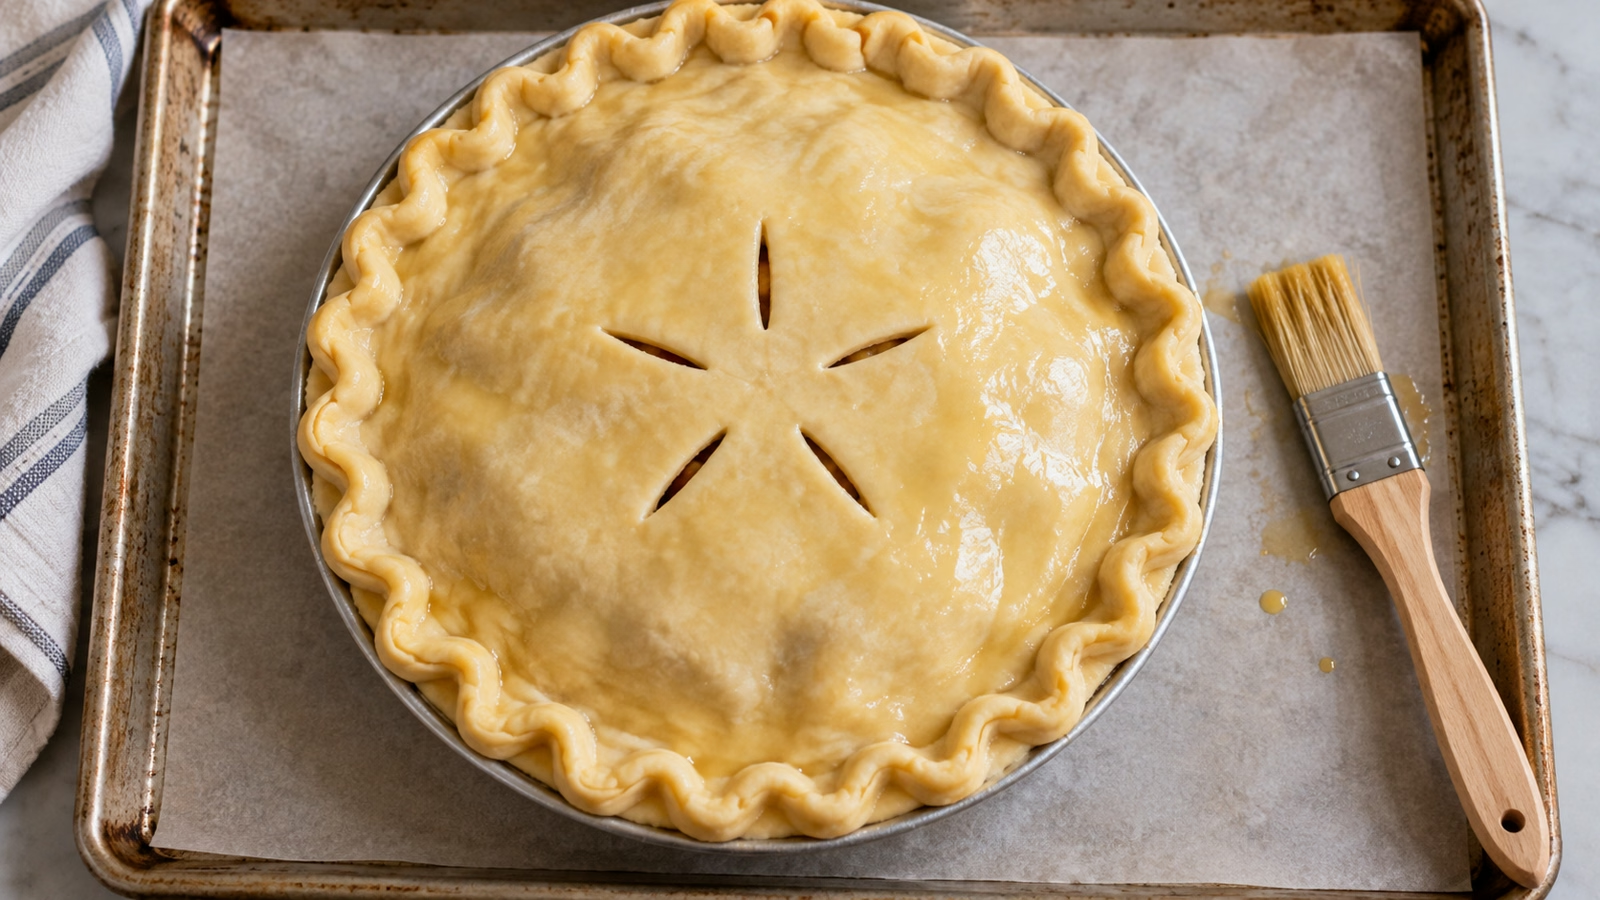
A solid lid is straightforward: fold the edges together, crimp, and cut several slits through the top. Brush with a thin egg wash rather than leaving puddles around the rim. The vents let steam escape and give you a view of the filling.
Begin at 425°F (220°C), then reduce to 375°F (190°C). The card gives a baking range, but look for a deep golden crust, thick juices bubbling through the vents, and apple slices that yield to a thin knife. A foil shield protects a darkening rim while the center catches up.
- Use a rimmed baking sheet: It catches drips and makes the pie easier to move. Parchment should be rated for the oven temperature.
- Do not judge only the edge: Bubbling near the center is a more useful signal than one little bubble against the pan.
- Check tenderness carefully: Slide a thin knife through a vent. Resist removing the pie just because the crust has reached an attractive color.
- Expect variation: Ovens, pans and apples behave differently. Add time when the center needs it, protecting the pastry rather than rushing the filling.
Cool for clean slices, then store the leftovers
Allow at least four hours for the pie to cool on a rack. This is the inconvenient part of apple pie’s excellent smell: the filling is still settling while the kitchen suggests dessert is ready. Cutting early releases more juice, even when the pie was properly baked.
Cut through the rim with a sharp knife and slide a pie server under the base. If you would rather skip pastry altogether next time, Tastiva’s apple crumble with an oat topping takes the same fruit in a more spoonable direction.
- Keep safely: King Arthur’s fruit-pie guidance allows up to two days at room temperature, followed by two more refrigerated. Cover the cooled pie and refrigerate sooner in a warm kitchen.
- Serve warm later: Warm individual slices gently in the oven after the pie has cooled and set. A microwave is convenient but softens the crust.
- Plan the day: Dough chilling, baking and cooling are separate stages. Make the dough ahead rather than expecting a slice straight from the oven.
- Handle the wash: The recipe needs about half a beaten egg; refrigerate any unused egg promptly for another fully cooked dish.
Apple Pie Recipe

Ingredients
- 2 1/2 cups all-purpose flour 300 g, plus a little for rolling
- 1 tablespoon granulated sugar 12 g
- 1 teaspoon fine salt 6 g
- 1 cup unsalted butter 225 g, cold and cubed
- 6–8 tablespoons ice water 90–120 ml; add only as needed
- 1.2 kg peeled and cored apples about 2.6 pounds prepared weight; half Granny Smith and half Honeycrisp, sliced 1/8 inch (3 mm) thick
- 3/4 cup granulated sugar 150 g
- 6 tablespoons all-purpose flour 45 g
- 2 tablespoons lemon juice 30 ml
- 1 1/2 teaspoons ground cinnamon 3 g
- 1/4 teaspoon ground nutmeg 0.5 g
- 1/4 teaspoon fine salt 1.5 g
- 2 tablespoons unsalted butter 28 g, cut into small pieces
- 1/2 large beaten egg about 25 g; beat one egg and use half
- 1 teaspoon water 5 ml
Equipment
- 1 9-inch metal pie pan
- 1 Rimmed baking sheet
- 1 Rolling Pin
- 2 Mixing bowls
- 1 pastry blender or food processor optional; fingertips also work
- 1 pastry brush
- 1 cooling rack
Instructions
- Whisk the pastry flour, sugar and salt in a bowl. Work in the cold butter with a pastry blender or fingertips until a mixture of small flakes and pea-size pieces remains. Add 6 tablespoons ice water, tossing gently; add more a tablespoon at a time only until the dough holds together when squeezed.
- Gather into two discs without kneading, making one slightly larger. Wrap and refrigerate for at least 60 minutes. Allow a very firm disc a few minutes at room temperature before rolling.
- Set a rack in the lower third and heat the oven to 425°F (220°C). Toss the apple slices with lemon juice. Mix the filling sugar, flour, cinnamon, nutmeg and salt, then toss thoroughly with the apples.
- Roll the larger dough disc on a lightly floured surface to about 12 inches (30 cm). Ease it into a 9-inch metal pie pan without stretching. Arrange the apples compactly, mounding the center modestly. Add any juices remaining in the bowl and dot with the filling butter.
- Roll the second disc to about 11 inches (28 cm). Lay it over the apples. Trim excess pastry to about 1 inch beyond the rim, fold the edges together underneath, and crimp. Cut five steam vents near the center. Mix the measured egg and water and brush a thin layer over the top. If the pastry has warmed and softened, chill the assembled pie for 15 minutes before baking.
- Place on a rimmed baking sheet. Bake for 20 minutes, then reduce the oven to 375°F (190°C) and bake about 50–60 minutes more. Shield the rim or tent the top with foil if browning too quickly. The crust should be deeply golden, thick filling juices should bubble through the central vents, and a thin knife through a vent should meet tender apples. Extend the baking time if needed.
- Transfer the pie to a rack and cool at least 4 hours before slicing. The filling thickens as it cools. Cut into 8 slices.
Nutrition
Video
Notes
Tried this recipe?
Let us know how it turned out!Sources
- King Arthur Baking: thickening, venting and cooling apple pie
- King Arthur Baking: pie techniques and storage
- Preppy Kitchen: double-crust apple pie and visual demonstration
- USDA FoodData Central: ingredient composition for the nutrition estimate
Hi, I’m Laura, the voice behind Tastiva. I’ve always believed that eating well should feel enjoyable, comforting, and realistic—not like another complicated rule to follow. I love creating recipes that fit into everyday life, sharing simple nutrition ideas, and finding small ways to make meals feel a little better without losing the pleasure of good food.