
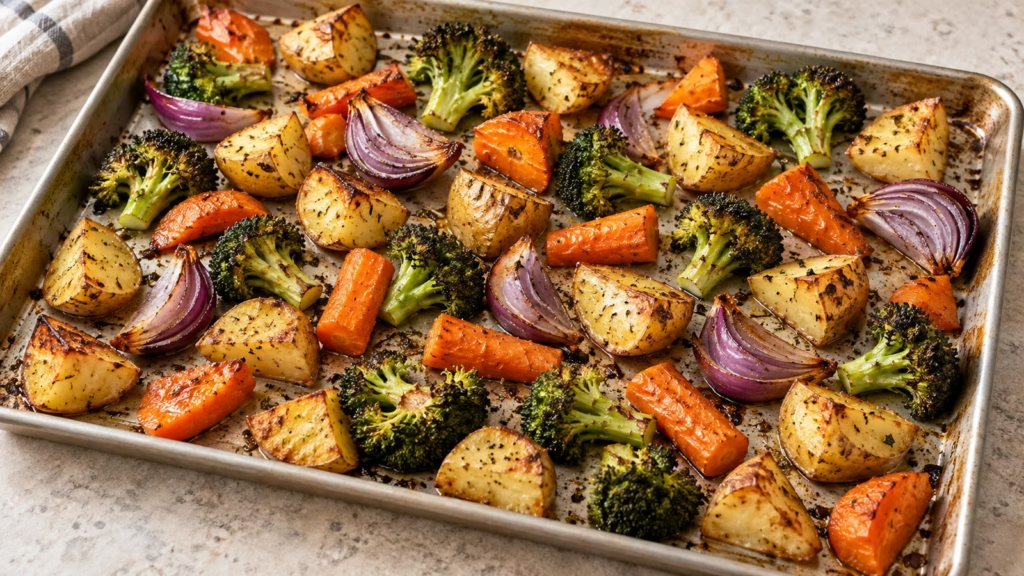
There is a particular disappointment in lifting a tray from the oven and finding the carrots firm while the broccoli tips are already dark. Learning how to make roasted vegetables is mostly learning to manage size, moisture, and timing. Start with dry, evenly cut vegetables, a light coating of oil, and an uncrowded shallow pan in a fully heated oven; then judge the centers as well as the color.
A mixed vegetable tray works best when you plan for each vegetable, rather than expecting every piece to finish together.
Choose vegetables that can share the same cooking plan
Almost any vegetable can be roasted, but that does not make every combination equally convenient. Dense roots and watery, tender vegetables ask different things of the oven. I would choose two or three vegetables for a first tray and keep the assortment easy to manage, rather than trying to empty the entire crisper drawer.
- Roots and firm chunks: Carrots, potatoes, sweet potatoes, and winter squash need enough time for their centers to soften. Cut pieces of the same vegetable to similar thickness.
- Florets: Broccoli and cauliflower have small tips and thicker stems. Avoid leaving one enormous floret beside a scattering of tiny fragments.
- Tender vegetables: Peppers, onions, asparagus, and summer squash can finish sooner than dense roots. Add them later or use a separate pan.
- Mixed trays: Keep the vegetables in separate areas so you can remove a finished group while another continues cooking. Two manageable pans beat one vegetable mountain.
The University of Minnesota’s vegetable-cooking guide recommends adding quicker-cooking vegetables later when roasting them with roots. This guide concerns fresh produce; use Tastiva’s separate frozen-vegetable roasting guide for the extra moisture and product directions that come with frozen bags.
How to make roasted vegetables: the basic method
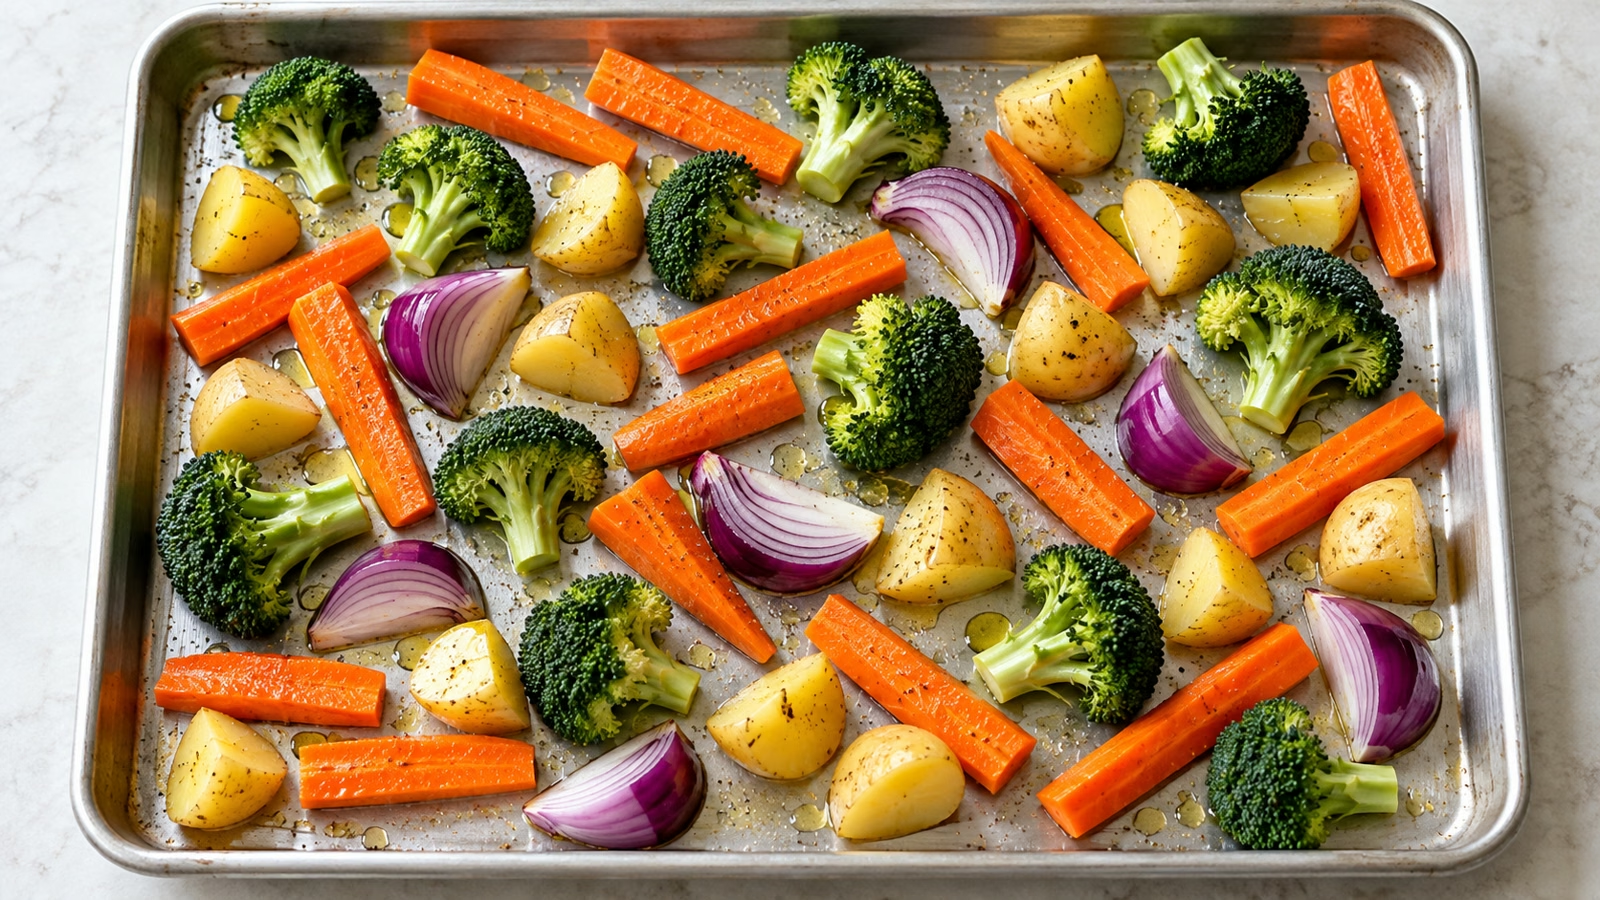
A fully preheated 425°F (218°C) oven is a useful starting point for many fresh vegetables. UNH Extension’s basic method uses about 1 tablespoon of oil for 4 cups of prepared vegetables and a shallow pan. Treat the oil amount as a starting guide: aim for a thin coating across the pieces, without a puddle beneath them.
- Wash, then dry. Rinse produce under running water before cutting, scrub firm vegetables with a clean produce brush, and pat dry. FDA advises against washing produce with soap or detergent.
- Trim and cut thoughtfully. Remove inedible ends and tough skins as appropriate. UNH suggests roughly ½- to 1-inch (1.3- to 2.5-cm) cubes or slices; adjust the shape for florets and remember that thicker pieces take longer.
- Season in a bowl. Toss the vegetables with oil so the coating reaches all sides. Add salt to taste, pepper, and a little dried rosemary or an Italian herb blend if you like.
- Spread into one layer. Use a rimmed baking sheet or shallow roasting pan. Leave visible space between pieces and use another pan when necessary.
- Roast and check. Turn pieces during cooking and check the thickest centers with a fork. Look for tenderness and browned surfaces, removing groups as they finish.
Expect timing to change with the vegetable, cut size, quantity, and oven. UNH’s general method takes about 30 minutes, but that is a checkpoint, not a promise for every combination. An extra-large potato chunk is not going to read the timer and cooperate.
Read the tray before changing the temperature
Browning alone is only half the answer: a beautifully colored piece may still be hard inside. University of Tennessee Extension emphasizes both tenderness and color, along with enough room around the vegetables. I would check one of the largest pieces before deciding that the whole batch is finished.
- Pale and wet: Check for crowding and pooled moisture. Spread the vegetables over more pan space rather than simply adding more oil.
- Dark outside, firm inside: The pieces may be too large for the cooking pace. Tennessee Extension suggests briefly covering vegetables that are getting too dark, then uncovering to finish; watch carefully instead of continuing uncovered until they burn.
- Some ready, some not: Lift finished pieces onto a serving dish. Next time, separate cooking groups from the beginning.
- Small pieces turning bitter or black: Remove them promptly. A little brown color is the aim; scorching is not a more advanced version of roasting.
Opening the oven constantly makes it harder to keep cooking conditions steady. Check with a purpose: turn, assess the center, and close the door. Use oven mitts and set hot trays on a heat-safe surface whenever you rearrange the batch.
Finish with flavor, then save the leftovers safely
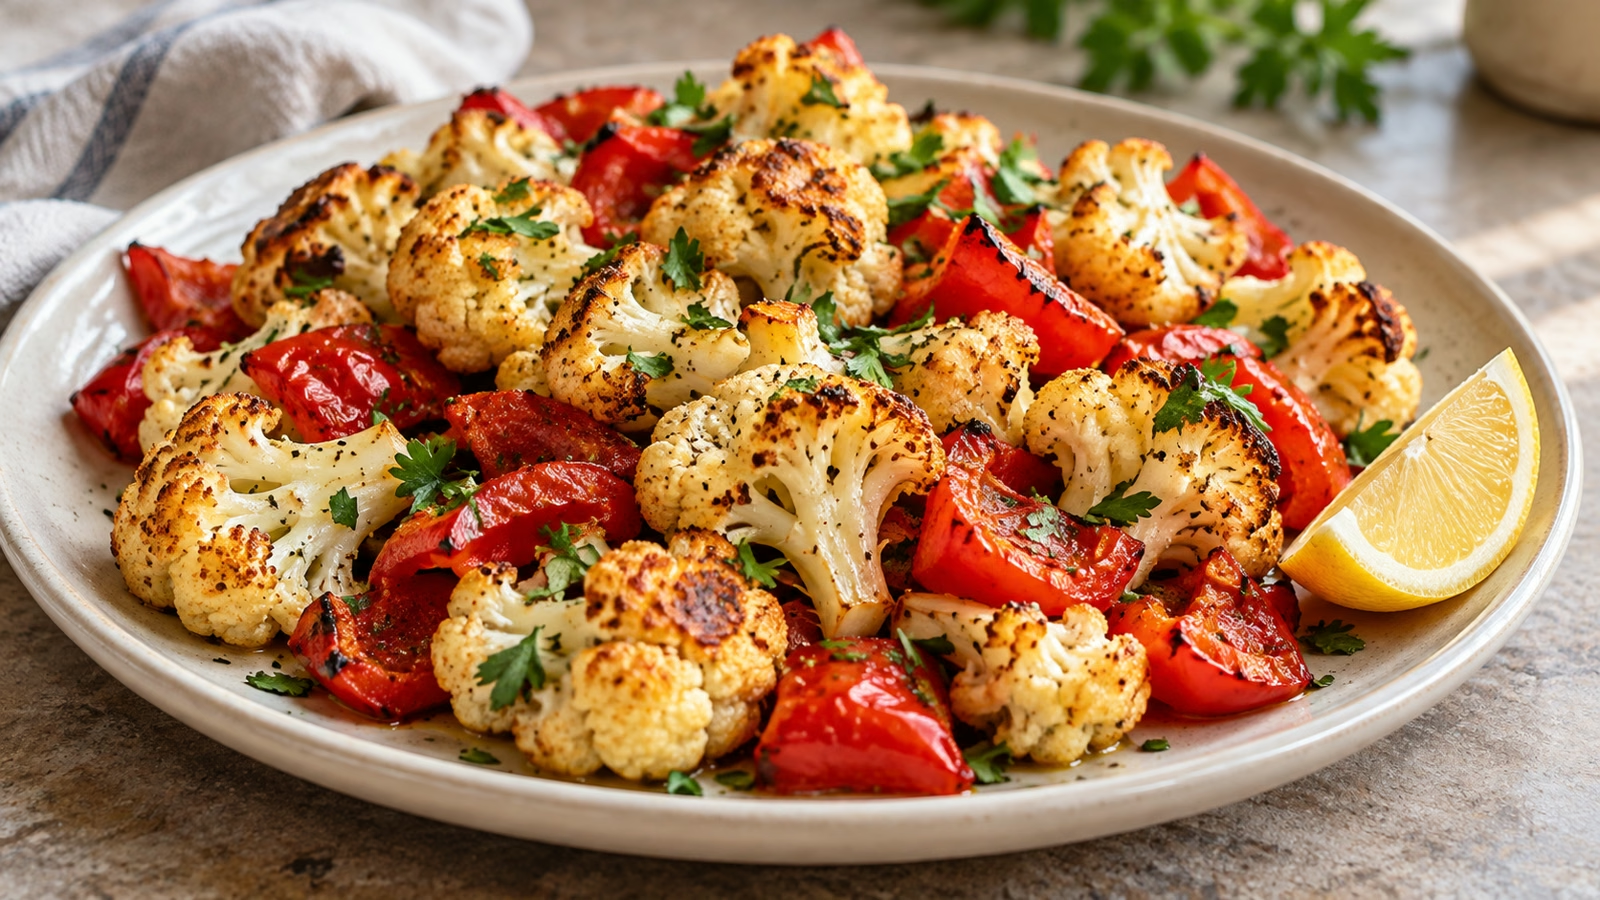
Once the vegetables are cooked, choose one finishing direction. A squeeze of lemon can brighten browned cauliflower; chopped herbs add a fresh note to roots. I prefer adding these final touches when the vegetables leave the oven, when you can taste and adjust without asking delicate herbs to survive the entire roast.
- Bright and simple: Add lemon juice and chopped parsley, tasting before adding extra salt.
- Savory: Finish with pepper and a small amount of grated cheese if that suits the meal.
- Make it dinner: Serve alongside cooked beans, tofu, eggs, fish, or another protein you enjoy. Add bread or a grain if wanted.
- Store promptly: Put leftovers into shallow containers and refrigerate within 2 hours, or 1 hour above 90°F (32°C). Keep the refrigerator at 40°F (4°C) or below.
- Use safely: USDA advises using refrigerated leftovers within 3–4 days. When reheating, bring them to 165°F (74°C); an oven can improve the surface texture, though it will not make them identical to a freshly roasted batch.
Jamie Oliver’s demonstration below offers another approach to roasted root vegetables, including parboiling before roasting. It is a useful variation for denser vegetables; the basic method above starts with fresh, uncooked pieces.
Sources
- UNH Extension: fresh vegetables, roasted
- University of Minnesota: how to cook vegetables
- University of Tennessee Extension: roasted vegetables
- FDA: selecting and serving produce safely
- USDA FSIS: handling leftovers safely

Hi, I’m Laura, the voice behind Tastiva. I’ve always believed that eating well should feel enjoyable, comforting, and realistic—not like another complicated rule to follow. I love creating recipes that fit into everyday life, sharing simple nutrition ideas, and finding small ways to make meals feel a little better without losing the pleasure of good food.