
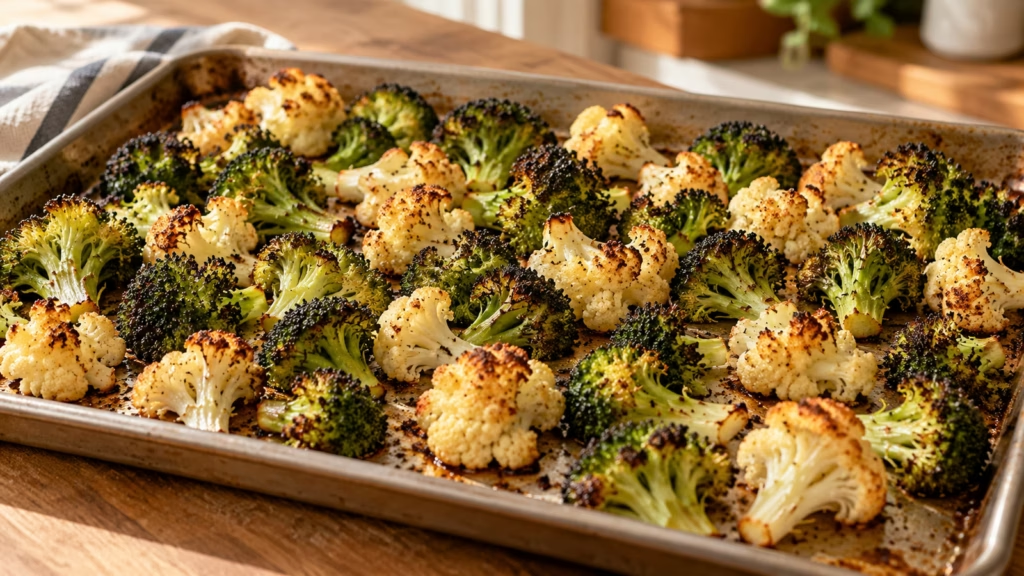
The timer rings, the broccoli is hot, and there is a little lake in the middle of the tray. If you are wondering how to roast frozen vegetables without that watery finish, start with an uncovered, shallow pan and enough space between pieces. Choose plain vegetables, follow the bag’s cooking instructions, and aim for browned edges with a tender middle rather than fresh-vegetable crunch.
Give the vegetables room to lose their moisture before asking them to pick up color.
Why the tray fills with water
Freezing changes texture before the oven gets involved. University of Minnesota Extension explains that ice crystals can damage plant cell walls, making thawed produce softer. Surface frost adds more water as it melts; a packed pan gives that moisture fewer places to escape.
- A deep dish holds steam: Choose a shallow metal baking sheet, with a rim to contain oil and loose pieces. Leave the lid and foil cover off.
- A piled layer traps moisture: Spread pieces across the pan rather than creating a mound. If vegetables overlap heavily, use another tray or cook a smaller batch.
- Sauce brings extra liquid: Plain broccoli behaves differently from broccoli in cheese sauce. Keep sauced products to their package method.
- Texture has limits: A soft frozen zucchini piece cannot be roasted back into raw zucchini. Browning and crunch are separate goals.
I would spend my attention on pan space before reaching for another spoonful of oil. Oil can coat the surface; it cannot make a crowded tray bigger. Tastiva’s frozen-versus-fresh vegetable guide helps when choosing the right form for a different dish.
How to roast frozen vegetables with a label-led plan
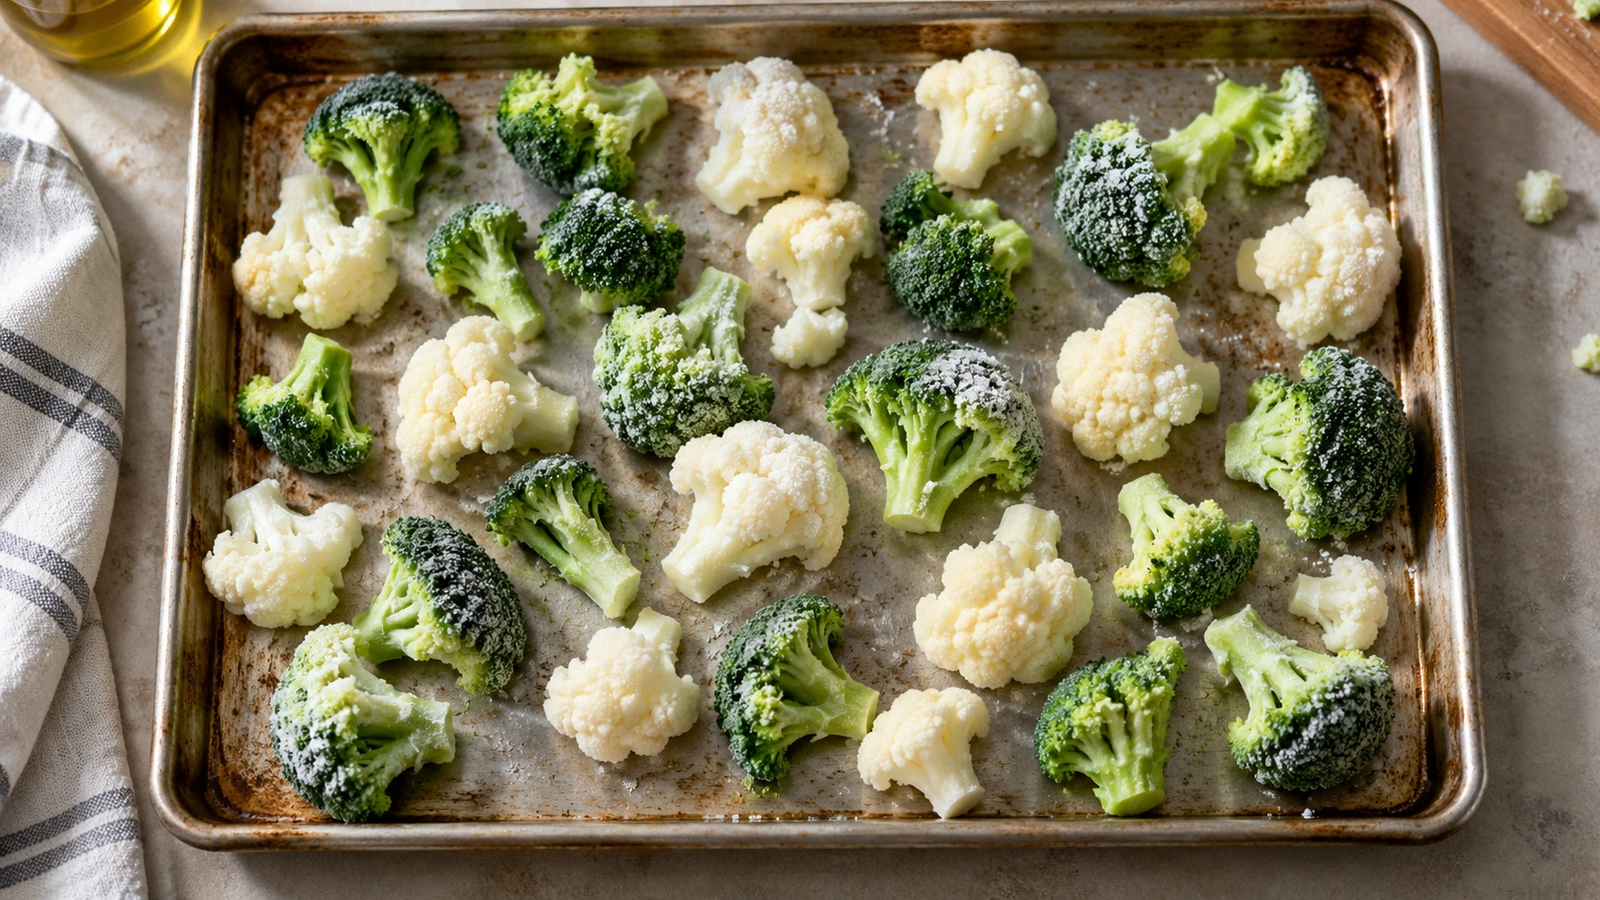
Read the full label before preheating. Maine Extension distinguishes ready-to-eat from ready-to-cook products and advises 165°F (74°C) for frozen vegetables requiring cooking. Browning alone does not establish safe doneness. When the manufacturer specifies a method, amount, or temperature, follow it.
- Choose the product and method: Use the bag’s oven directions when provided. If it gives only another cooking method, use that method rather than assuming an oven timing is interchangeable.
- Preheat completely: For products suitable for general roasting, 425°F (218°C) is a useful starting oven setting, consistent with Food Hero’s vegetable-roasting guidance. Product-specific directions take priority.
- Keep handling appropriate: Loose pieces often cook from frozen, but tightly packed blocks and large pieces can need different preparation. Follow thawing directions; do not leave the bag on the counter to soften.
- Coat lightly and spread: Toss with just enough oil for a thin sheen, then arrange in one layer with visible gaps. Avoid pouring water into a roasting tray unless the product directions require it.
- Turn and check: Turn pieces during the prescribed cooking period. Check required doneness, then look for dry surfaces and browned contact points; remove smaller pieces when ready.
There is no honest single roasting time for broccoli florets, whole Brussels sprouts, and a carrot-and-pea blend. Piece size, product preparation, oven behavior, and quantity all change the job. Keep the package nearby rather than trusting a universal minute count.
Match the vegetable to the result you want
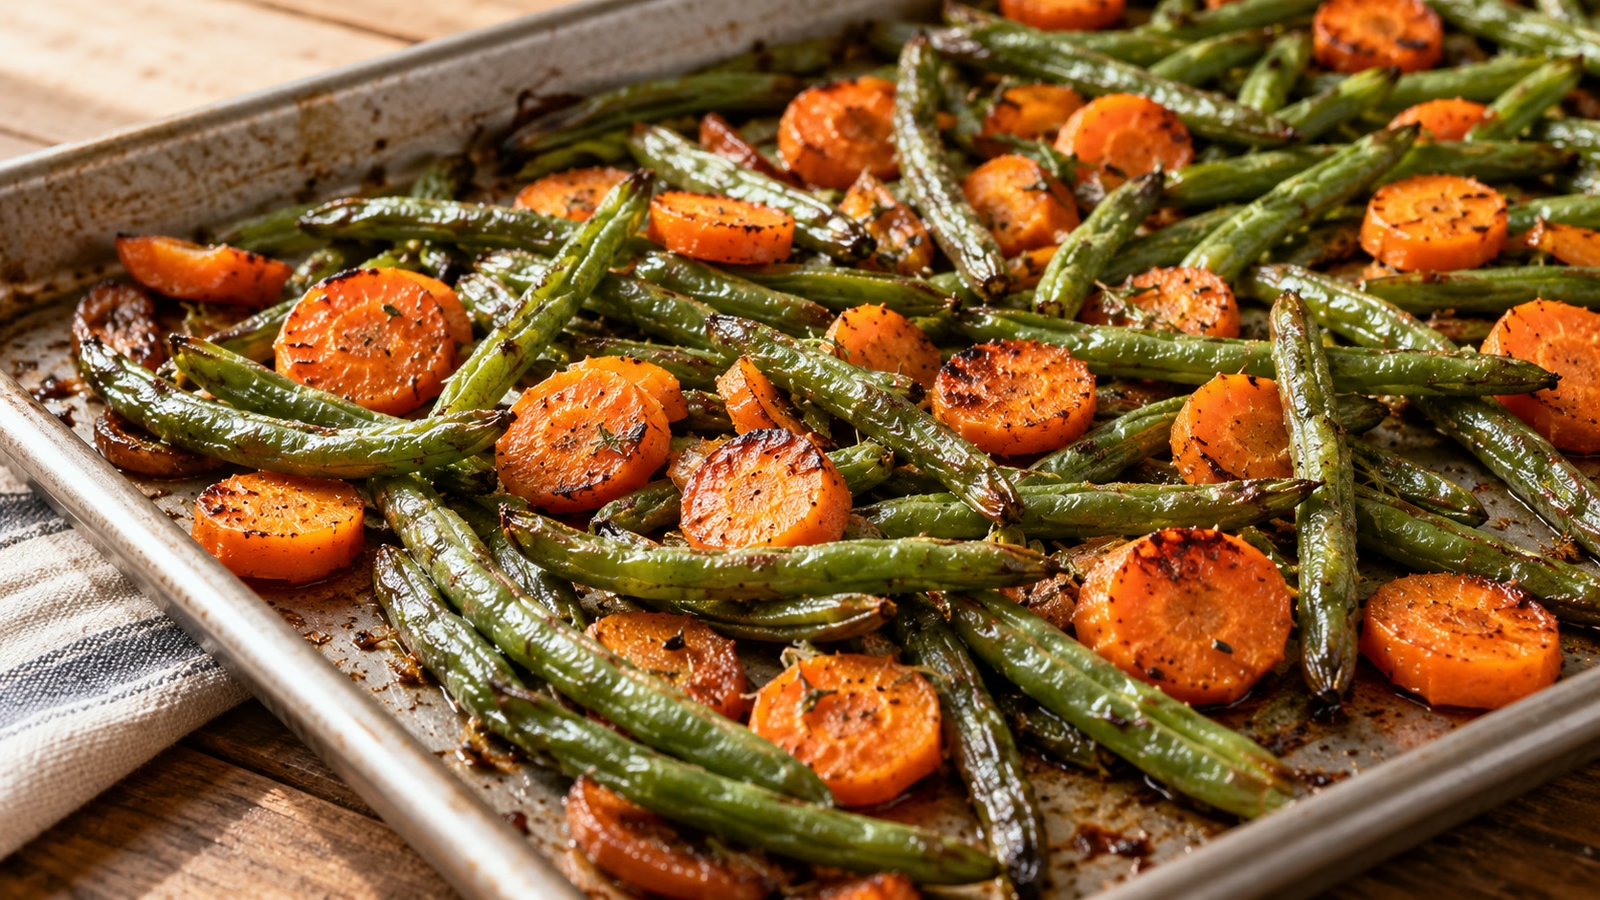
I would choose broccoli or cauliflower when browned edges are the main attraction. A mixed bag is convenient, but its smallest pieces may finish before its largest ones. Use this table for texture decisions, not as a substitute for the product’s cooking directions.
| Vegetable form | Useful goal | What to watch |
|---|---|---|
| Broccoli florets | Tender stems and lightly browned tips | Tiny buds darken before large stems soften |
| Cauliflower florets | Brown contact surfaces and a tender center | Large florets need more attention than crumbs |
| Cut green beans | Tender beans with some blistered spots | Thin pieces may dry out while waiting for thicker vegetables |
| Carrot slices or diced roots | Soft centers and some color | Thickness matters; separate them from quick-cooking pieces |
| Peas and corn | Heated, flavorful kernels | Small pieces can scatter and dry; a skillet may be more practical |
| Frozen squash or zucchini | Tender pieces, without a crispness promise | High moisture and fragile texture can limit browning |
| Packed spinach or other greens | A cooked filling or side prepared as directed | A block of greens is not a loose-floret roasting substitute |
For a mixed tray, separate the vegetables into zones so you can remove finished pieces without fishing through the whole pan. Keep loose, tiny pieces away from a heavily iced clump. The tray should look like dinner getting organized, not rush hour.
Fix a pale tray and finish after roasting
If the vegetables are tender but pale, check the surface before extending the cooking. A crowded tray with visible liquid needs more space; nearly dry vegetables may simply need more browning time. Stop if small pieces are scorching or everything is collapsing. More heat cannot reverse a texture that has already softened.
- Separate a crowded batch: Using oven mitts, transfer some vegetables to another suitable tray. Keep both uncovered and continue only as needed.
- Skip frequent stirring: Let surfaces contact the pan between turns. Constant rearranging makes it harder to notice which pieces are actually browning.
- Finish with liquid later: Add lemon juice or a vinaigrette after roasting rather than soaking the pan during cooking.
- Add delicate flavor late: Fresh herbs and finely minced garlic can go into a finishing mixture, avoiding a long exposure that can burn them.
- Serve promptly: Piling hot vegetables into a covered bowl traps steam again. Keep finishing sauce modest if browned edges matter.
A browned vegetable side can accompany beans, eggs, fish, tofu, or a grain bowl. If the bag gives you softer vegetables than expected, use them in a cooked soup or sauce rather than chasing crispness indefinitely. Refrigerate leftovers within two hours, as Food Hero advises for roasted vegetables.
Judi Klee of Judi in the Kitchen demonstrates a cauliflower example below. Her method thaws and drains the florets before roasting; follow your bag’s preparation and cooking directions, and do not apply one cauliflower timing to every vegetable or blend.
Sources
- University of Minnesota Extension: the science of freezing foods
- University of Maine Extension: cooking and handling frozen vegetables
- Oregon State University Food Hero: roasted vegetables
- University of Minnesota: cooking vegetables

Hi, I’m Laura, the voice behind Tastiva. I’ve always believed that eating well should feel enjoyable, comforting, and realistic—not like another complicated rule to follow. I love creating recipes that fit into everyday life, sharing simple nutrition ideas, and finding small ways to make meals feel a little better without losing the pleasure of good food.