
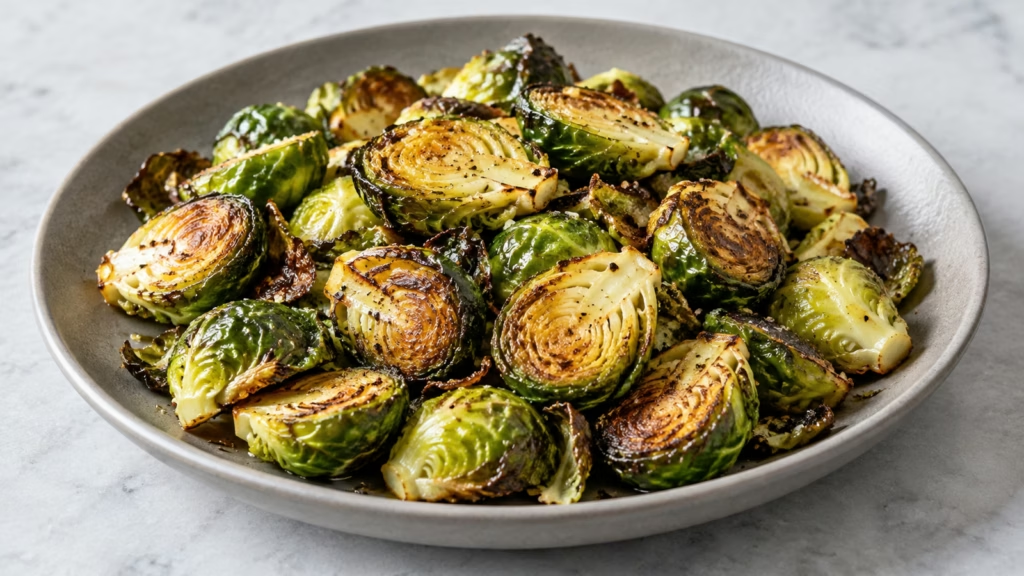
A tray of Brussels sprouts can come out hot and green without ever developing the browned surfaces you wanted. To roast Brussels sprouts with crisp edges, start with fresh, dry halves, coat them lightly with oil, and give their cut sides direct contact with a roomy metal pan. At 425°F (220°C), medium sprouts usually need about 20–30 minutes, with tenderness and color deciding the finish.
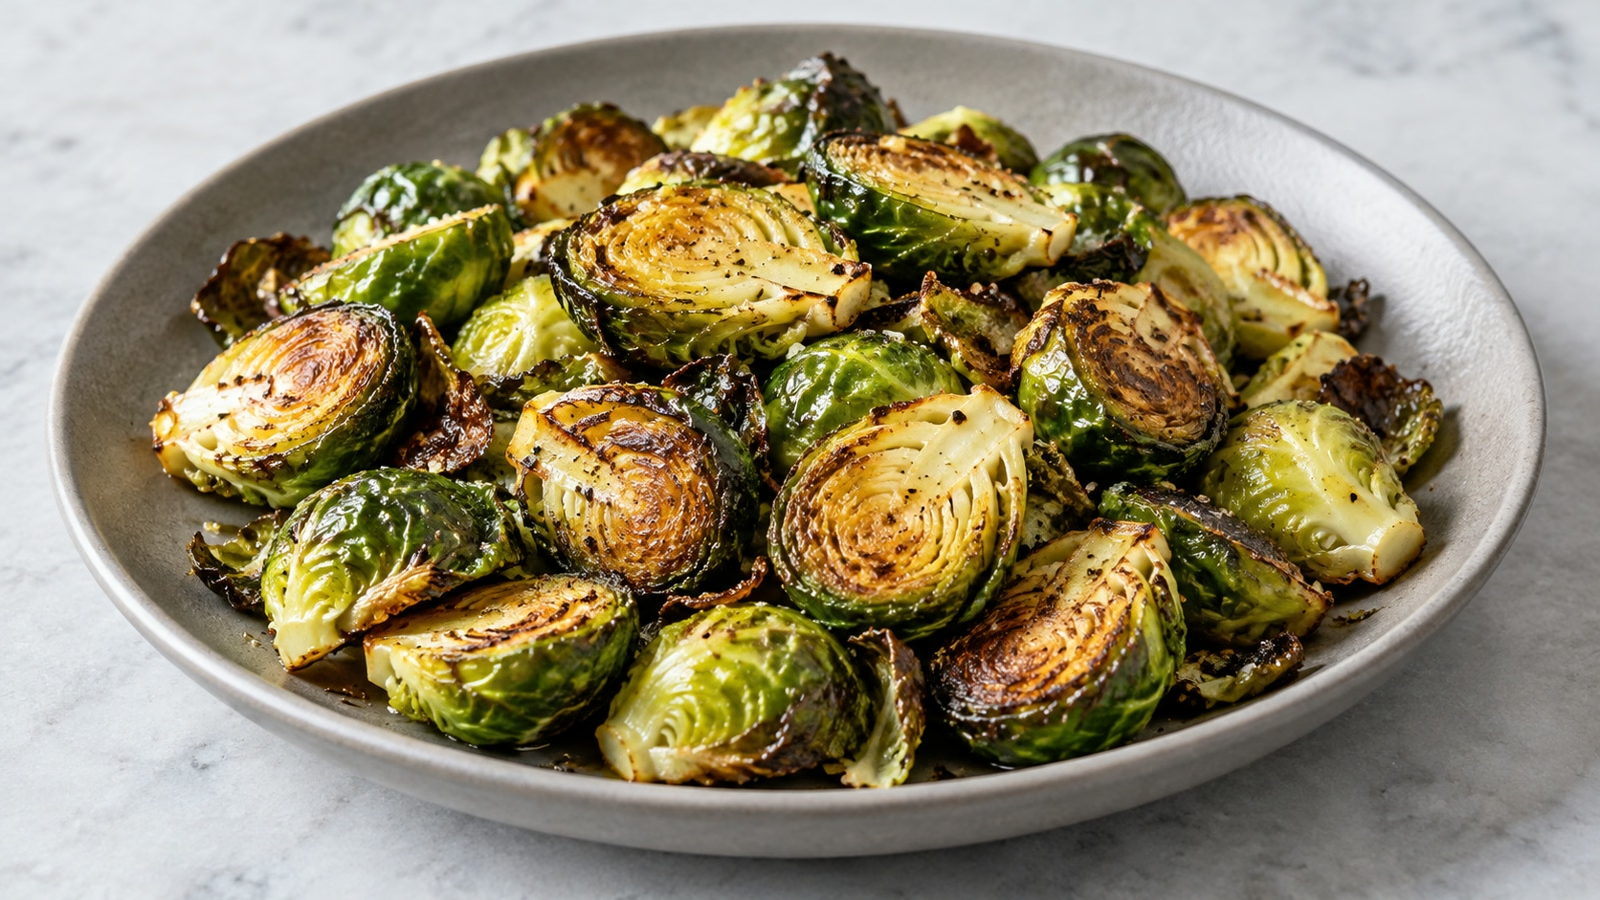
Dry the sprouts, spread them out, and give the flat sides time against the pan.
How to roast Brussels sprouts begins with an even cut
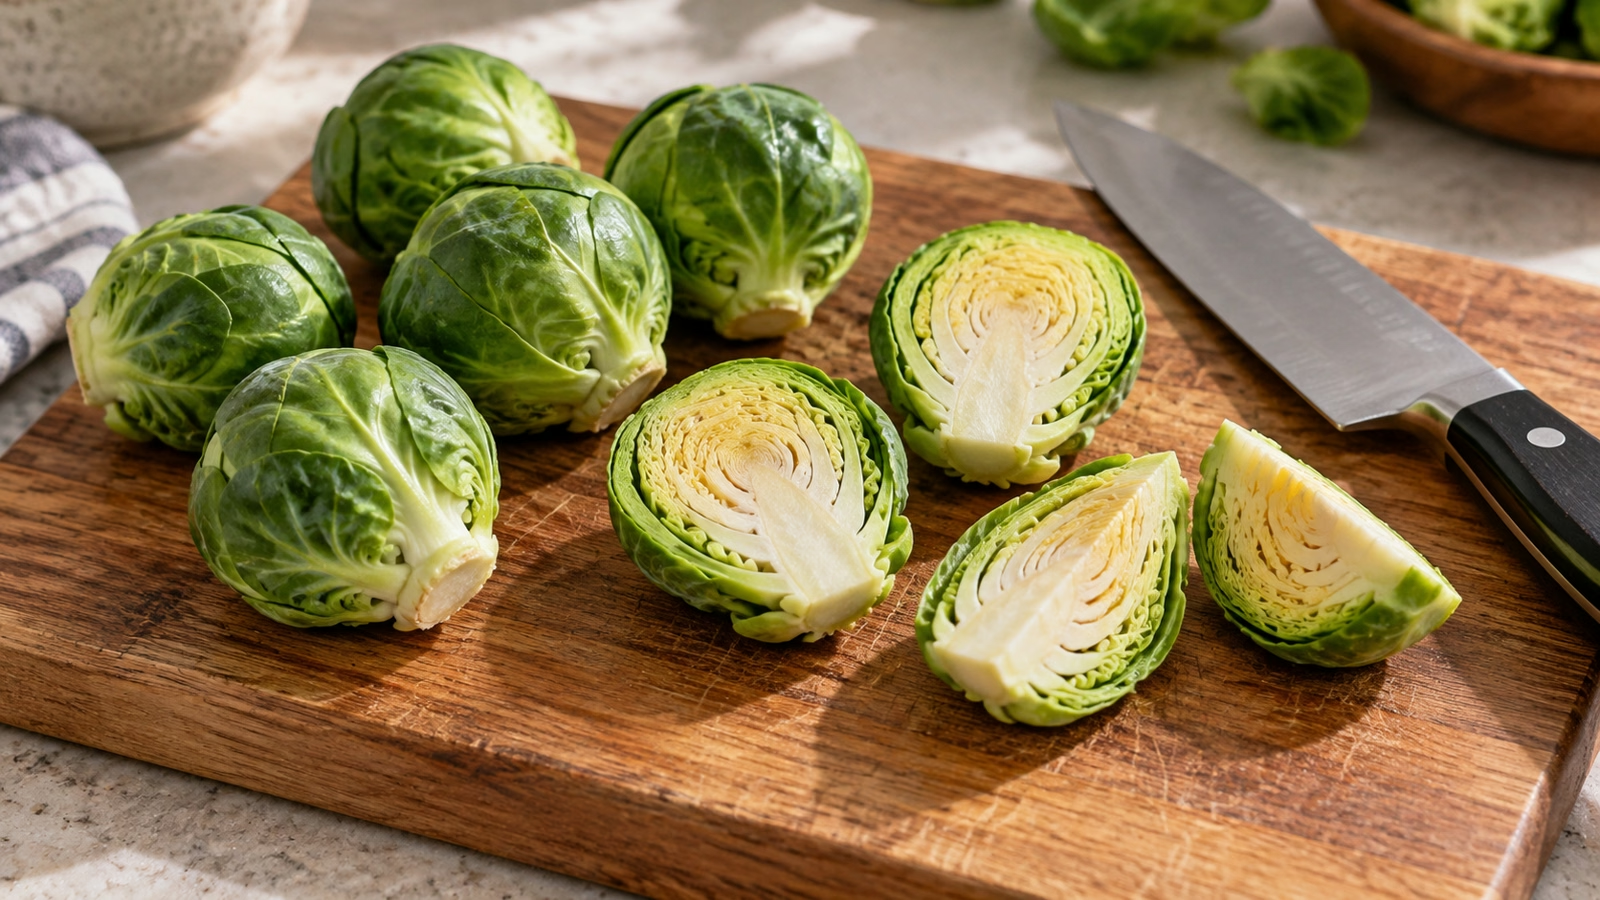
Choose firm, compact sprouts with sound green leaves. Trim the dry stem tip and remove yellowed or damaged outer leaves, but leave enough base to hold each sprout together. Rinse and dry thoroughly with a clean towel before adding oil.
I would choose a reasonably even batch over the biggest sprouts in the display. Halve medium ones lengthwise through the stem, and quarter especially large ones. Very small sprouts can stay whole, although their round shape gives you less flat contact with the pan.
- Watch the core: Taking a deep cone out of the bottom can turn a neat half into a pile of loose leaves.
- Keep loose leaves separate: They cook faster than the solid halves. Add clean ones near the end or remove them early if they brown first.
- Do not preboil this version: Fresh halves roast directly. Waterlogged vegetables need to shed that extra moisture before their surfaces can brown.
- Use fresh for this timing: Frozen sprouts have different texture and handling needs. Tastiva’s frozen-vegetable roasting guide explains the label-led approach.
A shallow pan gives the cut sides a chance
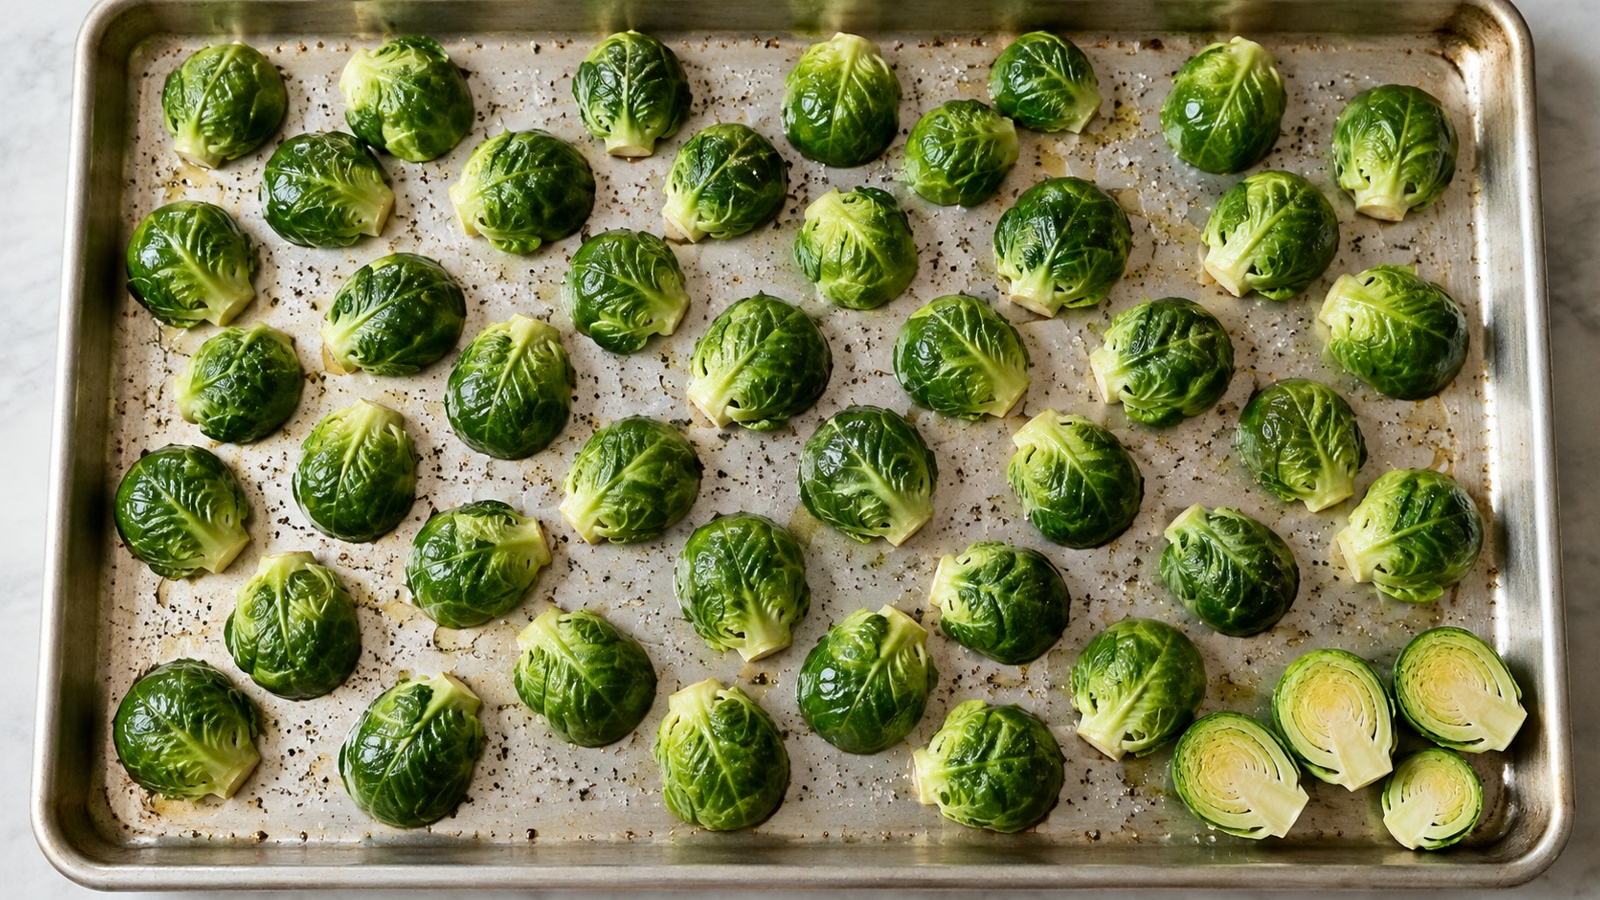
Use a large rimmed metal baking sheet rather than a deep casserole. Toss the sprouts with the measured oil until there is a light sheen, then turn the halves cut side down. You should still see space between pieces; a second tray is more useful than a crowded first one.
For this batch, two tablespoons of olive oil coat 600 g of prepared sprouts. The goal is coverage, not a puddle. If you double the vegetables, divide them between two trays and allow for differences in browning between oven racks.
- Preheat fully: Put the sprouts into an oven that has reached the set temperature instead of letting them warm slowly with it.
- Leave them alone initially: Repeated tossing interrupts the contact that develops the flat browned surface.
- Use a careful check: Lift one representative half with a spatula after about 20 minutes. The underside tells you more than the rounded green top.
- Mind the pan material: Dark pans can brown more quickly than pale ones. Start checking early rather than following the upper end of the range automatically.
Browned edges and tender centers are separate checks
Look for deep golden cut faces and a center that yields to the tip of a small knife. A few dark outer-leaf edges are normal; uniformly black, brittle leaves are not the target. Roasting makes crisp surfaces around a tender vegetable, not a sprout that crunches all the way through.
I prefer keeping the base seasoning simple until that texture is right. A sweet glaze can cover a pale sprout in attractive color without solving its cooking problem. Lemon juice goes on after roasting here, when its brightness does not add moisture to the tray.
- Pale and soft: Check for crowding or wet surfaces. Spread the pieces farther apart next time; more oil cannot create more pan space.
- Dark outside, hard middle: The pieces may be too large for the heat and timing. Quarter larger sprouts on the next batch and check current pieces carefully before serving.
- Bitter, burnt leaves: Remove scorched loose leaves and check earlier. Do not keep roasting every piece while waiting for the largest one.
- Want another finish? Add a little grated Parmesan, chopped herbs or a small drizzle of balsamic after roasting. These are optional changes, and cheese changes the dairy-free base.
Serve promptly and keep leftovers practical
Transfer the sprouts to a wide serving dish while they are hot. A deep covered bowl holds steam and softens the edges you just worked for. The tray can wait a moment; it does not need a sauna.
Serve alongside fish, chicken, beans or a grain dish. For leftovers, follow USDA’s three-to-four-day refrigerated window and reheat to 165°F (74°C). Their texture will be softer after storage.
- Refrigerate promptly: Use shallow containers within two hours, or one hour if the surroundings exceed 90°F (32°C).
- Choose the reheat method: A hot oven or skillet can dry the surface again; a microwave warms them but does little for crispness.
- Measure portions realistically: This makes four side servings. The nutrition estimate includes all the measured oil and salt.
- Prepare ahead sensibly: Wash, trim and dry the sprouts ahead, then refrigerate. Save the roasting for close to mealtime when browned edges matter most.
Roasted Brussels Sprouts Recipe

Ingredients
- 600 g fresh Brussels sprouts prepared weight, about 1 1/3 pounds; trimmed and halved lengthwise
- 2 tablespoons olive oil 27 g
- 1/2 teaspoon fine salt 3 g
- 1/4 teaspoon ground black pepper 0.5 g
- 2 teaspoons lemon juice 10 ml, added after roasting
Equipment
- 1 large rimmed metal baking sheet
- 1 Mixing bowl
- 1 Sharp knife
- 1 Spatula
Instructions
- Heat the oven to 425°F (220°C). Rinse the sprouts, trim only the dry stem ends and remove yellow or damaged outer leaves. Halve lengthwise through the stem; quarter unusually large sprouts. Dry thoroughly.
- Toss the prepared sprouts with olive oil, salt and pepper. Spread in one layer on a large rimmed metal baking sheet, turning the halves cut side down and leaving gaps between pieces. Use two pans if needed rather than piling them.
- Roast undisturbed for about 20 minutes, then lift one half to check its underside. Continue for 5–10 minutes as needed, until the cut sides are deeply golden and a small knife slips into the centers with little resistance. Remove loose leaves earlier if they brown quickly. Exact timing varies with sprout size and pan.
- Toss with the lemon juice after removing from the oven. Transfer to a wide dish and serve promptly for the crispest edges.
Nutrition
Video
Notes
Tried this recipe?
Let us know how it turned out!Sources
- Preppy Kitchen: oven-roasted Brussels sprouts technique
- Serious Eats: roasting and pan contact
- USDA: timely refrigeration and leftover storage
- USDA: safe reheating
- USDA FoodData Central: ingredient data
Hi, I’m Laura, the voice behind Tastiva. I’ve always believed that eating well should feel enjoyable, comforting, and realistic—not like another complicated rule to follow. I love creating recipes that fit into everyday life, sharing simple nutrition ideas, and finding small ways to make meals feel a little better without losing the pleasure of good food.