
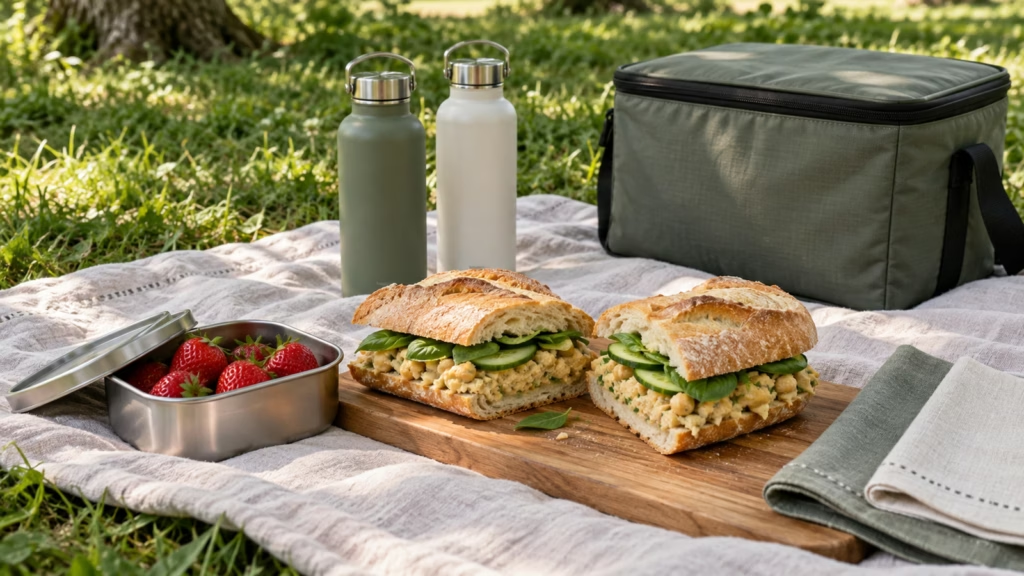
The most useful picnic ideas for couples start with food that is pleasant to eat from a container and enough of it for two real appetites. A pair of sandwiches, a crisp side, and something sweet can feel thoughtful without needing a basket full of fragile dishes. Choose one of these three menu directions, then pack for the journey as carefully as the meal.
Make the food easy to carry, easy to share, and easy to keep cold. That leaves more of the afternoon for the two of you.
Start with a two-person picnic that fits the place
I’d settle the location before the menu. A nearby park with a table allows different food from a long walk to a beach. Check the local rules, access, toilets, shade, and the forecast. If you cannot maintain cold storage for perishable food, choose a shelf-stable menu instead of hoping a short-looking journey will stay short.
- Decide whether it is lunch or a snack. Two crackers and a few berries may look charming, but they are not necessarily the meal you meant to pack.
- Choose one main, one produce side, and one small extra. This keeps shopping and containers manageable. Add more food if your appetites or plans call for it.
- Ask about preferences and allergies. A favorite ordinary sandwich is more thoughtful than an elaborate surprise someone cannot eat.
- Keep the setting simple. A clean blanket or table, two napkins, and food you both enjoy are enough. Choose a nearby backup if weather changes.
The menus below are planning ideas rather than fixed nutrition prescriptions. Portion the food for yourselves, and leave surplus at home in the refrigerator. You can make a larger recipe without carrying its entire yield into the park.
Three picnic menu ideas for two
- 1. A sandwich lunch with a little crunch. Pack two satisfying portions of Love and Lemons’ chickpea salad sandwich, crisp vegetables, fruit, and a couple of plain cookies. The full recipe serves three to four, so reserve the extra at home. Its filling includes tahini, mustard, capers, and lemon, with vegetable toppings; it also includes a green-bean blanching step. Read the full method rather than assuming every part is no-cook. Keep the sandwiches chilled.
- 2. A snack-box lunch. Start from Tastiva’s snack plate formula: a useful amount of a protein-containing food, bread or another starch, produce, and something flavorful. For two, divide ready-cooked chickpeas, hummus, cucumber, tomatoes, and pita between two boxes, then add whole fruit. These are meal components, not decorative garnishes. Store-bought hummus is perfectly practical; follow its label and keep it cold.
- 3. A shelf-stable backup. If a cooler is impractical, pack bread or crackers, unopened single-serving nut or seed butter labeled for room-temperature storage, whole apples or oranges, and water. Check allergies and package instructions. This is a deliberately simpler menu; it does not include cheese, cut fruit, egg dishes, homemade dips, or prepared salads that need chilling.
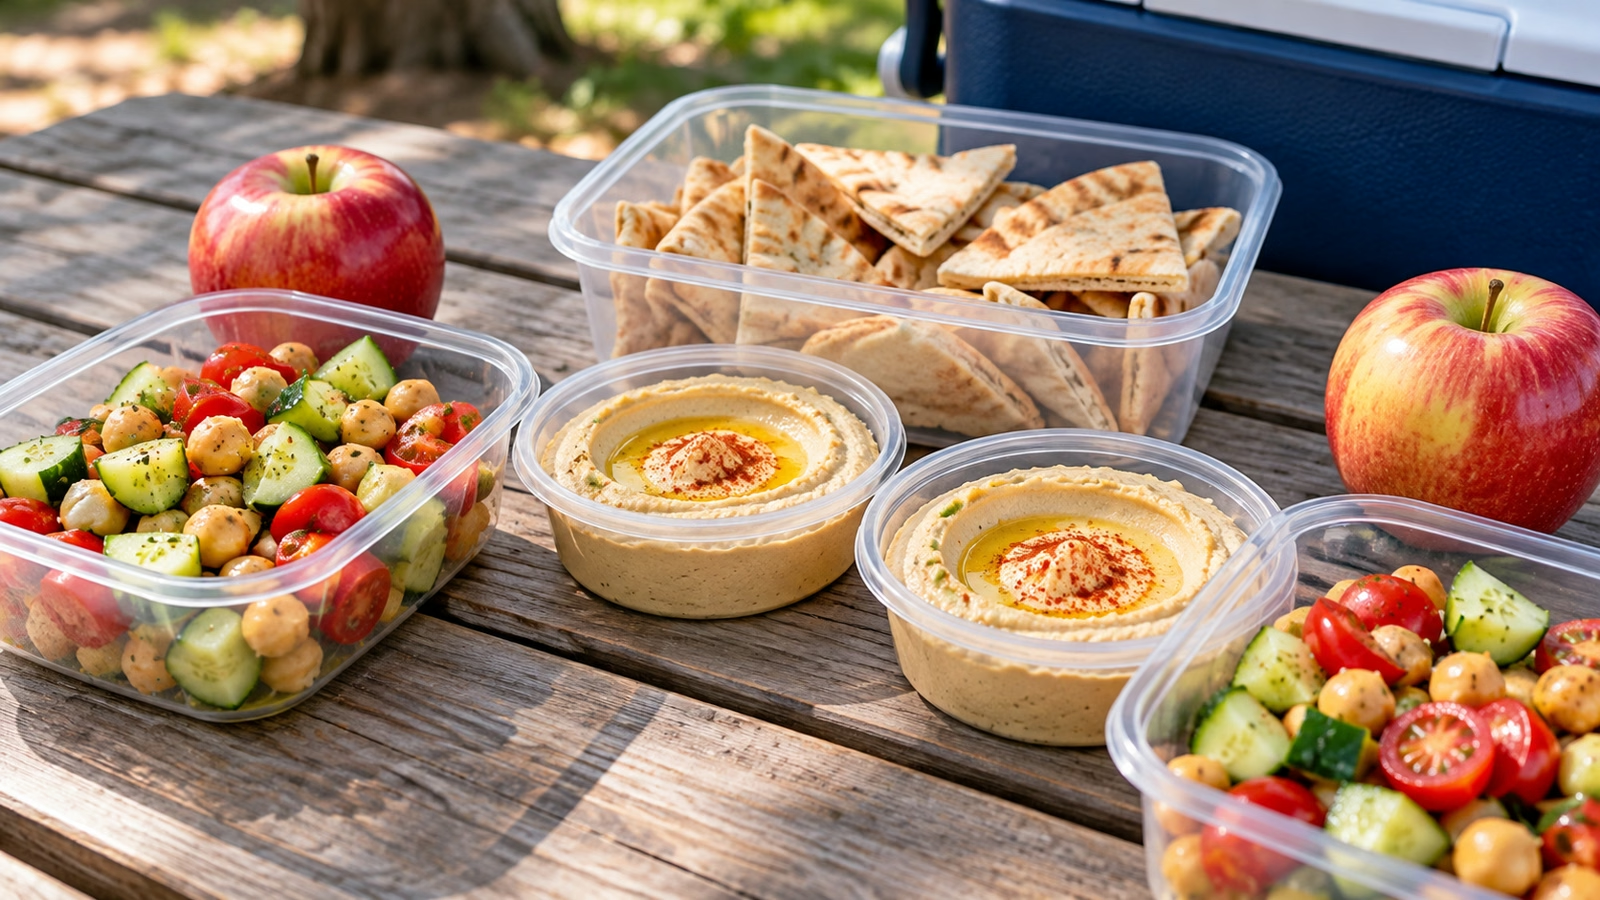
If you want to make the hummus yourself, Downshiftology’s blender hummus is one linked option. Its full yield is about four cups, much more than two picnic portions. Make it ahead, chill it, and pack only what you need. The recipe’s quick blending claim assumes prepared ingredients and a suitable high-powered blender; it is not a reason to skip measuring, cleanup, or refrigeration.
Pack the food so it still tastes good when you arrive
A picnic becomes easier when the containers do some of the serving work. I’d use two shallow lunch boxes instead of a tall layered jar that requires digging for every bite. Keep a small leakproof container for dressing or dip, and protect soft fruit from the heavier items.
- Separate wet and crisp foods. Carry pita, crackers, and cookies in a dry container away from hummus, dressed vegetables, and condensation.
- Prepare before leaving. Wash and dry ordinary produce at home, and cut only what you need. Pre-washed, ready-to-eat produce can be used according to its label.
- Bring the useful basics. Pack two forks if needed, a serving spoon, napkins, a clean surface, drinking water, and a bag for rubbish and used utensils.
- Plan for clean hands. Choose a place with handwashing access, or bring water, soap, and paper towels. A pretty blanket does not replace a clean preparation surface.
- Finish at the table. Add dressing or assemble a fragile sandwich component just before eating. Keep the rest of the food closed and cold.
A favorite piece of fruit or a small dessert can make the meal personal without another recipe. Avoid desserts that melt or need delicate plating if you will be carrying everything far. Water is the uncomplicated drink choice, and a reusable bottle is easier to manage than glassware on uneven ground.
Keep the cooler cold, then enjoy the picnic
FDA guidance calls for cold perishable food to stay at 40°F or below, including during transport. Pack already-chilled food with enough ice or frozen gel packs, and use a cooler thermometer to check the temperature. An insulated bag without a cold source is not a refrigerator.
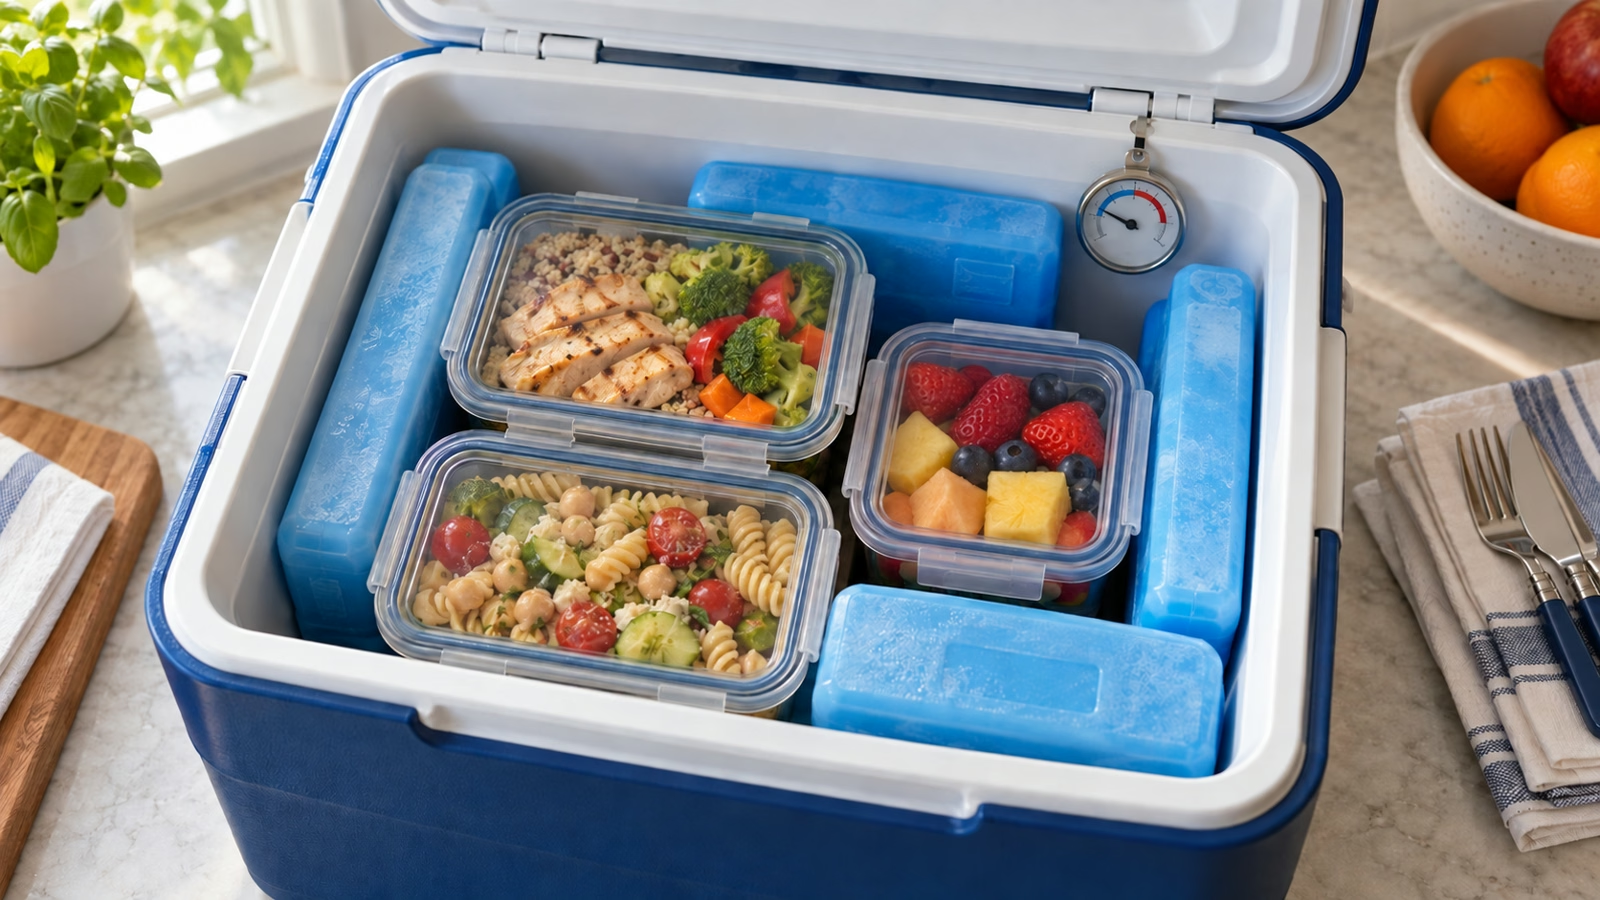
- Fill empty cooler space with cold sources. FoodSafety.gov notes that a full cooler retains cold better than a half-empty one. Keep it in shade and open it briefly.
- Take out only what you will eat. Leave the remaining food chilled. If drinks will be accessed often, keep them separate when practical.
- Track time without temperature control. Discard perishable food after more than two hours, or one hour above 90°F. Include preparation, travel, and serving time when the food is not safely chilled.
- Be cautious with the trip home. Return suitable leftovers to refrigeration promptly. If you cannot establish that they stayed safely cold or within the time limit, discard them rather than relying on smell.
For the snack-box menu, Downshiftology’s hummus video below shows the blender preparation. The creator discloses a Vitamix partnership in the video description; you do not need to buy that brand to plan a picnic. Use a suitable appliance according to its instructions, or choose prepared hummus.
Sources
- Love and Lemons: Chickpea Salad Sandwich
- Downshiftology: Hummus Recipe and Video
- FDA: Handling Food Safely While Eating Outdoors
- FoodSafety.gov: Keep Food Cool Outdoors

Hi, I’m Laura, the voice behind Tastiva. I’ve always believed that eating well should feel enjoyable, comforting, and realistic—not like another complicated rule to follow. I love creating recipes that fit into everyday life, sharing simple nutrition ideas, and finding small ways to make meals feel a little better without losing the pleasure of good food.