
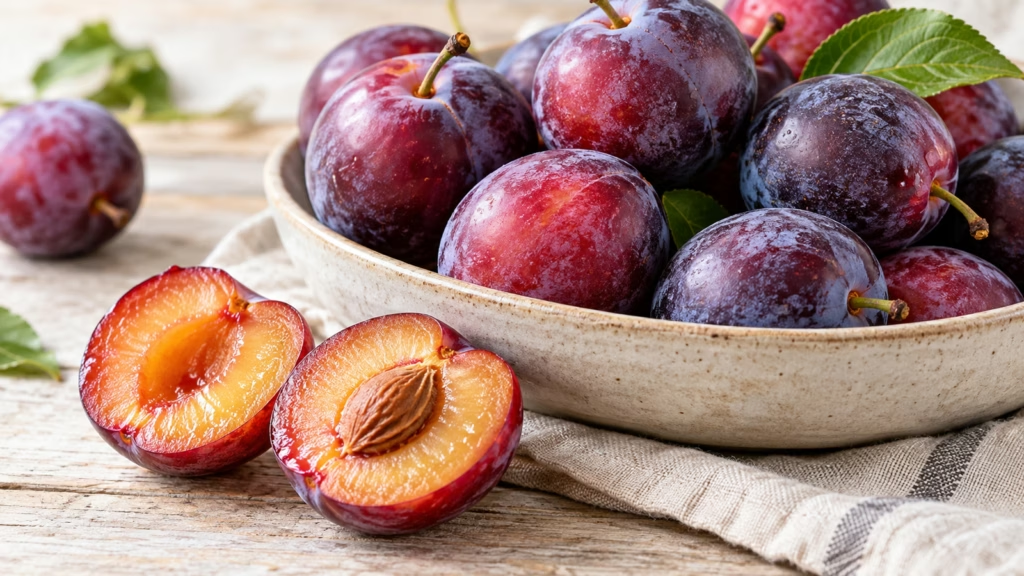
A dark purple plum can still be firm, while a yellow one may be ready to eat. Plums are stone fruits, with juicy flesh surrounding a hard pit, and skin color alone will not tell you when to take a bite. Look for a little give and a fruity aroma, then decide whether the fruit belongs on the counter, in the refrigerator, or beside your breakfast bowl.
Choose a plum for how you plan to use it: a little firmness for neat slices, a softer bite for eating fresh.
How to tell when plums are ripe
The small disappointment is familiar: beautiful fruit, a sharp first bite, and a pit that refuses to let go. Those are separate clues. Ripeness affects texture and flavor; the way flesh clings to the stone also depends on the variety. I would start with gentle pressure, not a hard squeeze that bruises the fruit.
- For eating soon: Look for sound fruit with slight softness and a sweet, fruity smell. Dole describes a ripe plum as semi-soft, rather than hard or collapsing.
- For a few days ahead: Choose firmer, nearly ripe fruit and let it soften at room temperature. Check it each day rather than setting a fixed ripening countdown.
- At the display: Avoid leaking fruit, broken skin, mold, or deeply damaged areas. Handle the rest gently as you choose.
- Read color in context: Utah State University Extension notes that mature colors differ by cultivar. Yellow, red, blue, and purple can all belong to ripe plums.
A mixed bowl may not ripen together. Move the softer fruit into your next meal and leave the firmer pieces to catch up. That simple sorting step is more useful than treating the whole bag as if it has one deadline.
The pit explains why some plums resist cutting
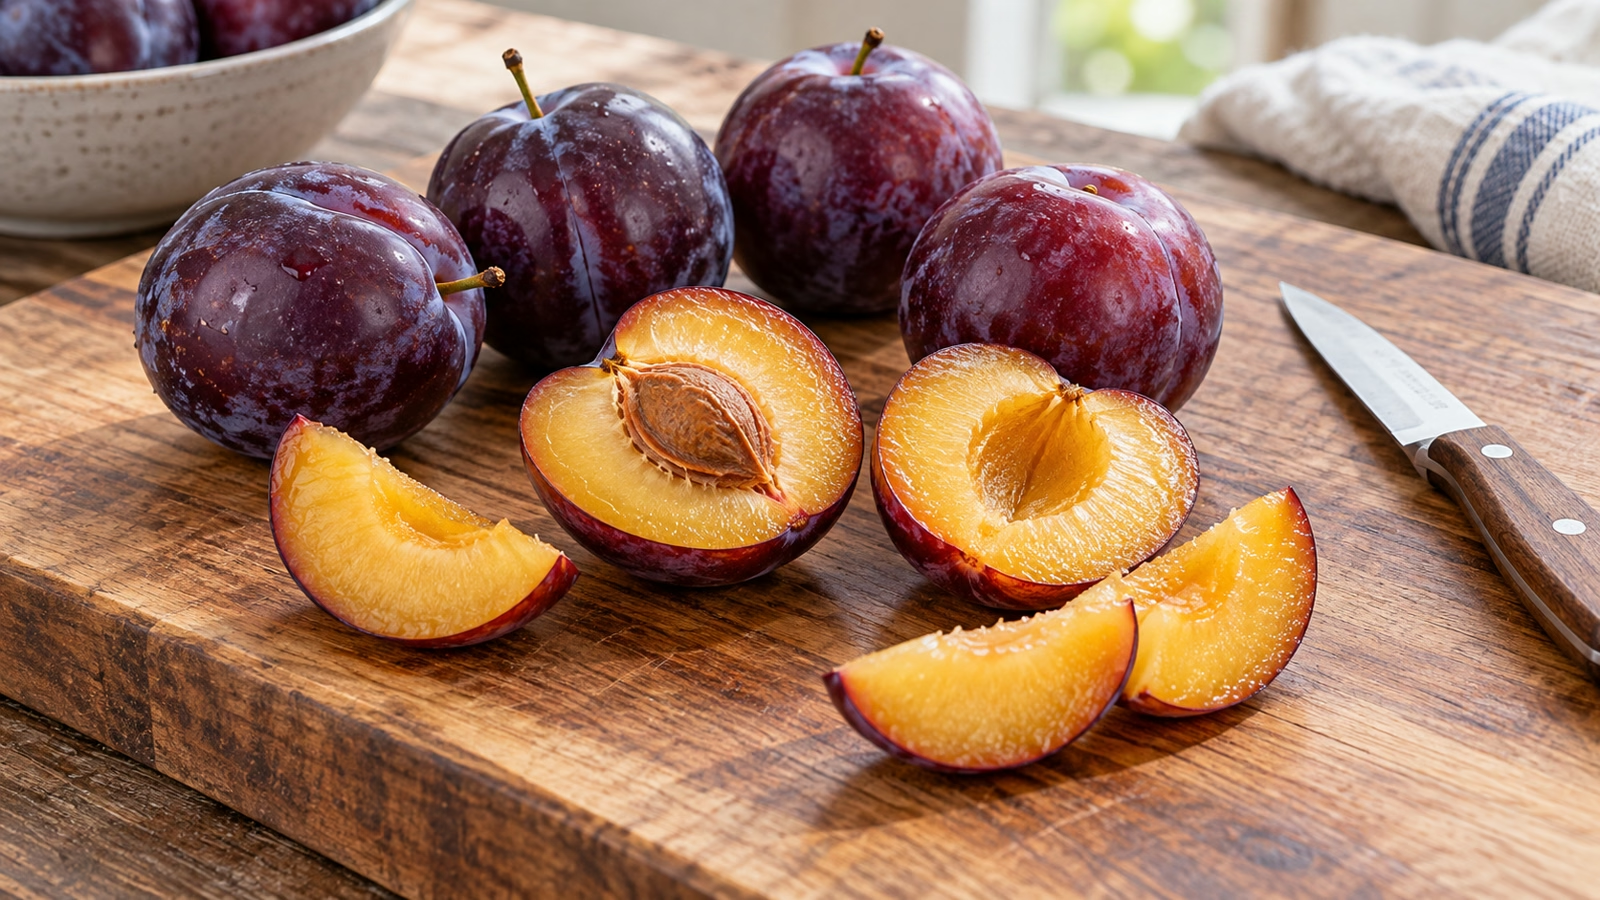
Plums come in many cultivars, with different flesh colors, sizes, and degrees of tartness. Oregon State University Extension broadly distinguishes Asian plums, which are generally clingstone, from European plums, which are freestone. Clingstone means the flesh holds onto the pit; freestone fruit releases it more readily. A stubborn center does not automatically mean you bought bad fruit.
- Wash first. Rinse the whole plum under running water before cutting, even if you plan to remove the skin. The FDA advises against soap and produce washes.
- Follow the seam. On a stable board, cut around the fruit until the knife meets the stone. Gently twist the halves in opposite directions if they release easily.
- Change approach if needed. With a clingstone plum, cut manageable slices away from the pit instead of forcing the halves apart. Keep fingers clear of the blade.
- Leave the skin when it suits the dish. It gives fresh slices their color and a firmer edge. Remove and discard the stone before adding fruit to a bowl or blender.
Prunes are connected to this family, too. In everyday shopping, the word usually means dried plums; Extension also uses it for plum types suited to drying. Fresh plums and prunes behave differently in a recipe because drying changes the water content. Our guide to choosing and using dried fruit explains what to look for on those packages.
Use the texture to choose the dish
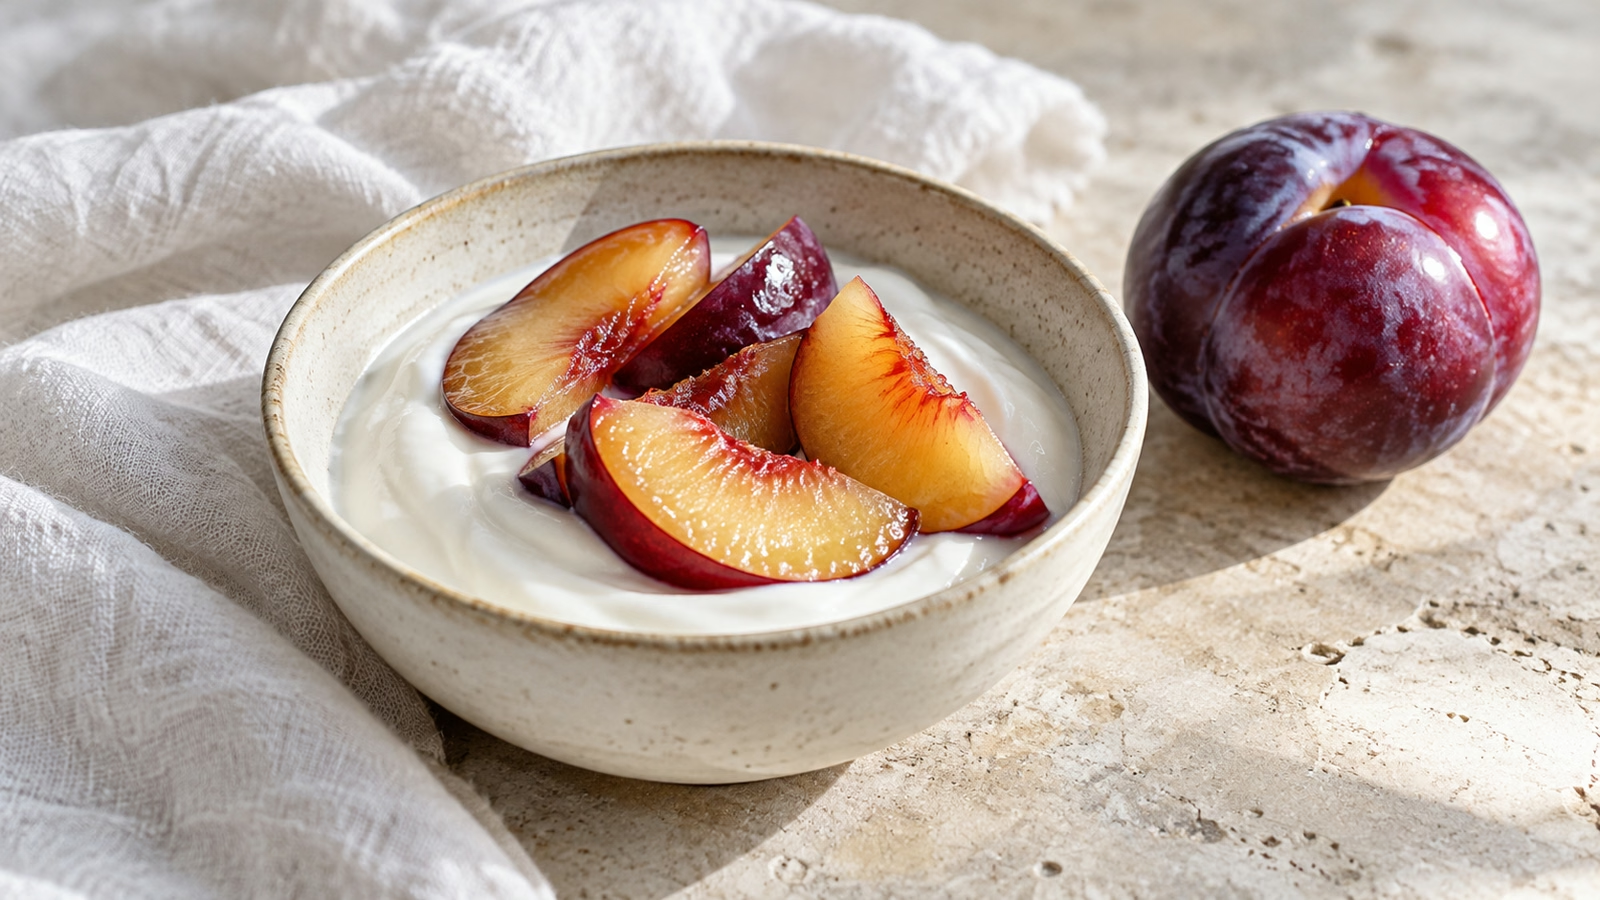
A bowl of yogurt is an easy place to begin: cool, creamy spoonfuls with bright wedges of fruit. I like that direction when the plum itself has enough flavor to carry the bowl. Taste a small piece before adding sweetener or lemon; a tart-skinned plum and a very sweet one call for different finishing touches.
- Firm-ripe slices: Tuck them into a leafy salad, arrange them beside cheese, or add them to a fruit plate. Slice close to serving time for the freshest-looking edges.
- Soft-ripe fruit: Spoon chopped pieces over yogurt or oatmeal. This is also a useful texture for a compote made with a recipe written for fresh plums.
- Fruit for baking: Choose a plum-specific tart, crumble, or cake recipe so the method accounts for its juice. Very wet fruit can change a batter or filling.
- A savory direction: Pair plum pieces with a grain salad, or look for a plum sauce recipe designed for the dish you are cooking. Start modestly so sweetness does not overwhelm the rest.
Soft and spoiled are different. Cooking is a way to use sound, ripe fruit; it is not a fix for mold or decay. Nor is a quickly cooked sauce automatically safe to store in the pantry. For home canning, use a tested preservation method with its complete processing directions.
Counter first, refrigerator when ready
Keep nearly ripe plums at room temperature until they soften, then refrigerate them. For store-bought fruit, Dole gives a practical refrigerated window of three to five days. Treat that as a planning guide rather than a guarantee: starting ripeness, handling, and variety all matter. Use the most delicate pieces first.
- Before eating: Wash the fruit and dry it with a clean towel. Do not leave it sitting wet in its storage container.
- After cutting: Cover and refrigerate promptly. The FDA recommends a refrigerator at 40°F (4°C) or below for cut produce.
- When there is too much: Freeze good-quality fruit before it deteriorates. Oregon State Extension provides options for whole fruit without added sugar, as well as prepared sugar or syrup packs.
- For later meals: Label frozen fruit with the date and preparation method so you know what you are taking out for a sauce or baking project.
My preference is to choose the next use before putting the fruit away: breakfast slices, salad wedges, or fruit for a cooked dish. For a visual introduction to cutting around the stone, betterbooktv demonstrates the technique with peaches, nectarines, and plums below.
Sources
- Utah State University Extension: Plums in the home garden
- Dole Ireland: Selecting, preparing, and storing plums
- Oregon State University Extension: Preserving plums and prunes
- FDA: Tips for cleaning fruits and vegetables
- FDA: Selecting and serving produce safely

Hi, I’m Laura, the voice behind Tastiva. I’ve always believed that eating well should feel enjoyable, comforting, and realistic—not like another complicated rule to follow. I love creating recipes that fit into everyday life, sharing simple nutrition ideas, and finding small ways to make meals feel a little better without losing the pleasure of good food.