
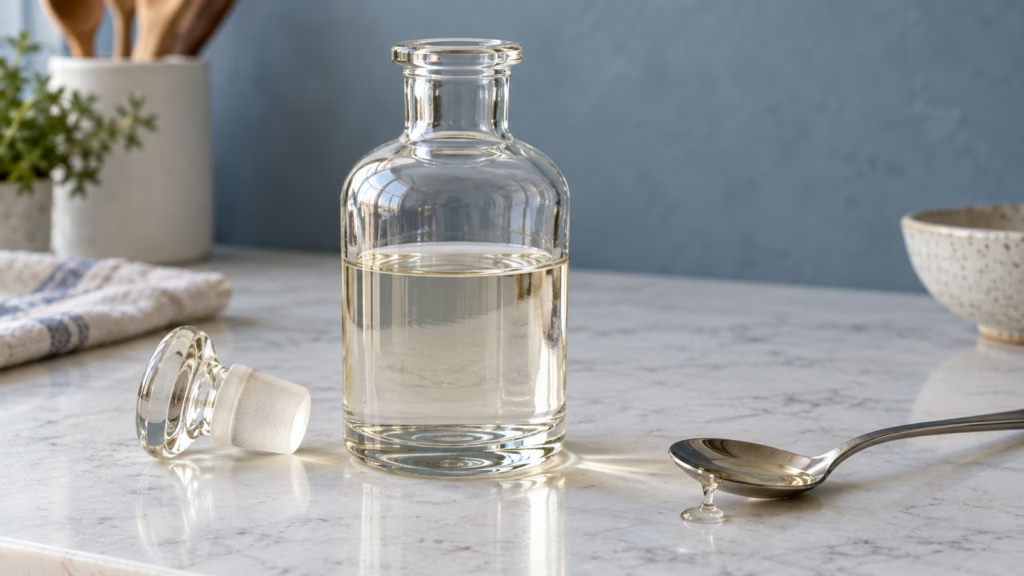
There is usually a last spoonful of sugar sitting at the bottom of a cold drink, long after the ice has started to melt. This simple syrup recipe dissolves that sugar first: warm one cup of granulated sugar with one cup of water just until clear, then cool and refrigerate. The small batch takes about five minutes on the stove and gives you a pourable sweetener for tea, coffee and mixed drinks.
Dissolve the sugar before it reaches the ice, and sweeten each glass a little at a time.
This simple syrup recipe uses equal volumes
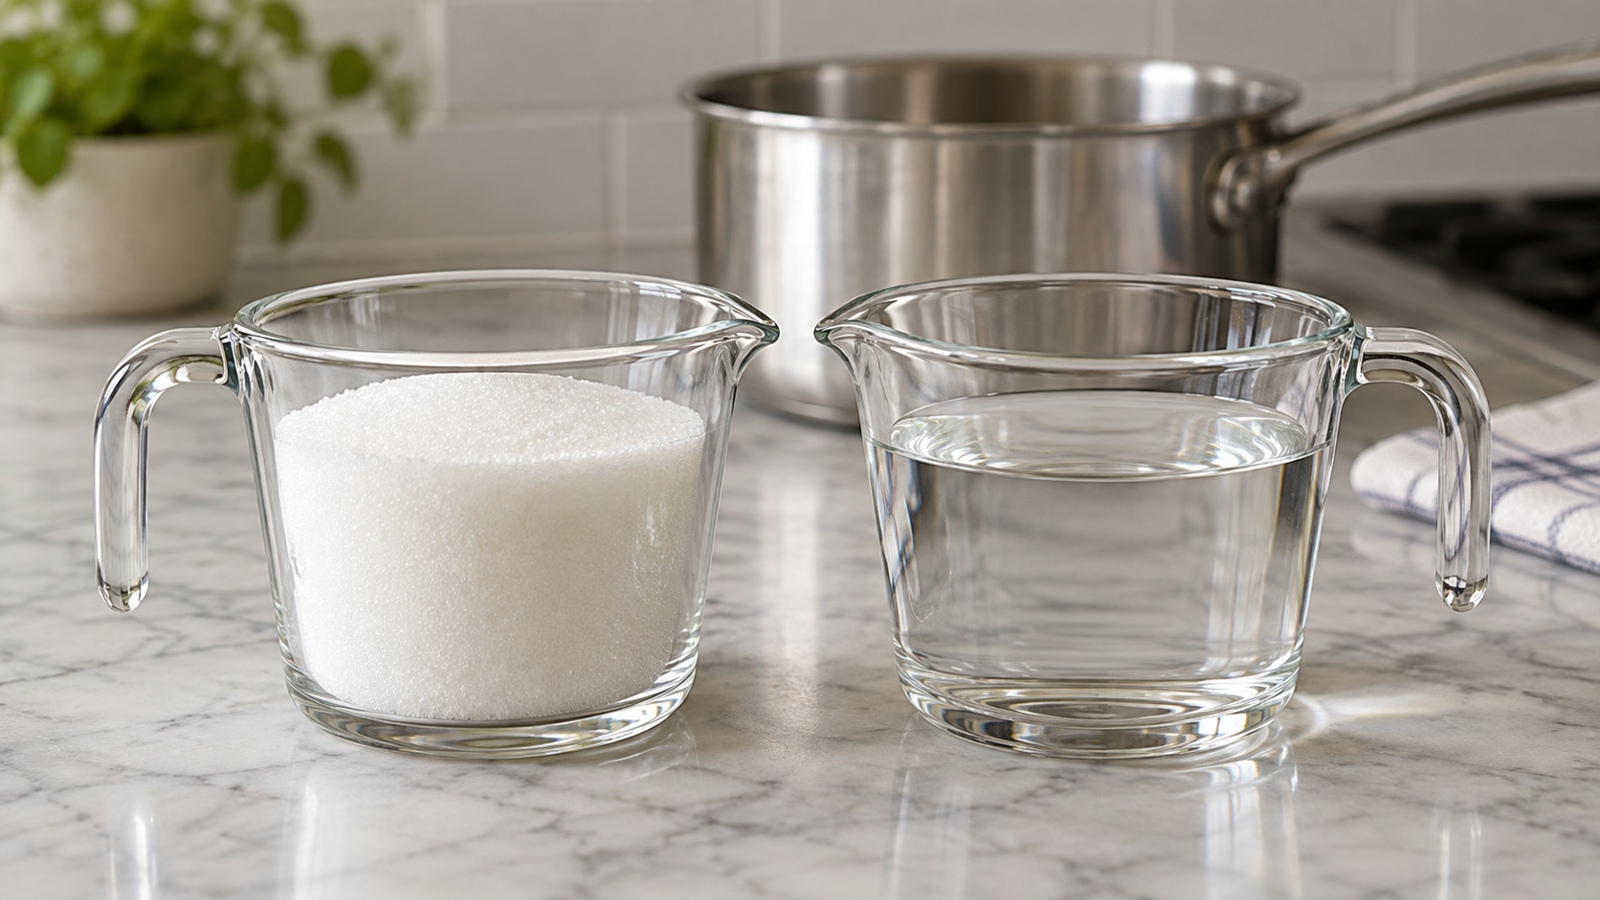
Here, 1:1 means one cup of sugar to one cup of water. That is a volume ratio. The ingredients do not weigh the same: a cup of granulated sugar is about 200 g, while a cup of water is about 240 g. Stating the measurement method avoids an easy source of inconsistent batches.
Some cocktail recipes mean equal weights instead. That version contains a little more sugar relative to water. Neither convention is useful if it is left unexplained, so I would match the syrup to the recipe you plan to use rather than treating every bottle marked “simple” as identical.
- For this batch: Measure 200 g sugar and 240 g water, or use one standard cup of each. Do not pack the sugar into the cup.
- For equal-weight syrup: Use the same gram amount of sugar and water, such as 200 g of each. Expect a slightly more concentrated result.
- For rich syrup: A 2:1 sugar-to-water formula is more concentrated again. Follow the recipe’s stated weight or volume convention and use less initially in a drink.
- For a smaller supply: Halve both quantities. The ratio matters more than filling a large storage bottle.
Stop heating when the liquid turns clear
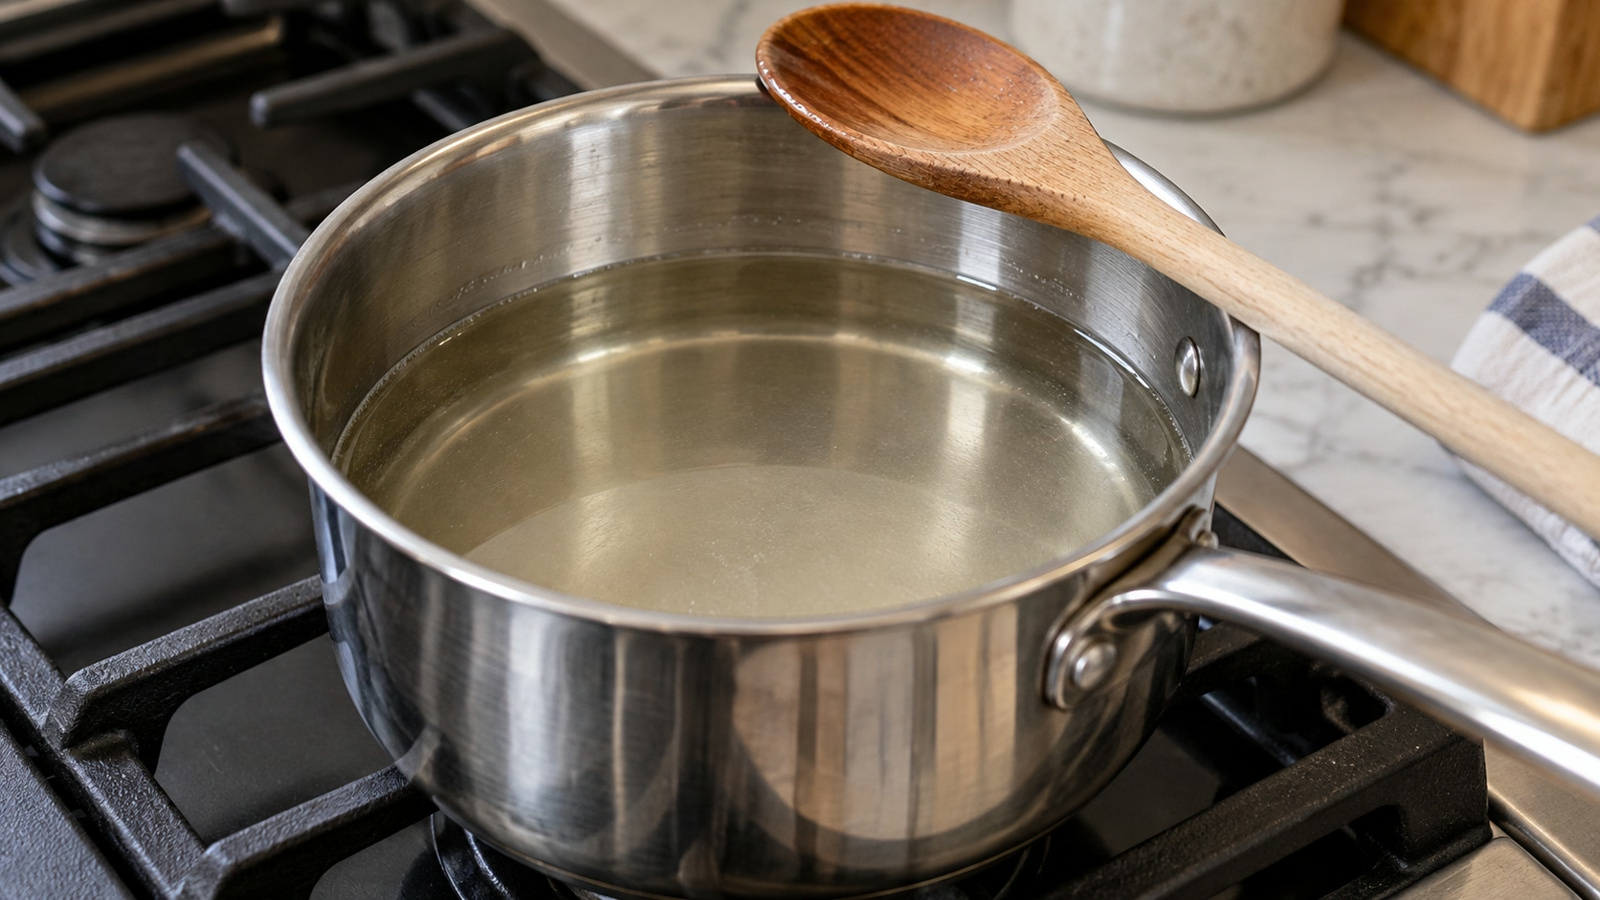
Put the water and sugar together in a small saucepan and stir over medium-low heat. At first the mixture looks cloudy and grains scrape against the spoon. As they dissolve, the liquid clears. Once no grains remain, remove the pan from the heat.
You are dissolving sugar, not reducing a sauce. A long boil evaporates water and changes the concentration, so there is no benefit to keeping it bubbling after it is clear. The syrup stays fairly thin while warm; do not use honey-like thickness as the target.
- Check the bottom: A few grains can hide where the spoon misses the pan’s edge. Stir gently through that area before stopping.
- Let it cool: Hot syrup melts drink ice quickly and is awkward to handle. Transfer only to a clean, heat-safe container.
- Use a clean funnel: A narrow-neck bottle is convenient for pouring, but a wide-mouth jar is easier to clean thoroughly.
- Avoid unnecessary additives: Plain sugar and water do not need lemon juice, cream of tartar or alcohol for this small refrigerated batch.
Choose the sugar for the flavor you want
White granulated sugar makes a neutral syrup that leaves the drink’s own flavor in charge. Brown sugar or demerara brings a darker color and a molasses-like direction. Those are useful choices for some coffee and whiskey drinks, but they are not invisible substitutes.
I would keep the first batch plain. It is easier to judge sweetness when vanilla, spices and citrus peel are not all speaking at once. For an intentionally fruity mixer, Tastiva’s pomegranate grenadine has its own recipe and purpose.
- Honey and maple syrup: These already contain water and bring distinctive flavors. Do not assume the same sugar-and-water quantities give an equivalent result.
- Alternative sweeteners: They differ in sweetness, solubility and storage behavior. This recipe is not a tested sugar-free formula.
- Flavor infusions: Fresh fruit and herbs change the storage question. Use a recipe designed for that ingredient rather than giving an infused batch this plain syrup’s storage window.
- Crystals later: They can indicate a more concentrated syrup or undissolved sugar. Do not confuse clear sugar crystals with cloudiness, mold or other spoilage signs.
Use a small pour and keep the bottle refrigerated
Start with a teaspoon in a glass, stir, and taste before adding more. In homemade iced tea, serving syrup separately lets everyone choose their own sweetness. Measure for cocktail recipes instead of pouring by eye, since syrup contributes both sugar and liquid.
Refrigerate the cooled syrup in a clean, tightly closed container and use it within two weeks. That is a conservative window within The Kitchn’s two-to-three-week guidance. This is a refrigerated kitchen preparation, not a shelf-stable bottled preserve.
- Label the date: A clear liquid has very little personality when you are trying to remember which week you made it.
- Keep old and new separate: Wash the container before refilling. Do not keep topping up the remains of an older batch.
- Check before use: Discard syrup with mold, unexplained cloudiness, bubbling or an off smell. Do not taste it to decide whether it is spoiled.
- Plan the yield: This makes about 1½ cups, not two cups. Dissolved sugar and water volumes do not simply add together.
Simple Syrup Recipe

Ingredients
- 1 cup granulated sugar 200 g; white sugar for a neutral clear syrup
- 1 cup water 240 ml; this recipe uses equal volumes, not equal weights
Equipment
- 1 small saucepan
- 1 spoon
- 1 clean heat-safe jar or bottle
- 1 measuring cup or kitchen scale
Instructions
- Combine sugar and water in a small saucepan.
- Warm over medium-low heat, stirring gently, for about 3–5 minutes until the sugar is fully dissolved and the liquid is clear. Check that no grains remain on the bottom. Remove from the heat; do not boil down or reduce.
- Let cool until safe to handle, then transfer to a clean, heat-safe jar or bottle and refrigerate. Allow about 30 minutes to cool, depending on container and room temperature. Keep tightly closed and use within 2 weeks. The yield is approximately 1 1/2 cups (360 ml), or 24 tablespoons.
Nutrition
Video
Notes
Tried this recipe?
Let us know how it turned out!Sources
- Just One Cookbook: sugar syrup and measurement conventions
- The Kitchn: simple syrup preparation and storage
- Jamie Oliver’s Drinks Tube: Rich Hunt’s syrup demonstration
- USDA FoodData Central: granulated sugar composition
Hi, I’m Laura, the voice behind Tastiva. I’ve always believed that eating well should feel enjoyable, comforting, and realistic—not like another complicated rule to follow. I love creating recipes that fit into everyday life, sharing simple nutrition ideas, and finding small ways to make meals feel a little better without losing the pleasure of good food.