
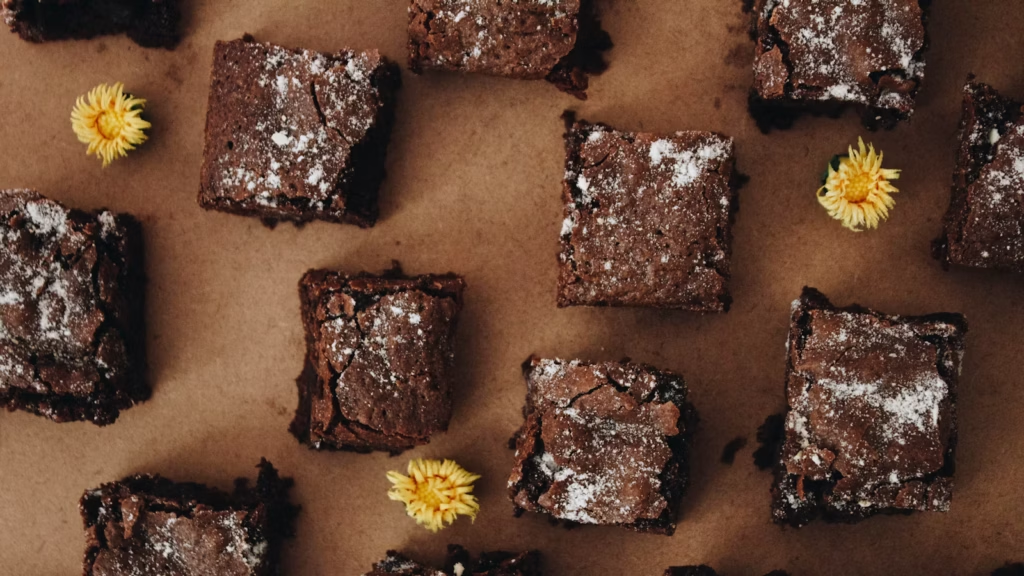
A good brownie should make you pause after the first bite: crisp paper-thin top, chewy edge, and a dark center that bends before it breaks. This recipe uses both melted chocolate and cocoa powder, so the flavor feels round and deep rather than simply sweet. Melted butter keeps the crumb dense, brown sugar adds chew, and one extra yolk brings richness without pushing the squares into underbaked-pudding territory. They are fudgy, yes, but they still hold in your hand—the brownie equivalent of having your life together.
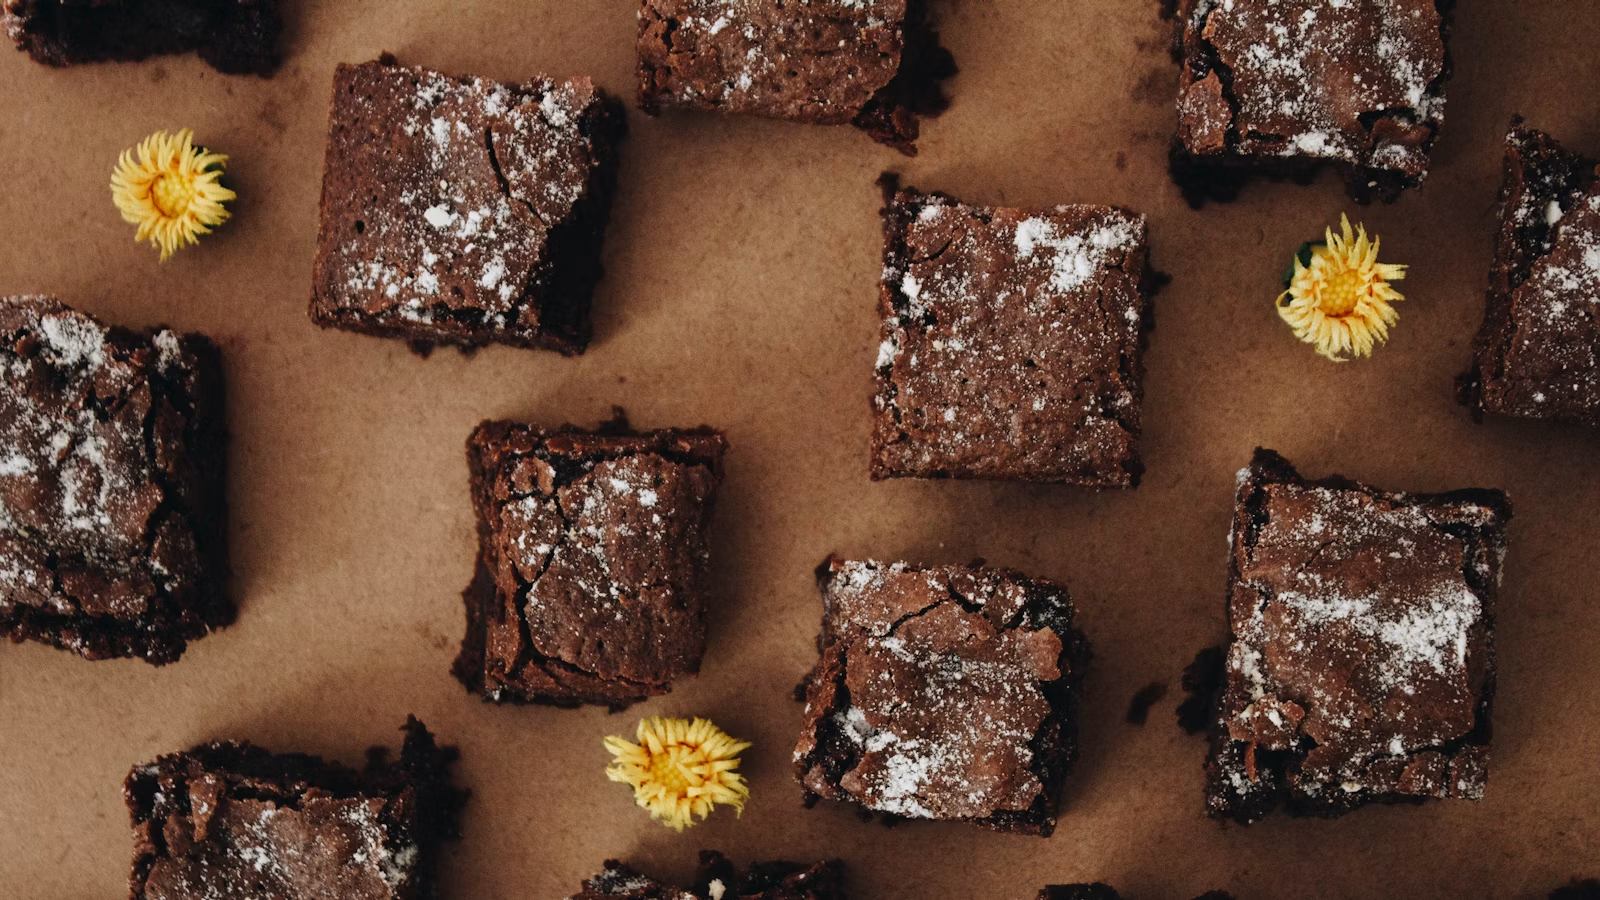
For fudgy brownies, melt rather than cream the butter, fold the flour gently, and stop baking while moist crumbs still cling to the tester.
What makes this brownie recipe fudgy
Brownie texture is a ratio game. More flour and strong aeration push a batch toward cake; more fat and chocolate pull it toward fudge. King Arthur Baking’s brownie guides make the same distinction and note that melted butter avoids the air introduced by creaming. Here, a modest three-quarter cup of flour supports a full pan without stealing the spotlight from the chocolate.
- Bittersweet chocolate: Supplies cocoa butter and a smooth, dense chocolate base.
- Dutch-process cocoa: Adds concentrated flavor and a dark color without more sugar.
- Butter: Gives clean dairy richness and helps the center stay tender.
- Brown sugar: Brings moisture and chew from its molasses.
- Eggs plus one yolk: Bind the batter while adding richness and just enough structure.
Use a chocolate bar you enjoy eating, ideally around 60% to 70% cacao. Our dark chocolate guide explains why percentage alone does not predict bitterness. Dutch cocoa is mellow and dark; natural cocoa tastes fruitier and more acidic. Either can work here because there is no baking soda, but the final flavor will shift. See our cacao vs. cocoa guide if your pantry labels are staging a small identity crisis.
Melt the butter and chocolate gently
Chop the chocolate fairly small so it melts at the same pace as the butter. Use a heavy saucepan over low heat or a heatproof bowl set over barely simmering water. Remove the mixture while a few soft pieces remain, then stir until smooth. Chocolate holds heat, and waiting for every speck to vanish over the burner is how a glossy mixture becomes grainy and offended.
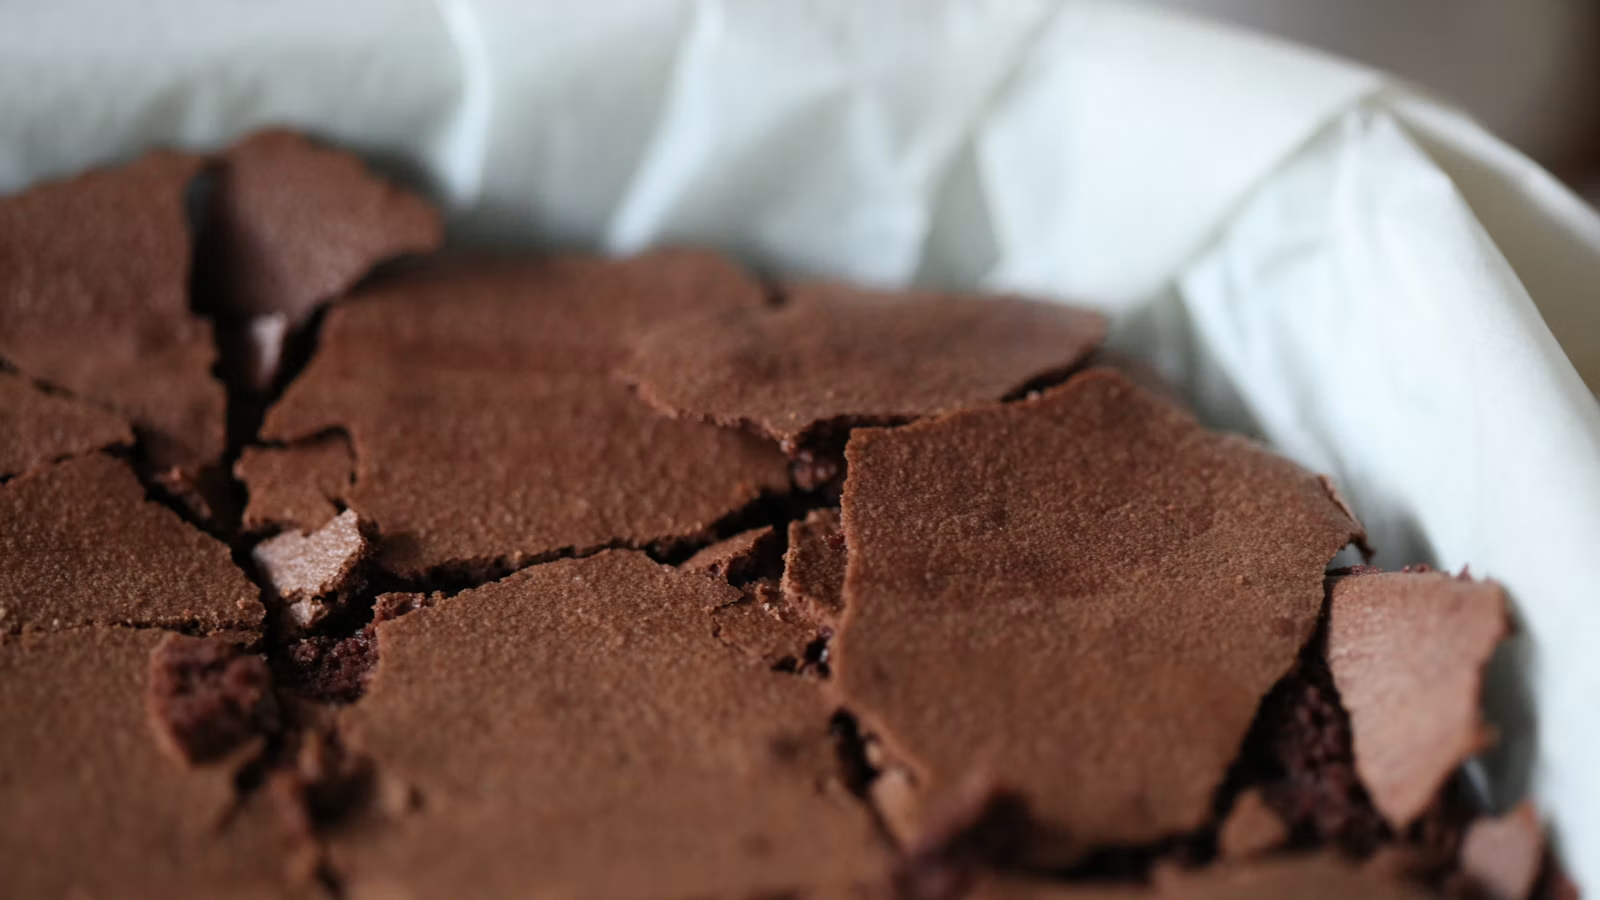
Whisk both sugars into the warm chocolate mixture. They will not dissolve completely, but the warmth helps them begin. This matters for the thin, shiny crust: King Arthur’s baking tests connect that crust to dissolved sugar and egg white forming a delicate meringue-like layer at the surface. Let the mixture cool for about five minutes before adding the eggs so they blend rather than scramble.
Mix for a shiny top and tender crumb
Add the eggs and extra yolk one at a time, whisking well after each, then whisk in the vanilla for about a minute. The batter should look thicker and glossy. Sift in the flour, cocoa, and salt. Fold with a flexible spatula only until the last dry streak disappears. Vigorous mixing after the flour goes in develops gluten and moves the texture from chewy toward tough—a journey nobody requested.
Fold in chocolate chips if you want molten pockets, or leave them out for a smoother slice. Toasted walnuts or pecans are welcome too, but keep total add-ins near half a cup so the batter still bakes evenly. Spread it into a parchment-lined eight-inch metal pan, pressing the thick batter into the corners and smoothing the top.
Bake, cool, and cut cleanly
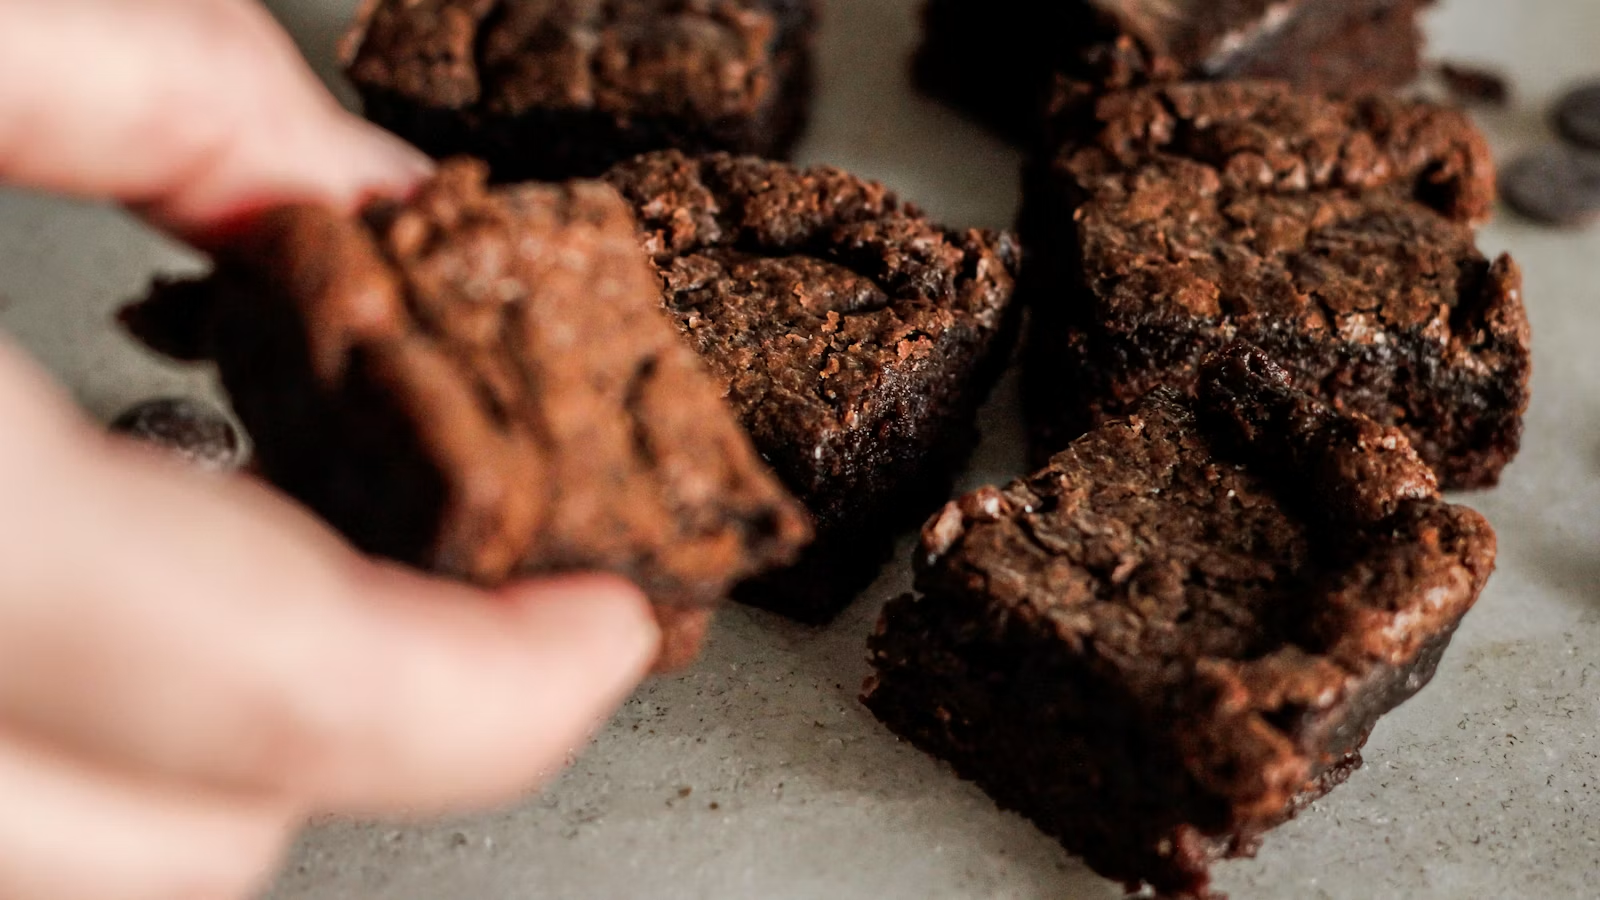
Bake at 350°F (175°C) until the edges are set, the top is shiny and cracked, and a toothpick inserted near the center carries moist crumbs rather than liquid batter. Begin checking at 24 minutes. Dark metal, glass, and ceramic pans transfer heat differently, so the clock is guidance, not a court order. An eight-inch metal pan gives the most predictable edges for this recipe.
Cool the brownies completely in the pan—at least two hours. The center continues to set as it loses heat, and slicing early compresses the crumb into a sticky landslide. Lift out the slab by the parchment, then use a large knife wiped clean between cuts. For extra-neat squares, chill the cooled slab for 20 minutes before slicing.
Store plain brownies tightly covered at room temperature for three to four days, or freeze individual squares for up to two months. Never taste the raw batter: the FDA notes that most flour is raw and has not been treated to kill germs; baking is the safety step for both flour and the raw eggs commonly used with it. The baked corner pieces, however, are fair game the moment the pan is cool enough to negotiate with.
Brownie Recipe

Ingredients
- 1/2 cup unsalted butter 113 g; cut into pieces
- 6 ounces bittersweet chocolate 170 g; 60% to 70% cacao, finely chopped
- 3/4 cup granulated sugar 150 g
- 1/2 cup packed light brown sugar 100 g
- 2 large eggs room temperature
- 1 large egg yolk room temperature
- 2 teaspoons pure vanilla extract
- 3/4 cup all-purpose flour 90 g
- 1/4 cup Dutch-process cocoa powder 25 g
- 1/2 teaspoon fine salt
- 1/2 cup semisweet chocolate chips 85 g; optional
Equipment
- 1 8-inch square metal baking pan
- 1 medium saucepan
- 1 Parchment paper
Instructions
- Heat the oven to 350°F (175°C). Lightly grease an 8-inch square metal pan and line it with parchment, leaving an overhang on two sides.
- Melt the butter and chopped bittersweet chocolate in a medium saucepan over low heat, stirring often. Remove from the heat while a few soft chocolate pieces remain, then stir until completely smooth.
- Whisk the granulated and brown sugars into the warm chocolate mixture. Let cool for 5 minutes so the eggs will not scramble.
- Whisk in the eggs and extra yolk one at a time, then whisk in the vanilla for about 1 minute until the batter looks thick and glossy.
- Sift the flour, cocoa powder, and salt over the batter. Fold gently just until no dry streaks remain. Fold in the chocolate chips, if using, then spread the batter evenly in the prepared pan.
- Bake for 24 to 28 minutes, until the edges are set and a toothpick near the center comes out with moist crumbs but no liquid batter. Cool completely in the pan for at least 2 hours before lifting out and cutting into 16 squares.
Nutrition
Video
Notes
- Use a metal pan for the most predictable edges and timing. Glass may need a different baking time.
- Do not overmix after adding the flour; that makes brownies tougher.
- For clean slices, cool completely and wipe the knife between cuts.
- Store tightly covered at room temperature for 3 to 4 days, or freeze individual squares for up to 2 months.
- Nutrition is an estimate per square and includes the optional chocolate chips.
Tried this recipe?
Let us know how it turned out!Sources
- King Arthur Baking: Fudgy, Chewy, and Cakey Brownies
- King Arthur Baking: How to Make Brownies With a Shiny Crust
- King Arthur Baking: Types of Cocoa Explained
- U.S. FDA: Flour Is a Raw Food
Hi, I’m Laura, the voice behind Tastiva. I’ve always believed that eating well should feel enjoyable, comforting, and realistic—not like another complicated rule to follow. I love creating recipes that fit into everyday life, sharing simple nutrition ideas, and finding small ways to make meals feel a little better without losing the pleasure of good food.