
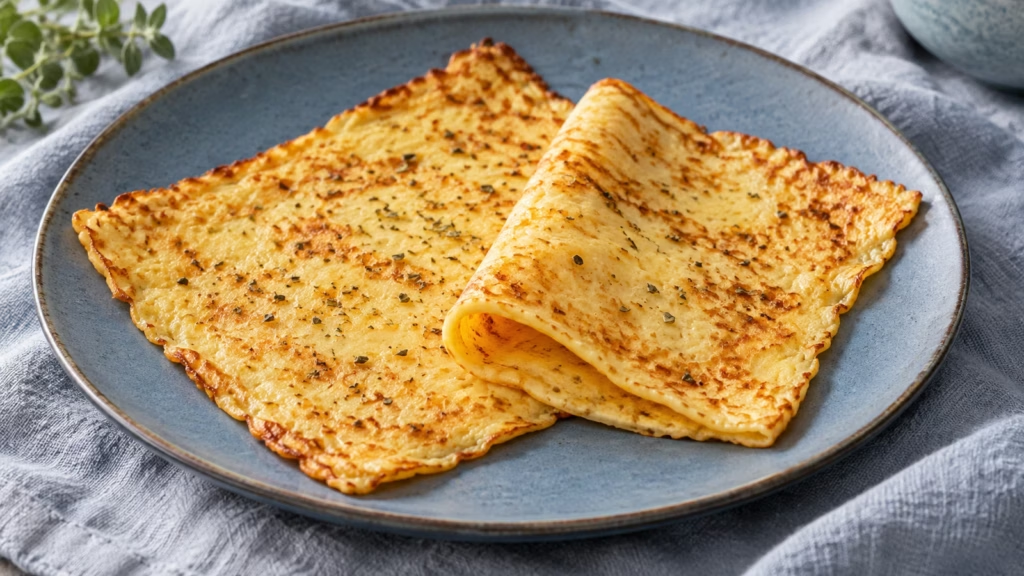
A wrap that tears on its first fold is a rather unhelpful place to put lunch. Cottage cheese flatbread takes a different route from dough: blend cottage cheese with eggs, spread the mixture evenly, and bake it into a thin, savory sheet. The useful detail comes afterward. Give it time to cool before peeling and filling, so the delicate center has a chance to settle.
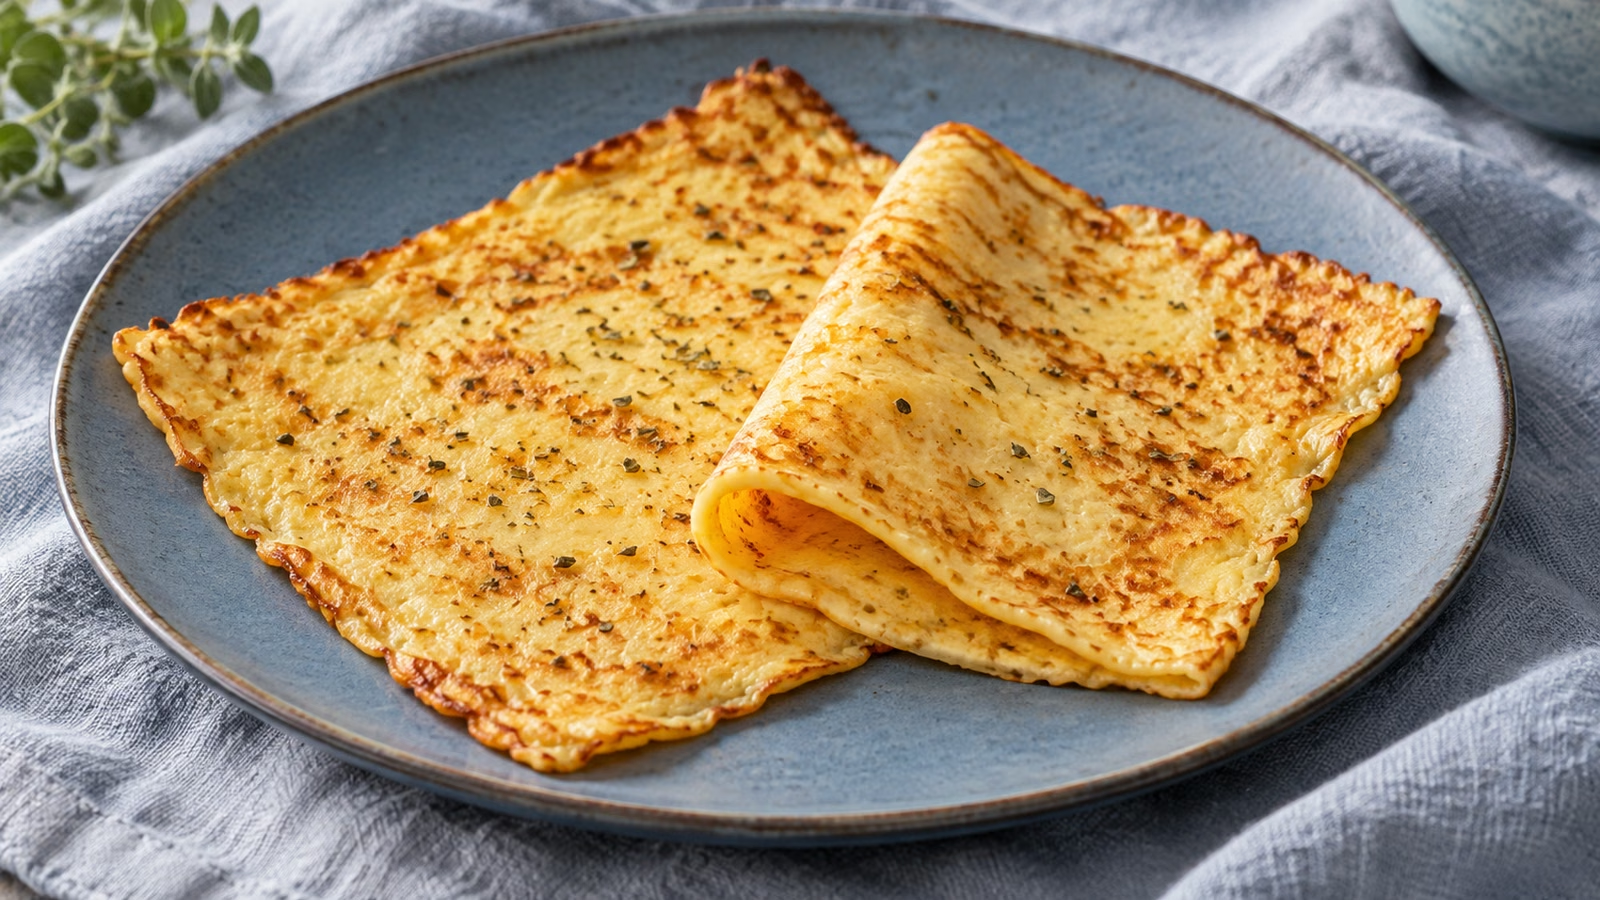
A good wrap starts before the filling: keep the layer even, let it settle, and give it a gentle fold.
What cottage cheese flatbread actually tastes like
This is a tender egg-and-cheese wrap, with browned edges and a mild savory flavor, rather than the chewy crumb of flour bread. I would choose it for a lunch where soft texture makes sense, not promise it will impersonate a crusty sandwich roll. That honest expectation makes the recipe much more useful. For a closer look at the ingredient, our cottage cheese taste and texture guide explains how the curds and dressing vary.
The cottage cheese flatbread trend received American mainstream coverage in 2024, including Good Morning America. It remains a familiar viral recipe, not a brand-new invention. Its appeal is straightforward: two main ingredients and a blender do the structural work, with seasonings providing the direction.
- Best role: A flexible base for a modest amount of sandwich filling, or a soft savory side.
- Texture to expect: More like a substantial savory crêpe than a tortilla made with wheat flour.
- Flavor direction: Oregano and a little garlic powder suit tomato, cucumber, lettuce, and roasted vegetables.
Choose the ingredients with moisture in mind
Use plain full-fat cottage cheese for this version. Stir the container first; if there is a distinct puddle of loose liquid, pour that off before measuring. Do not squeeze the curds dry. The goal is an ordinary spoonable cottage cheese, not a dry cheese filling or a watery batter that spreads itself to every corner.
- Eggs: Two large eggs bind the cheese mixture as it bakes. This recipe does not establish an egg-free substitute.
- Seasonings: Dried herbs distribute readily. Large pieces of fresh vegetables add moisture and can interrupt the thin sheet, so save them for the filling.
- Salt: Cottage cheese already contains sodium. Start without added salt and season your finished filling to taste.
- Lower-fat cheese: It may work, but moisture and texture differ by brand. The nutrition estimate and timing cues here are for the full-fat version.
I would read the label before buying a second tub just for a protein number. Cottage cheese and eggs contribute protein, but the amount depends on the brand, portion, and fillings. Half the sheet is one serving in this recipe; the nutrition card does not include a finished sandwich.
The pan and cooling steps that prevent tears
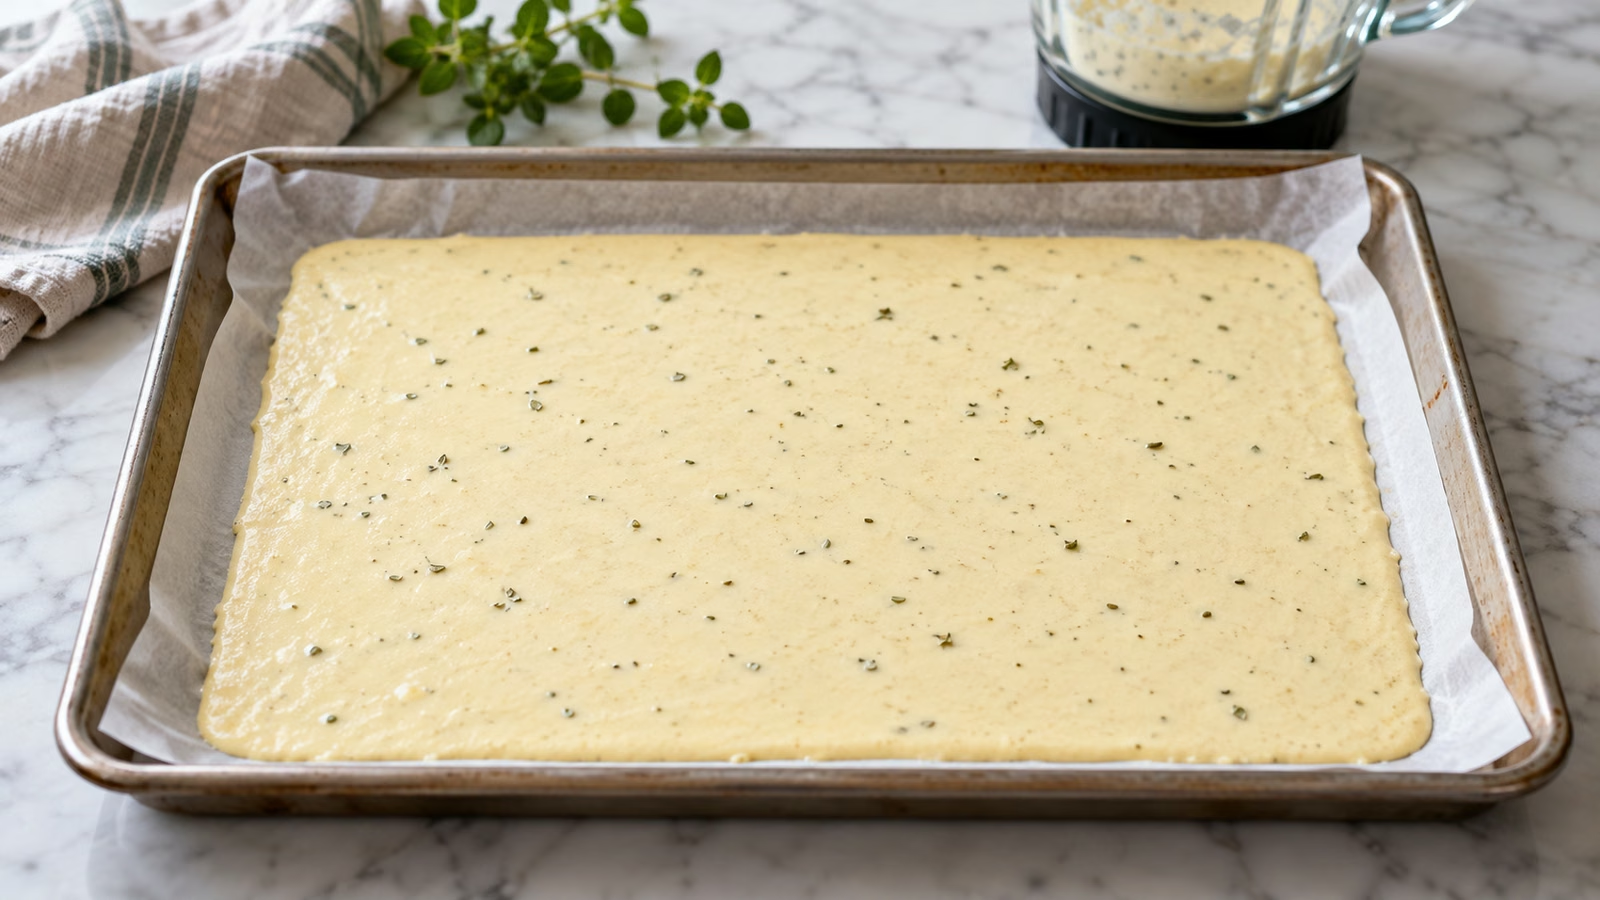
Line a rimmed baking sheet with parchment, then lightly oil the paper. Spread the batter into an approximately 9-by-12-inch rectangle instead of stretching it across a large pan. Keep the edges nearly as thick as the center; a transparent fringe will dry out well before the middle is ready.
- Blend until smooth. Pause and scrape the container if curds collect along the sides. A few bubbles are fine; obvious curd lumps need more blending.
- Watch the middle. Bake at 350°F (177°C) until the center is set and the edges are golden. A glossy, wet patch needs more oven time, even when the perimeter looks done.
- Cool before peeling. Rest the sheet for about 10 minutes, then loosen an edge and peel the parchment back slowly. Pulling the bread upward asks it to do all the work.
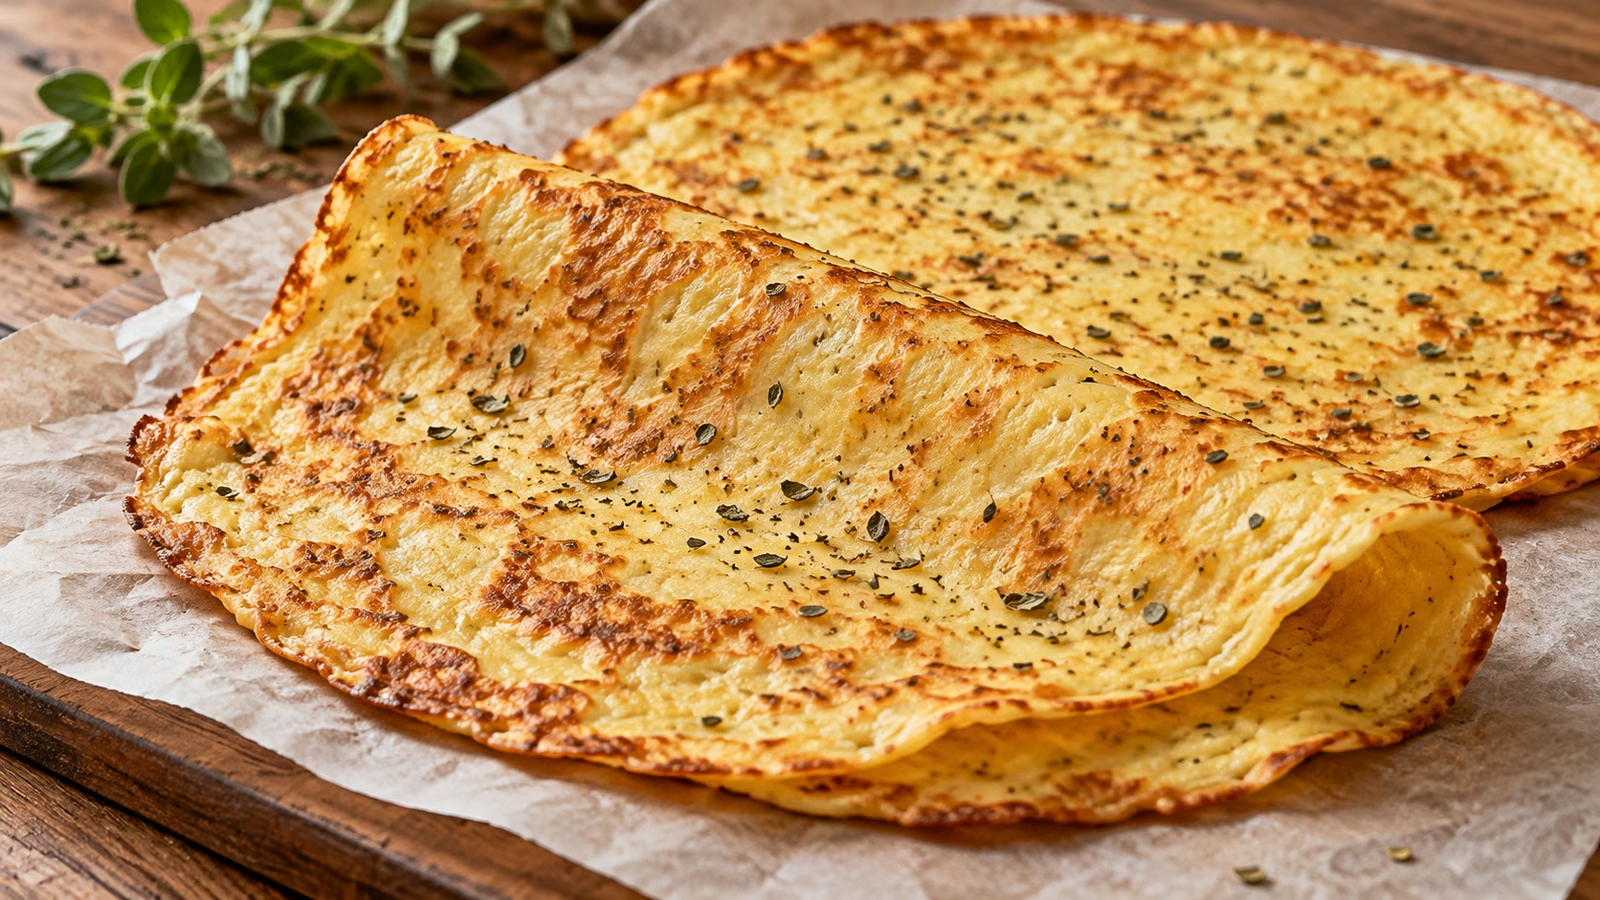
- Fold gently. If the edges have become brittle, use the pieces open-faced. Dinner does not need to pass a gymnastics exam.
Because this batter contains raw eggs, follow USDA guidance and cook the center to 160°F (71°C). Use a thin probe where the sheet is thickest, taking care not to touch the hot pan. Color is a useful cooking cue, but it is not a substitute for temperature.
Fill it lightly, then store it unfilled
Let wet ingredients drain, and start with less filling than you would put into a sturdy flour tortilla. A thin layer of hummus, crisp lettuce, and cucumber makes a sensible combination; sliced cooked chicken or roasted vegetables can take it in another direction. Keep sauces light so the base remains easy to handle.
- For a sandwich: Cut the sheet in half, place filling on one side of each piece, and fold loosely. Avoid a tightly wound roll if the edges are crisp.
- For preparation ahead: Cool the unfilled pieces, separate them with parchment, and refrigerate in a covered container for up to three days.
- For serving later: Enjoy it cold, or reheat gently until it reaches 165°F (74°C). Add fresh fillings afterward.
- For food safety: Refrigerate within two hours, or within one hour above 90°F (32°C). Do not leave an egg-and-cheese wrap on the counter as though it were plain bread.
Cottage Cheese Flatbread Recipe

Ingredients
- 1 cup full-fat plain cottage cheese 226 g; pour off any separate puddle of liquid
- 2 large eggs 100 g without shells
- 1/2 teaspoon dried oregano
- 1/2 teaspoon garlic powder
- 1 teaspoon olive oil for the parchment
Equipment
- 1 Blender or food processor
- 1 Rimmed baking sheet
- 1 Parchment paper
- 1 Spatula
- 1 Thin-probe food thermometer
Instructions
- Heat the oven to 350°F (177°C). Line a rimmed baking sheet with parchment and brush the paper with the olive oil.
- Blend cottage cheese, eggs, oregano, and garlic powder until completely smooth, scraping down the container as needed.
- Spread into an even 9-by-12-inch rectangle on the parchment. Keep the perimeter similar in thickness to the center.
- Bake for 30–40 minutes, checking at 30 minutes, until the center is set and the edges are golden. The thickest part should reach 160°F (71°C).
- Cool on the pan for 10 minutes. Gently peel the paper away, cut the sheet in half, and serve plain or fill lightly.
Nutrition
Notes
Tried this recipe?
Let us know how it turned out!Sources
- Good Morning America: the 2024 cottage cheese flatbread trend
- 40 Aprons: cottage cheese flatbread preparation reference
- USDA: safe egg handling and storage
- USDA FoodData Central: ingredient nutrition data
Hi, I’m Laura, the voice behind Tastiva. I’ve always believed that eating well should feel enjoyable, comforting, and realistic—not like another complicated rule to follow. I love creating recipes that fit into everyday life, sharing simple nutrition ideas, and finding small ways to make meals feel a little better without losing the pleasure of good food.